
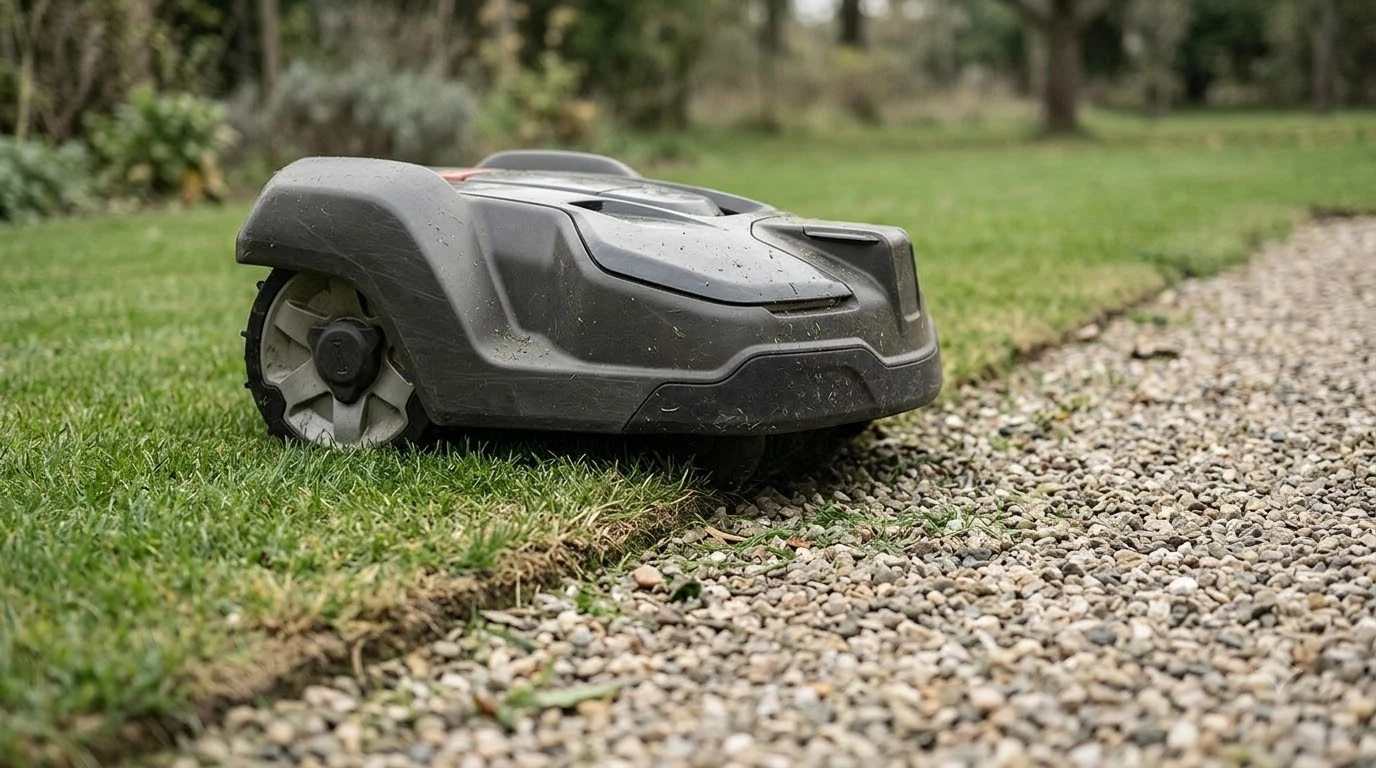

Robot mower virtual fence markers are the points you drop in the app to define a wire-free boundary, and they are not physical posts you have to push into the lawn. Husqvarna’s virtual boundary guide describes steering the mower around the lawn and dropping points at corners and turns. Those points, plus the reference station, are what hold the boundary in place. The sources we read do not describe a separate physical marker product, so any extra flags or cones are our own suggestion.
The short answer
- Virtual fence markers are app points placed at corners and turns while you drive the mower around the lawn.
- Stay-out zones are drawn the same way, steering the other direction around the area.
- Keep the reference station fixed after mapping, because moving it shifts the whole boundary.
- Keep trees and tall structures away from the boundary line, since canopy can block satellite signal.
What a virtual fence marker actually is
A wire-free robot mower does not need a buried loop. Instead, the app records a boundary from points you set as you walk or steer the mower around the lawn. Husqvarna’s guide says to use the app’s remote steering to drive the mower clockwise around the lawn, dropping points at corners or turns. You can edit those points later in the map view. Markers are one tool among several, and fencing options for robot mower gardens compares physical alternatives.
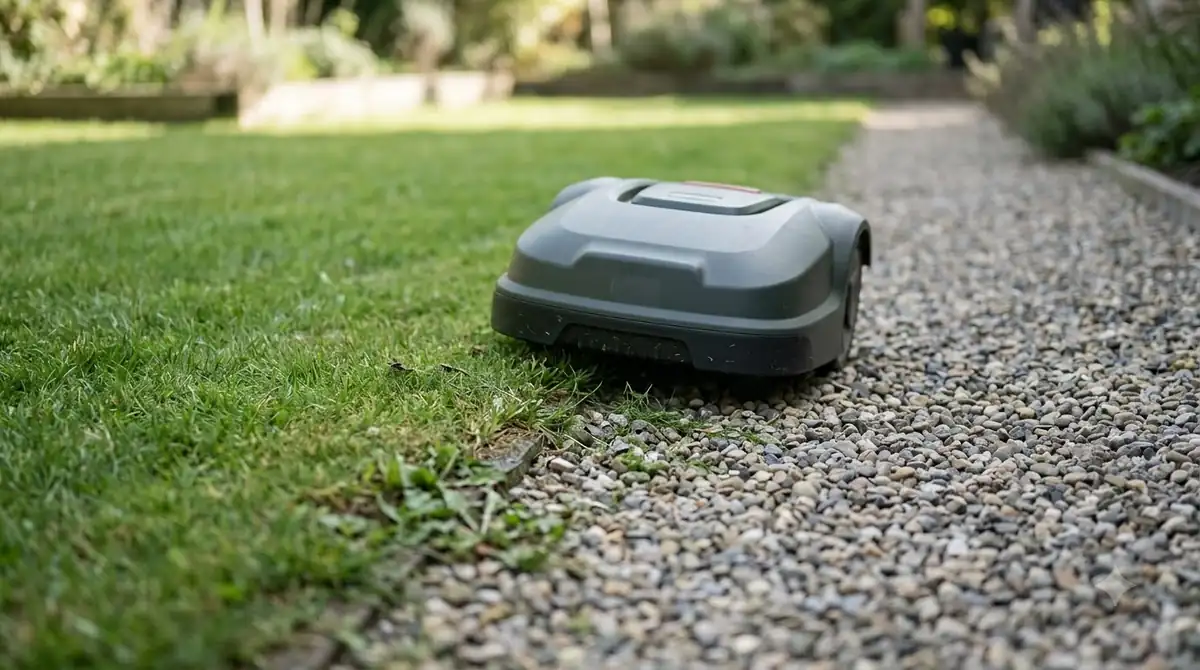
In that sense the marker is a point of data, not a stake. Our reading is that the hardware that matters is the reference station and the mower’s own positioning, while the markers live in the map.
How the markers are placed
Husqvarna describes the process in plain steps. The mower goes around the outer boundary first, then each stay-out zone is drawn by steering the opposite way. Add points more often where the edge turns, so the line follows the lawn rather than cutting across it. When pets are involved, integrating a pet fence with the mower is a separate consideration. The way virtual markers are placed matters, and lawn edging strips for robot mowers are a physical alternative for keeping the cut clean along paths.
- Clear the path. Mow and trim the edge so the mower can follow the true line, and remove loose items the mower might catch on. This is our suggestion, not a step from the sources.
- Start inside the work area. Begin well within the lawn, and steer clockwise for the outer boundary.
- Drop points at corners and turns. Place a point wherever the line changes direction.
- Draw stay-out zones. Steer anticlockwise around flower beds, pools, or other areas the mower must avoid.
- Check the map. Edit any point that sits in the wrong place, using the map view.
Heads up
If the charging station sits outside the work area, Husqvarna says to add a transport path. Start that path well within the work area so the mower can reach the dock.
Where the reference station goes
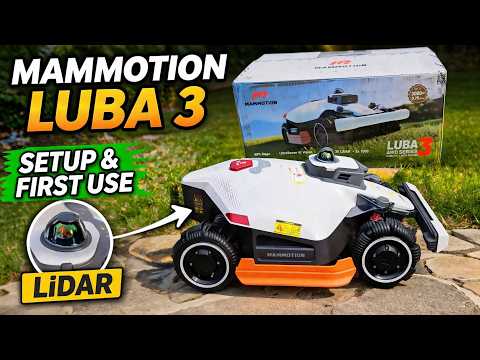
The reference station is what makes the markers hold. Husqvarna says it is weatherproof, can stay outdoors all year, and should stay in a fixed position once the boundaries are created. It also needs to see the same satellites as the mower, though the mower does not need a line of sight to it. Placement of the reference station relates directly to the antenna, as covered in RTK antenna choices for the reference station.
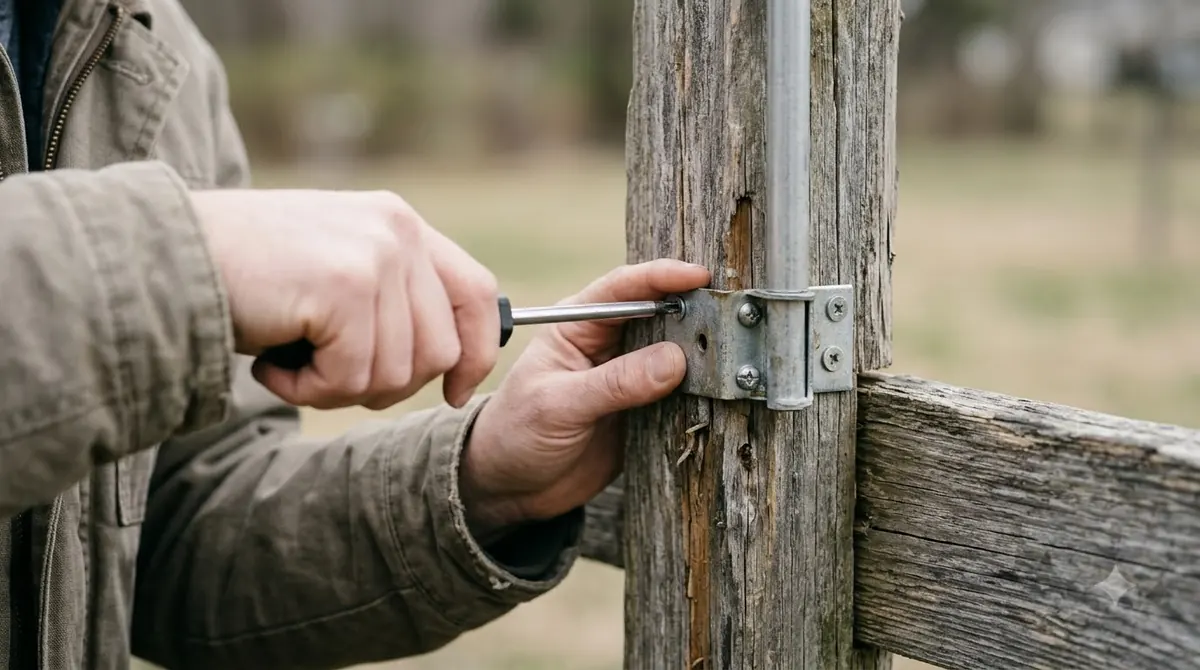
RTKdata’s accuracy guide, a vendor blog, advises mounting the base high and stable with a clear view of the sky, away from reflective surfaces such as metal, walls, and water. It also warns that shifting the reference point shifts every boundary, so do not move the base after mapping. Treat that as a general rule and confirm it in your model’s manual.
Trees, sky view, and the charging station
Husqvarna says boundaries should not be placed close to trees with a crown wider than 4 m, and that satellite coverage changes as trees lose leaves or grow. The charging station needs an open area in front of it, so it cannot sit under trees or a roof. Trees both block signal and need protection, so tree root zones and no-go areas are discussed in a related article.
RTKdata notes that narrow side yards between a house and a fence can block low satellites, and that dense canopy can stop a fix. Our reading is that a yard with several trees along the boundary may need wider buffers, and that you should test the sky view before drawing the lines.
Common mistakes with robot mower virtual fence markers
Most problems with a wire-free boundary come from the points, not the mower. The first mistake is drawing the outer boundary too close to a tree line. Husqvarna’s advice to keep boundaries away from wide canopies is there for a reason, because a lawn under heavy shade can lose its fix and make the mower slow down or pause. One mistake is forgetting small obstacles, such as keeping hoses out of the mowing area before a scheduled run. Marker-free approaches also fail sometimes, and Navimow vision fence not responding is a useful comparison.
The second mistake is moving the reference station after the markers are placed. RTKdata’s guide says the reference point defines every boundary, so a station moved even a short distance can shift the whole map. Our reading is that the safest habit is to mark the station’s spot with a permanent fixture and leave it alone.
The third mistake is skipping the stay-out zones. A bed or pool left outside the map is easy to forget when you draw the outer line, and it is cheap to add a zone at the start. Walk the lawn once with the map open and compare it with the real edges before the first full run.
What to check before you buy
Look at the sky view first. Walk the lawn and note where tall trees, walls, or a narrow side yard sit near the boundary. Check where the reference station can go and whether it stays in one place for the whole season. Then confirm how the manufacturer handles stay-out zones, transport paths, and any retracing step after mapping.
Ask whether the model has a check that walks the mower along the finished boundary after mapping. Some manuals describe one, and it is a useful test before the first full run.
Frequently asked questions
Do virtual fence markers need to be physical posts?
No. Husqvarna’s guide describes points dropped in the app while the mower is steered around the lawn. Physical flags are optional and are not described in the sources we read.
How do I make a stay-out zone?
Steer the mower anticlockwise around the area you want to avoid, dropping points at its corners and turns, as Husqvarna describes.
What happens if the reference station moves?
RTKdata says moving the reference point shifts every boundary. Keep the station fixed after mapping and confirm the rule in your manual.
Do trees affect a virtual boundary?
Husqvarna advises keeping boundaries away from trees with a crown wider than 4 m, because canopy changes satellite coverage as leaves come and go.
Sources
- Husqvarna, Virtual installation guide (manufacturer): used for remote steering, drop points, stay-out zones, transport path, tree spacing, reference station placement.
- RTKdata, Wire-free robot mower RTK accuracy guide (vendor blog): used for base placement, not moving the base after mapping, and sky view and canopy effects.
 Up next7 min readGearRobot Mower Pet Fence Integration: What WorksUpdated Nov 20, 2026
 8 min readGearBest Garden Fence for Robot Mower No-Go Zone: What Works and What Doesn’tUpdated Nov 13, 2026
 9 min readGearBest Lawn Edger to Use With Robot Mower: 6 Points to CheckUpdated Nov 13, 2026
 8 min readGearBest Pet Fence to Keep Dogs Away From Robot MowerUpdated Nov 11, 2026
 7 min readGearRobot Mower Boundary Flags for Setup: Test the Route FirstUpdated Nov 14, 2026
 6 min readGearRobot Mower Wire Locator: Finding Surface and Buried Boundary WireUpdated Nov 20, 2026