
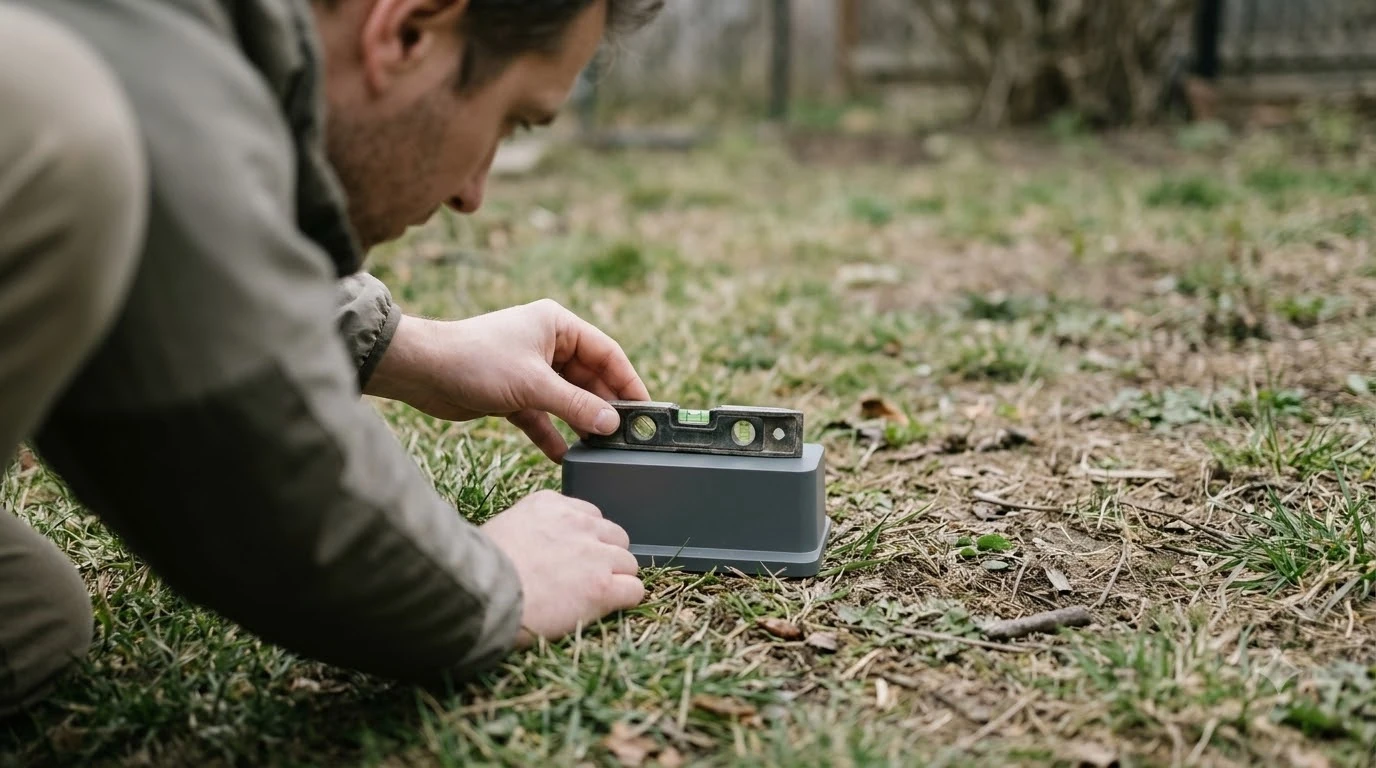

How to set up a robot mower in a new house comes down to four steps: pick a flat, sheltered spot for the charging station, charge the mower fully, define the cutting area with a buried wire or a virtual boundary, and then set the schedule and cutting height. A new house adds one extra job, because the yard is unfamiliar and the lawn may have been changed by the builder. Manufacturer guidance from Husqvarna and Robomow covers the same order, and the details below follow it.
The short answer
- Station first: place it on flat ground with about 3 metres of open space in front, out of full sun and away from sprinklers.
- Charge fully: an empty battery takes roughly 30 to 90 minutes, depending on the model.
- Define the area: lay a buried boundary wire, or drive the mower around the lawn in the app to create a virtual boundary.
- Add the guide and the schedule: connect the guide wire on wire models, then set the mowing schedule and cutting height.
- Walk the yard first: a new house may have hidden hazards, so clear and check the lawn before the first run.
Walk the new yard before anything else
A new house comes with a lawn you have not seen the way the mower will see it. Before you buy wire or pick a station spot, walk the yard and note the things a mower will meet: sprinkler heads, hose connections, low garden lights, bare patches, ruts, steps, and any drop-offs. Our reading is that this walk takes less time than a single stop mid-cut, and it changes where the boundary should go. If you already own the unit, moving a mower to a new property covers the move itself. Gather the basics from the installation tool checklist, which is a useful companion to this section.
Note where the sun falls across the lawn through the day and where the water runs after rain. Both affect where the station can sit and how the mower will cope with wet ground later.
Place the charging station on the right spot
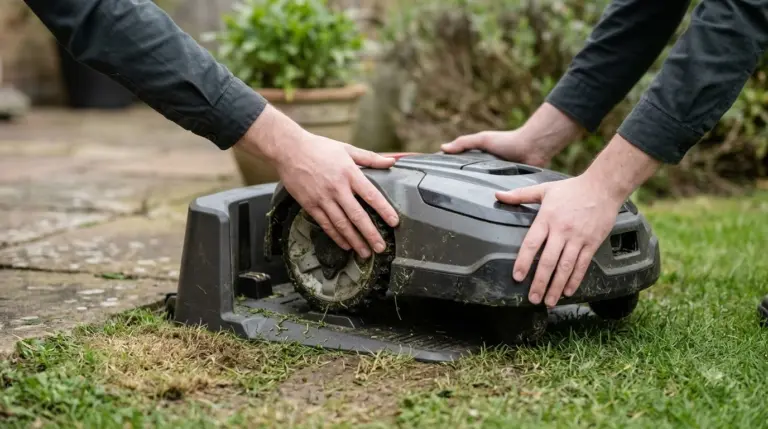
The charging station is the anchor of the whole installation, so its position matters more than anything else on the list. Robomow’s guidance is to keep about 3 metres of open space in front of the station so the mower can approach from all sides, and to run the perimeter wire straight for about 3 metres out from the station, since angled corners there are unsuitable. The generic procedure is in the standard step-by-step setup process, and it explains the reasoning in more depth.
- Flat ground: the surface should be as level as possible, and ideally inside the lawn area rather than on a slope.
- Sun and heat: protect the station from full sunlight, because constant heat speeds up battery ageing. The same applies to the transformer.
- Water: keep it away from sprinklers and out of splashing water, since moisture can damage the electronics.
- Power: choose a spot near a weatherproof outdoor socket so the low-voltage cable stays short and does not need extending.
Husqvarna’s how-to guide places the station on flat ground in the middle of the cutting area with open space around it. Where the two guides differ on exact spacing, follow the figures in your own model’s quick-start guide, since clearances differ by model.
Charge the mower and pair the app
Before the first mow, charge the mower fully. Husqvarna gives an initial charge of about 30 to 90 minutes from an empty battery, depending on the model. Put the mower in the station, turn it on, and let it charge until it is ready.
At the same time, download the manufacturer’s app and create the account. On a Husqvarna, the app is Automower Connect. Pairing the mower to the app is what unlocks the mapping, the schedule, and the zone tools, so do it before you try to set up the boundary.
Choose a buried wire or a virtual boundary
There are two common ways to define the cutting area. A wire model uses a buried boundary wire that loops around the lawn, and a wire-free model uses a virtual boundary that you draw by driving the mower around the edge in the app. Who does the work is discussed in DIY versus dealer installation, so check it if you want the details behind this point.
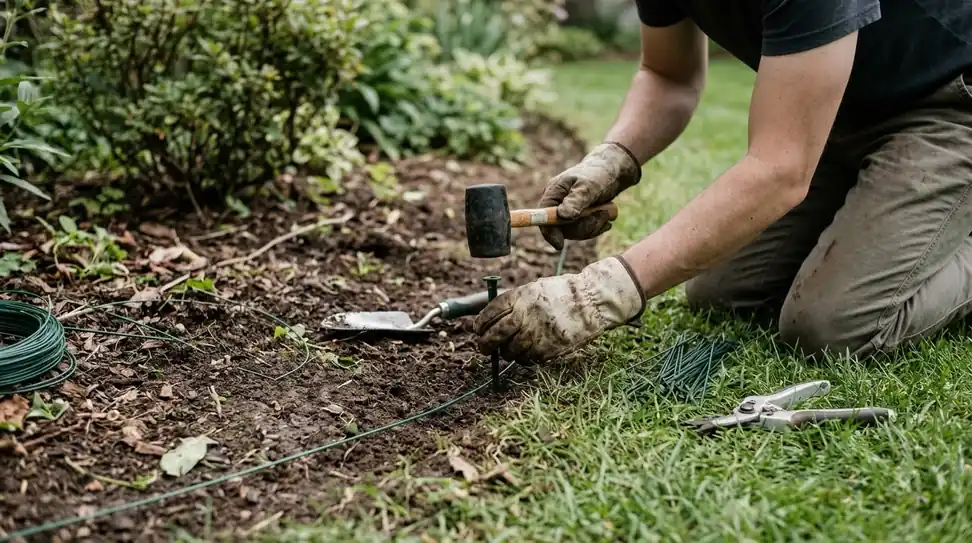
For a wire install, Husqvarna’s guidance is to connect one end of the guide wire to the charging station, run it across the lawn to the farthest part of the garden, and attach it to the boundary wire. Both wires connect to the station. Wire installs also need the wire buried or secured. Our reading is that laying it above ground first, before you dig, makes corrections easier in a yard you do not yet know well.
On a wire-free model, the virtual boundary is built by driving the mower around the lawn. The app lets you add islands around flower beds and shrubs, which keeps the mower out of planting areas without a separate wire. For wireless installs, the guide points are created in the app rather than laid on the ground.
Set the schedule and cutting height
Once the area is defined, set the mowing schedule and the cutting height in the app. Start with a higher cutting height for the first few weeks, then lower it once you have watched the mower handle the lawn. Some models also support zones, so a larger yard can be split into areas that are mowed on different days.
Our reading is that the first full run should be watched closely from a distance. A new layout can produce stops that do not show up in the app until the mower reaches a tricky spot, and it is easier to fix a boundary or a zone early than after the mower has been stopping for a week.
Test the first runs and fix the weak spots
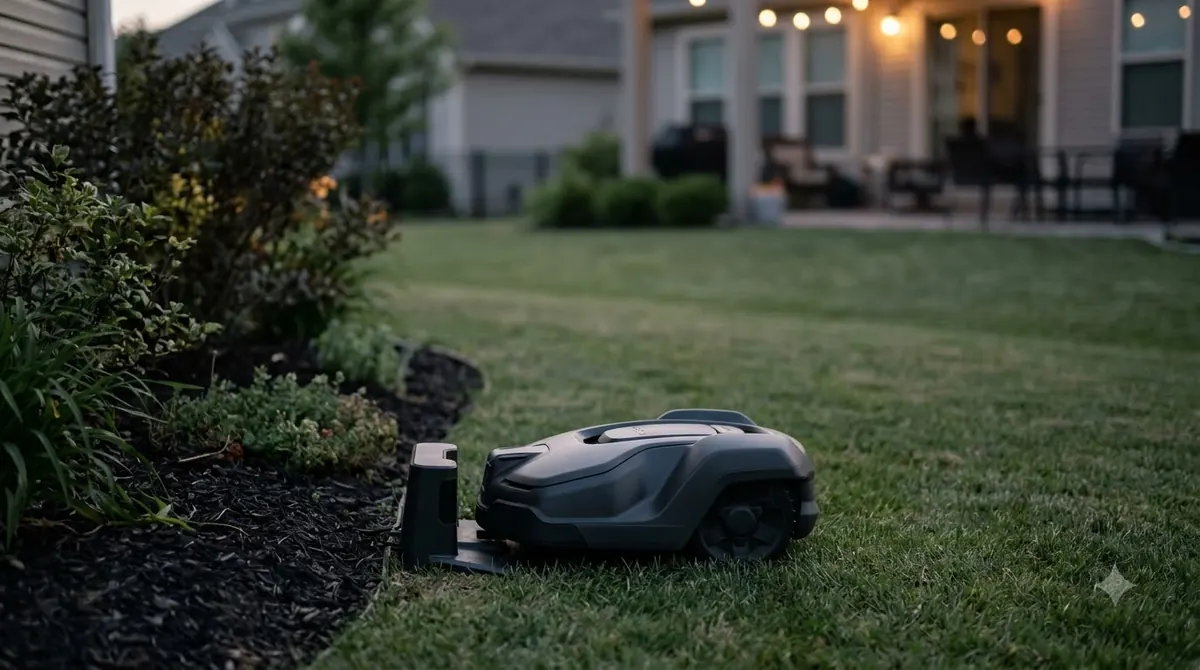
The first few runs show whether the installation is right. Look for stops at the same spot, the mower trying to enter a bed, or a return to the station that takes a long detour. Each of these points to a specific fix, usually a zone, a boundary adjustment, or a level patch. Allow time as described in setup time to plan for, and it is worth reading before you change any settings. A new-house install still follows the general steps, which the complete robot lawn mower setup guide lays out from station to schedule.
- Place the station. Flat ground, about 3 metres of open space in front, out of full sun and away from sprinklers.
- Charge the mower. Let it charge fully before the first mow, which can take 30 to 90 minutes from empty.
- Pair the app. Create the account and connect the mower before defining the area.
- Define the boundary. Lay the wire, or drive the virtual boundary, and add islands around beds and shrubs.
- Set the schedule and cutting height. Start higher, then adjust once the mower has run a few times.
- Watch the first runs. Fix repeated stops and bad return paths before they become habits.
Frequently asked questions
How much space does a robot mower charging station need?
Robomow advises about 3 metres of open space in front of the station, so the mower can approach from all sides, and a straight perimeter run of about 3 metres from the station. Check your own model’s guide, because clearances vary.
How long does the first charge take?
Husqvarna gives about 30 to 90 minutes from an empty battery, depending on the model. Let the mower charge until it is ready before its first mow.
Can I skip the buried wire?
Yes, if the model is wire-free. Those models define the area with a virtual boundary that you draw by driving the mower around the lawn in the app. Wire installs still need the boundary and guide wires laid and connected to the station.
Should I install the charging station before or after the wire?
Robomow’s guidance is to attach the station plate to the ground only after the perimeter wire is properly installed. This lets you shift the station slightly if the wire layout needs it.
Sources
- Husqvarna: how to install a robotic lawn mower (manufacturer): the station placement, initial charge time, app pairing, boundary and guide wire layout, and schedule setup.
- Robomow: how to install the charging station (manufacturer blog): the clearance and straight-run spacing, sun and water protection, power placement, and securing the station after the wire.
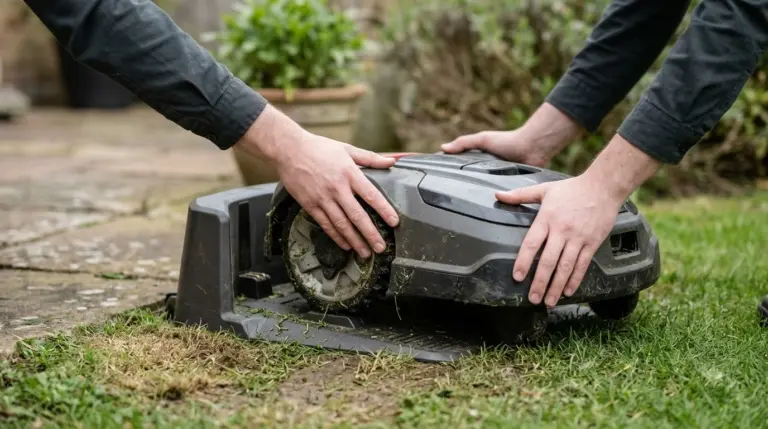 Up next8 min readLearnHow to Move a Robot Mower to a New HouseUpdated Nov 11, 2026
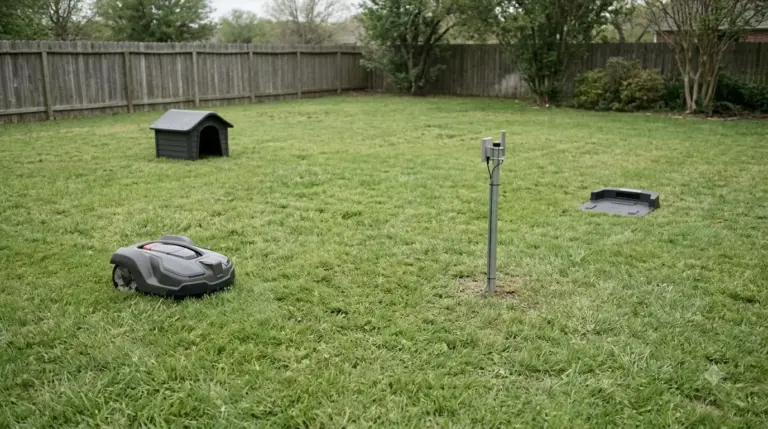 7 min readLearnHow to Set Up a Robot Lawn Mower: Step-by-Step GuideUpdated Nov 13, 2026
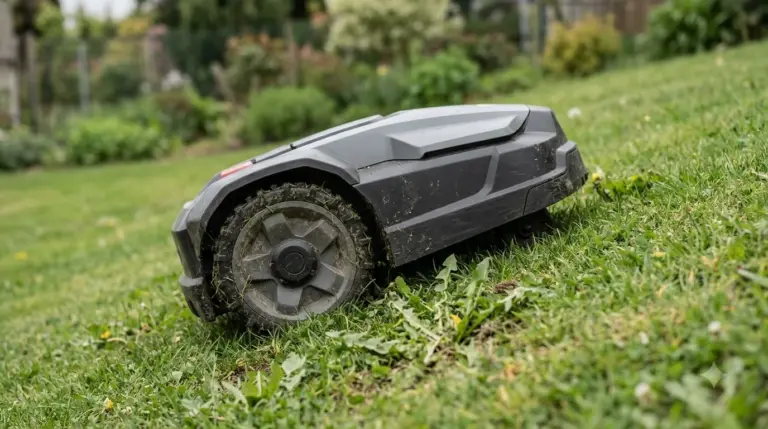 9 min readLearnHow to Set Up a Robot Mower on a SlopeUpdated Nov 12, 2026
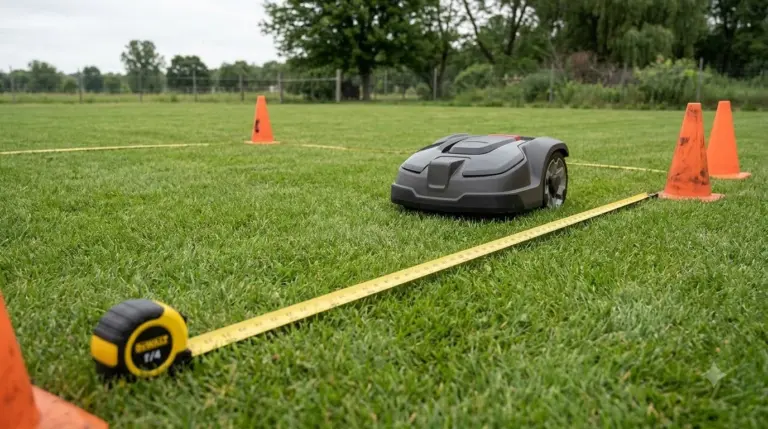 9 min readLearnHow to Set Up Channels Between Lawn Zones on a Robot MowerUpdated Nov 11, 2026
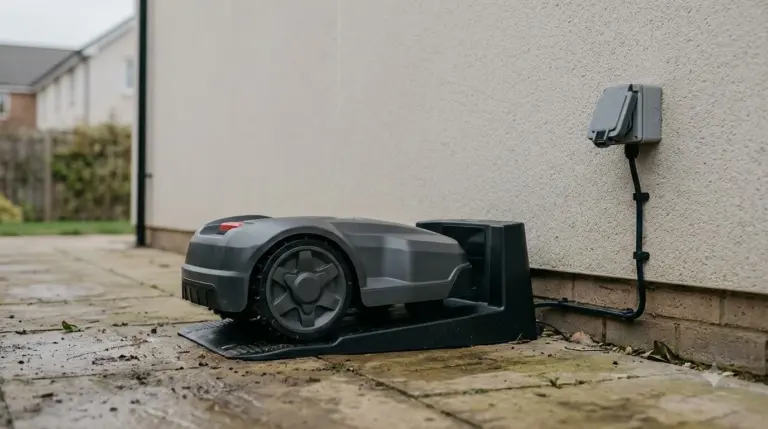 9 min readLearnHow Long Does It Take to Set Up a Robot Mower?Updated Nov 11, 2026
 9 min readLearnHow to Set Up Ecovacs GOAT O1000: Step-by-Step GuideUpdated Nov 10, 2026