
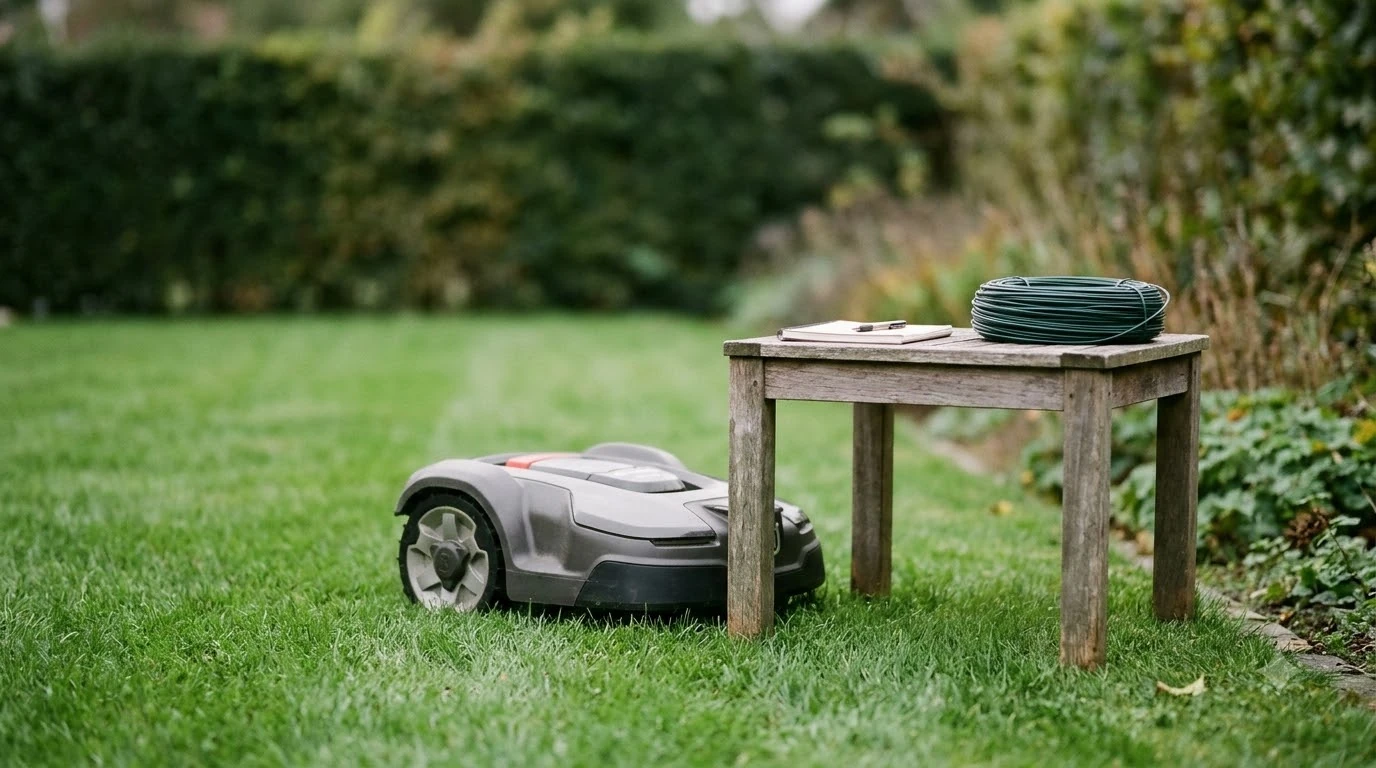

Here is how to set up Worx Landroid Vision, in order: place the charging base on flat ground, connect the mower to Wi-Fi in the Worx app, confirm the default PIN, then set zones and check the lawn before the first full mow. Worx’s own installation wiki follows this sequence, and the steps below stay close to it.
The short answer
- Charging base: flat ground, a 2 m straight approach, and an AC outlet within 10 m.
- Wi-Fi: pair over Bluetooth in the Worx Landroid app, then wait for “Wi-Fi Connected.”
- PIN: the default is 0000, entered by pressing the button three times.
- Zones: set them in the app and mark flower beds with the magnetic strips in the box.
How to set up the charging base first
Place the charging base on flat, hard ground with a 2 m straight approach in front, and within 10 m of an AC mains outlet. Worx’s charging base guide asks for a clear path because the mower follows the lawn edge and returns to the station counterclockwise. The approach must be free of bare ground, sparse grass and objects.
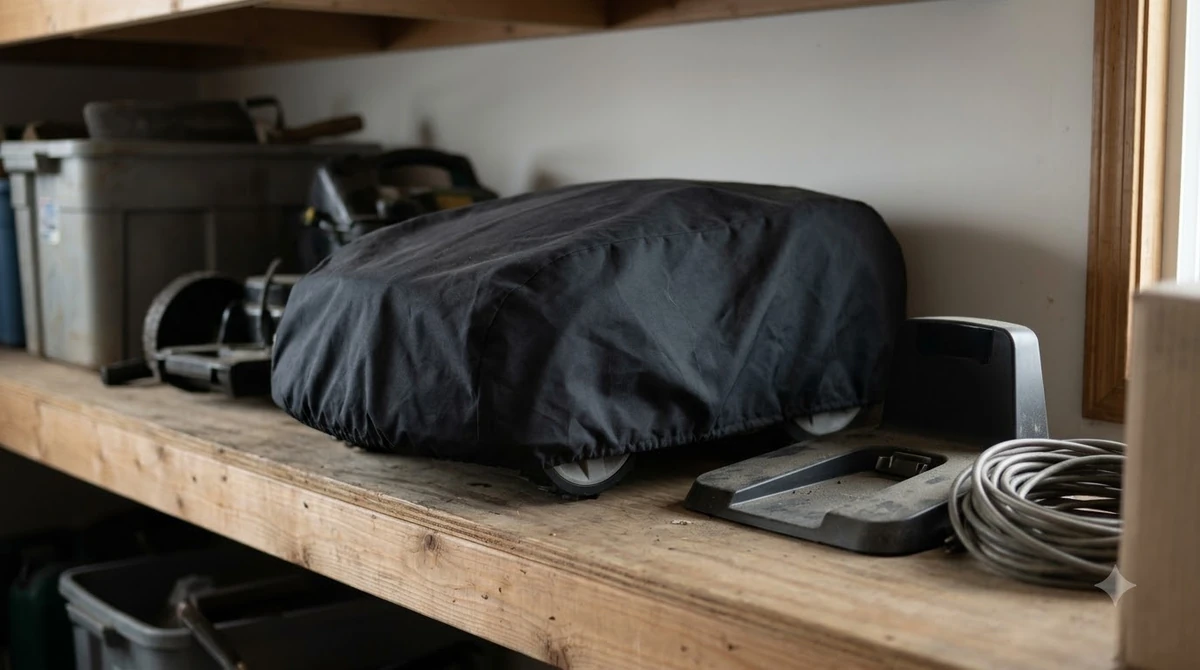
- Pick the spot. Use flat ground, and choose shade where you can, since shade protects the battery and charger from overheating.
- Clear the approach. Keep a 2 m straight path in front of the station, with no bare ground or sparse grass in it.
- Face and position the base. Point the station toward the direction the mower will arrive from, and place it 5 to 15 cm from the lawn boundary.
- Assemble. Flatten the plate, tighten the connections, and insert the charging tower so the QR code on it stays visible.
- Anchor it. Secure the base with the supplied screws and hex key. On a hard surface, use plugs and screws.
- Connect power. Plug the station into an AC outlet and dock the mower firmly. A slowly flashing green light means normal charging, while red means a charging problem.
Heads up
Keep the base away from irrigation sprinklers. The wiki warns that sprinkler spray can trigger the rain sensor, which delays or skips mowing. The mower is rated IPX5, but the source says it is not built for constant exposure to moisture.
Connect the app and Wi-Fi next
Wi-Fi pairing takes six steps in the Worx Landroid app, and setup is finished when the mower’s screen shows “Wi-Fi Connected.” Have your Wi-Fi password ready and Bluetooth turned on before you start. The Vision works on both 2.4 GHz and 5 GHz networks, according to the wiki’s Wi-Fi setup page.
- Get the app. Download the free Landroid Vision app from the Android or Apple app store.
- Find the serial number. The 20-digit serial number is on the label in the battery compartment. You can also scan the QR code.
- Start APP-Link. On the mower, turn the knob to “APP-Link,” press it, then press again to wait for a connection. On the WR202E, hold OK/SET for 3 seconds, then press OK/SET again to confirm.
- Create an account and pair. If this is your first Worx Landroid product, create an account and log in. Scan the QR code on the label to pair over Bluetooth.
- Choose the network. Select Wi-Fi, enter the password, and make sure the signal is strong across your lawn.
- Connect. Tap “Connect” and wait. On the WR202E, a success message appears on the screen instead.
The wiki gives no distance or signal-strength figure for this step. Our reading is that the simplest test is to keep the mower, phone and router as close together as possible while pairing, and then check the signal where the mower will actually work.
Run the start-up and PIN check
The default PIN is 0000, and you enter it by pressing the button three times. The display shows the code, you press the button again to confirm, and then it should read “PIN code OK.” Worx’s quick start guide lists the steps in this order.
Charge the mower first, then press and hold the power button until the display lights up. On the WR202E, hold the power button for 3 seconds instead. The screen should show “IDLE” in standby. To begin mowing right away, press the start button, then OK. If the display asks “Is it the identified mowing zone?”, press OK to confirm. Before the mower starts, it sounds four beeps as a signal.
Set zones and mark flower beds
Mark flower beds and decorative gardens with the magnetic strips or decorative fences that come with the mower, then set zones, schedules and edge cutting in the app. Worx’s planning page also asks you to trim grass below 9 cm before the first mow or after a long break, and to keep passages at least 1 m wide for the mower to pass through.
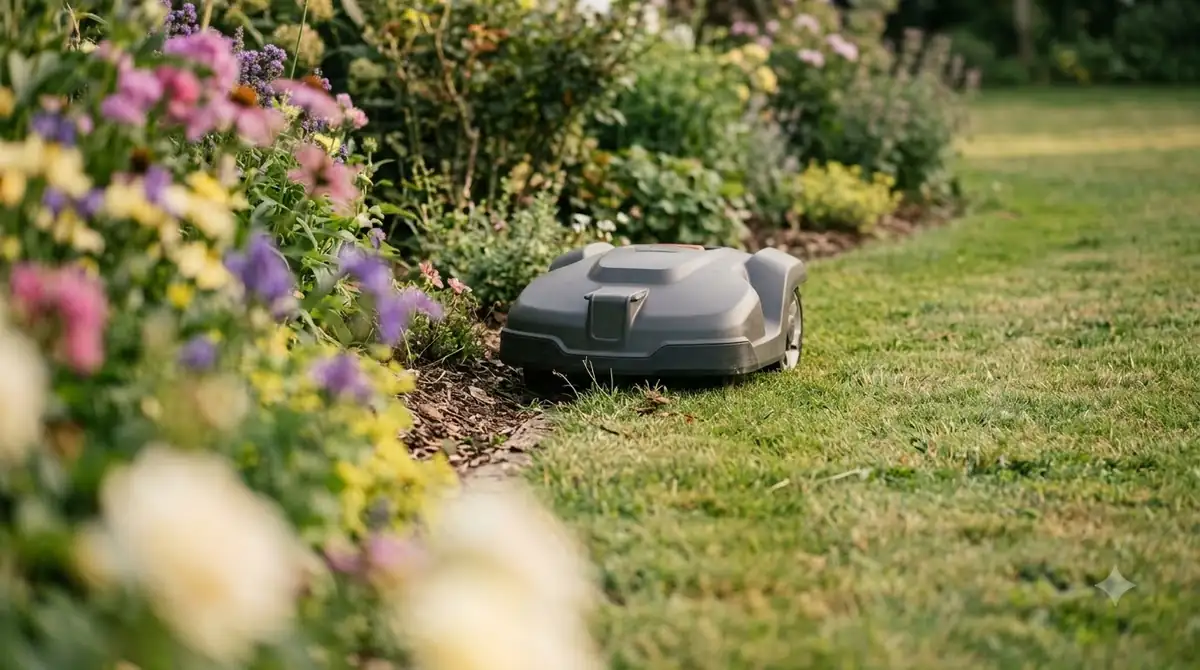
If the lawn has several areas, the app links them with a Passage, and the zone rules are strict. The table below lists the limits from Worx’s multi-zone guide.
| Setup item | Worx limit | What it means for you |
|---|---|---|
| Zone width | Wider than 2 m | Narrow strips may need to be merged into a larger zone |
| Path between zones | Shorter than 6 m | A longer link between two areas will not work as a Passage |
| RFID tag scan | Within 15 cm (NFC) | Hold the phone close to each zone’s tag when you save |
| Transition between zones | Straight line | Clear obstacles from that line, or the transition can fail |
Our reading is that the zone plan should be drawn on paper before you touch the app. Measure the widths and the gaps between areas, then check them against the table above.
What to check before the first full mow
Check cable reach, grass height, passage width and Wi-Fi before the first full mow, because each one is a limit the wiki states. Fixing any of them before the first run is much easier than moving the base later.
- Cable reach: the supplied charging cable is 10 m long, so the outlet must be within that reach.
- Grass height: trim below 9 cm before the first mow.
- Passages: keep each route at least 1 m wide.
- Signal: confirm 2.4 GHz or 5 GHz Wi-Fi reaches the lawn.
- QR code: keep the code on the charging tower clean and clearly visible.
Frequently asked questions
What is the default PIN for a Worx Landroid Vision?
The default PIN is 0000. You enter it by pressing the button three times, press the button again to confirm, and the display should then read “PIN code OK.” Worx’s quick start guide describes this sequence for the Landroid Vision, so follow the display prompts if your model differs slightly.
How far can the charging base be from an outlet?
The charging base should be within 10 m of an AC mains outlet, because the supplied charging cable is 10 m long. Keep the 2 m straight approach in front of the station as well, so the mower can line up and dock.
Which Wi-Fi bands does the Landroid Vision support?
The Landroid Vision supports 2.4 GHz and 5 GHz Wi-Fi networks, according to Worx’s Wi-Fi setup page. The page does not give a signal-strength figure, so check the signal where the mower will work, and keep the phone close to the mower and router while pairing.
Why does the QR code on the charging tower matter?
Worx says the QR code must stay clean and clearly visible at all times, or the mower may not dock properly. The same code is used during app pairing, so a dirty or hidden code can cause problems at two stages of setup. Wipe it clean after mowing sessions.
Sources
- Worx Landroid Vision wiki, Installation Charging Base (Worx): placement, approach, outlet distance, anchoring and charging lights.
- Worx Landroid Vision wiki, Installation Plan (Worx): grass height, passage width, cable length and magnetic strips.
- Worx Landroid Vision wiki, Wi-Fi Setup (Worx): pairing steps, serial number location and Wi-Fi bands.
- Worx Landroid Vision quick start, initial start-up (Worx): default PIN, power-on, start button and zone confirmation.
- Worx Landroid Vision wiki, Multi-Zone Setup with RFID tags (Worx): zone width, passage length, RFID scan distance and transition rules.
 Up next8 min readLearnHow Long Does the Worx Landroid Vision Battery Last?Updated Nov 12, 2026
 6 min readLearnHow to Update Worx Landroid Vision FirmwareUpdated Nov 12, 2026
 8 min readLearnWorx Landroid Won t Connect to Wifi: Step-by-Step FixesUpdated Nov 13, 2026
 7 min readLearnHow to Set Up Mammotion Luba 3: Easy Step-by-Step GuideUpdated Nov 10, 2026
 9 min readLearnHow to Set Up Segway Navimow i110N: Easy Step-by-Step GuideUpdated Nov 10, 2026
 8 min readLearnHow to Set Up Anthbot M5: Step-by-Step GuideUpdated Nov 10, 2026