


How to set up Mammotion Luba 3 comes down to four steps: place the charging station on flat ground near power, dock the mower, map the lawn in the app by driving the perimeter, then add no-go zones. The order matters, because the map depends on the mower starting from the charging station. One reviewer reported finishing the initial setup in under 20 minutes.
The short answer
- Charging station: put it on flat ground close to power, then dock the mower.
- Mapping: use manual mode for most yards, or auto mode only for a simple lawn with a clear boundary.
- Positioning: the Luba 3 uses NetRTK with LiDAR and cameras, so no separate RTK base station is needed.
- Extras: add no-go zones around beds and trees, then check signal strength in the app.
Place the charging station first
The charging station is the anchor for the whole setup, so choose its spot before you open the app. A reviewer who set up a Luba 3 AWD advised installing the charging station “somewhere flat and close to power.” Plug it in, then dock the mower. The side LEDs turn red while the mower charges, and the rain cover goes on last.
Our reading is that a spot near the lawn edge, away from the sun and heavy shade, makes mapping easier, because the mower starts and ends every session there. The reviewer’s account does not give a distance limit for the station, so check the manual that came with your unit before you mount it permanently.
How to set up Mammotion Luba 3 in the app
The app is where you pair the mower and choose how it maps the yard. Once the charging station is in place, the app steps follow in sequence. Wi-Fi is optional on the Luba 3 because the mower has built-in 4G, according to the same reviewer. You will likely be asked to install a firmware update when you first connect, and the reviewer recommended doing it before mapping so the mower runs the current software.
Once the mower is online, the app asks you to choose a mapping mode. The two options are auto and manual. Manual mapping gives you control over where the boundary runs, while auto mapping works best when the lawn has a clear edge and few obstacles.
Heads up
The Mammotion blog does not recommend a lawn smaller than 200 square meters for LUBA mowers, so check your lawn size before you buy and before you plan the mapping route.
Map the lawn by driving the perimeter
Manual mapping is the core of how to set up Mammotion Luba 3 for most yards. It means you guide the mower around the edge of the lawn, using the app as a remote control. According to the reviewer, you should “remote control the mower around the perimeter of the lawn until it’s back where it started.” That closed loop is what defines the working area, so the mower must return to its starting point before the map is saved.
By default the mower cuts the inside of the lawn in stripes before it cuts the perimeter. The same reviewer noted that you can change this order in the app, so you can decide whether the edges or the interior come first.
- Dock the mower. Make sure the charging station is powered and the mower is charging before you start.
- Pick the mapping mode. Choose manual for yards with several sections or obstacles, and auto only for a simple lawn.
- Drive the perimeter. Steer the mower around the edge until it returns to the start point.
- Check the result. Look at the saved map in the app and confirm the boundary follows the real edges of the grass. We recommend this check before the first full mowing run.
Add no-go zones around beds, trees and obstacles
A no-go zone tells the mower to stay out of an area inside the lawn, such as a flower bed, a pool or a garden feature. Mammotion’s support article lists the steps: tap Create, then No-go zone on the Map page, guide the robot to the edge of the area, tap the play icon, and drive the perimeter of the zone back to the start point. Tap the save icon to store it.
Mammotion lists pools, flower beds, trees, roots and ditches as typical obstructions to mark. For trees, the company’s blog says that a tree with a crown wider than 2 meters should be set as a no-go zone, with the boundary following the edge of the crown.
Check satellite signal and open sky
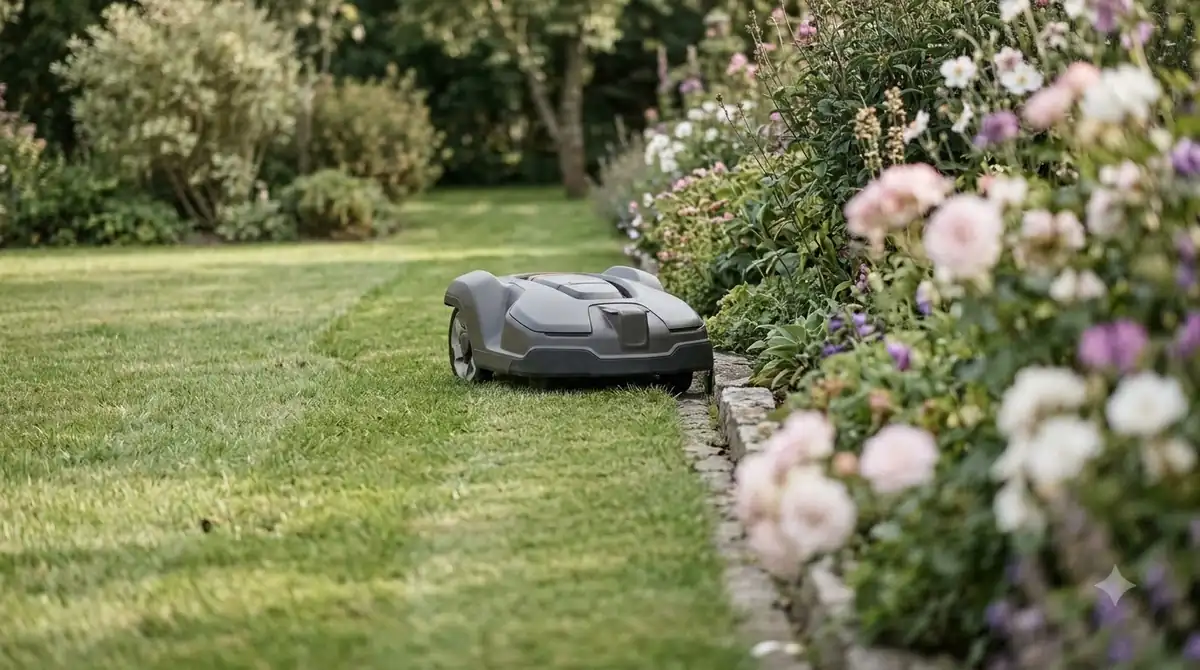
Satellite positioning depends on a clear view of the sky, so the signal check is part of setup, not an afterthought. The Mammotion blog says the mower and any RTK reference station each need at least a 90 degree open-sky view of the lawn. The app shows signal strength, and the blog recommends editing the boundary where reception is poor.
The blog also lists layouts that are not recommended for LUBA mowers. These include a total lawn smaller than 200 square meters, tall walls or trees covering more than 30 percent of the lawn, and narrow lanes under 3 meters wide with tall trees or walls on both sides. If your yard fits one of these descriptions, expect more manual boundary editing.
When a base station applies
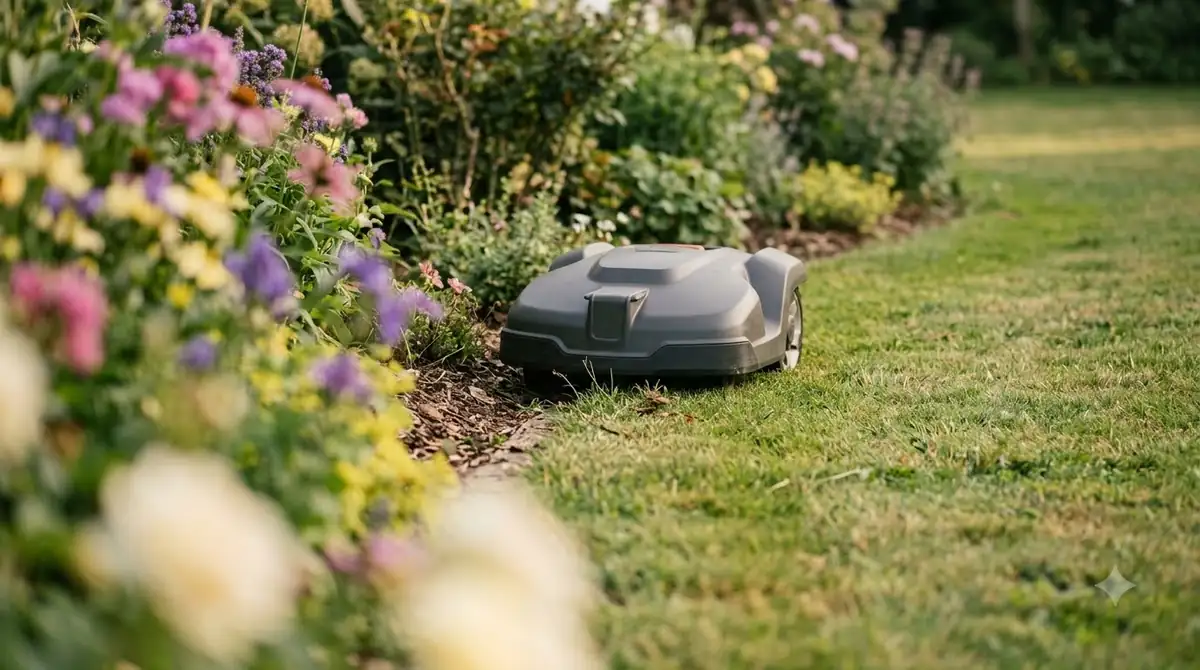
The Luba 3 AWD does not need a separate base station, but some Mammotion models do use an RTK reference station. If your model uses one, Mammotion’s installation guide says to place it on flat, open ground or on an unobstructed wall or roof. Keep at least 3 meters (10 feet) between the station and any wall or tree, and do not mount it at the corner of an L-shaped building.
Once the station is in position, it powers on automatically. In the app, tap Add and follow the prompts to connect it and set up its network. Check which model you own before you buy extra hardware, because the setup steps differ.
Setup checklist
Use this table to confirm each stage of how to set up Mammotion Luba 3 before you leave the mower to run unattended.
| Stage | What to check | Source |
|---|---|---|
| Charging station | Flat ground, close to power, mower docks | Reviewer account |
| Firmware | Update installed before mapping | Reviewer account |
| Mapping | Perimeter drawn, mower returns to start | Reviewer account |
| No-go zones | Beds and trees saved as separate zones | Mammotion support |
| Signal | Strength checked in app, weak spots edited | Mammotion blog |
Frequently asked questions
Do I need an RTK base station for a Luba 3?
Our reading is that the answer is no for the Luba 3 AWD. According to a published review, the Luba 3 AWD uses NetRTK, LiDAR and cameras for positioning and needs no separate RTK antenna. Check your model’s documentation, because some Mammotion models do use a reference station that must be placed on open ground.
Should I use auto or manual mapping?
Use manual mapping for yards with several sections, obstacles or unclear edges. The reviewer found auto mapping suited to a simple lawn with a clear boundary. Manual mapping takes longer but gives you control over the working area.
How do I add a no-go zone to the map?
Open the Map page, tap Create, then choose No-go zone. Guide the mower to the edge of the area, start mapping, and drive the perimeter back to the start point. Save the zone so the mower avoids it on future runs.
What if the satellite signal is weak in part of my lawn?
Check the signal strength in the Mammotion app first. If reception is poor in specific areas, the company recommends editing the boundary to avoid those spots. Tall walls, trees and narrow lanes can all reduce reception, so plan the boundary around them.
Sources
- The Technology Man, Luba 3 AWD review (independent reviewer): charging station placement, manual and auto mapping, app prompts, setup time.
- Mammotion support, how to create a no-go zone (manufacturer): steps for no-go zone mapping.
- Mammotion support, RTK reference station installation (manufacturer): placement, clearance and app pairing.
- Mammotion blog, can LUBA get good RTK signal in my lawn (manufacturer): open-sky requirement, signal checks and lawn layouts not recommended.
 Up next9 min readLearnHow to Update Mammotion Luba 3 Firmware: Versions and StepsUpdated Nov 11, 2026
 9 min readLearnHow to Set Up Segway Navimow i110N: Easy Step-by-Step GuideUpdated Nov 10, 2026
 9 min readLearnHow Long Does the Mammotion LUBA 3 Battery Last?Updated Nov 11, 2026
 6 min readLearnMammotion Factory Reset: Luba Steps, What Is Erased, and What to CheckUpdated Nov 13, 2026
 7 min readLearnHow to Set Up Worx Landroid Vision, Step by StepUpdated Nov 10, 2026
 8 min readLearnHow to Set Up Anthbot M5: Step-by-Step GuideUpdated Nov 10, 2026