
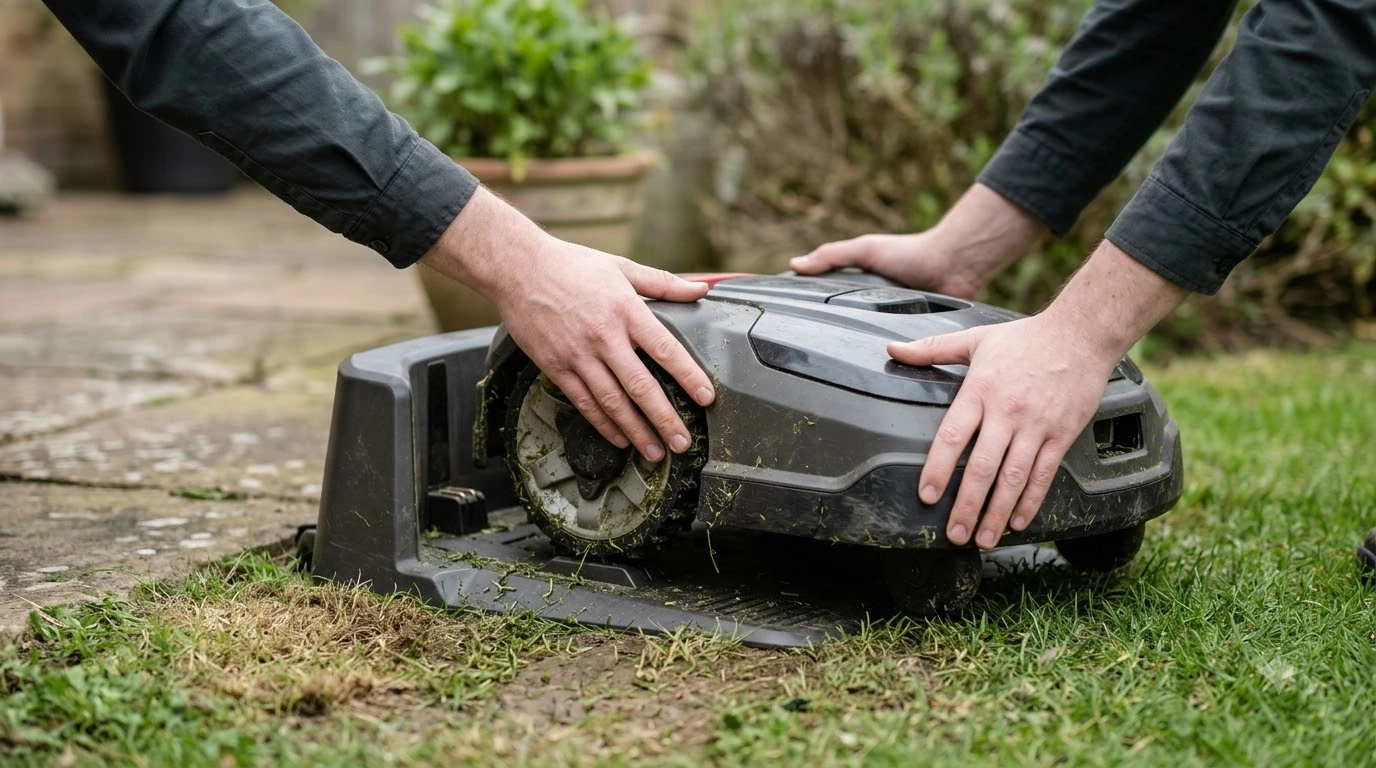

Robot mower self install vs dealer install depends on the setup type: a boundary wire is the most labor-heavy to do yourself, while an RTK or wire-free mower is usually a self-install job that takes an evening or a weekend. A dealer or professional installer makes most sense for wired systems on a large or sloped yard, or where a base station needs a secure mounting point.
The short answer
- Boundary wire: the labor is high. One brand’s guide describes installation as taking “an entire weekend” of pegging, trenching and burying cable, while its FAQ gives “2 to 3 hours for a small yard.”
- RTK and wire-free: setup is mostly placing a reference station or charging dock and mapping the lawn in an app. One brand’s article gives a total setup time of “30-60 minutes for straightforward properties.”
- Dealer cost: for wire installation, one brand’s article gives professional prices of “$200 and $500” in Australian capital cities, depending on perimeter length and landscaping.
- Our reading: self-install is reasonable for most wire-free setups. Hire help if the yard is steep, the wire route is complicated, or you are not comfortable with a smartphone app.
Robot mower self install vs dealer install: what each setup involves
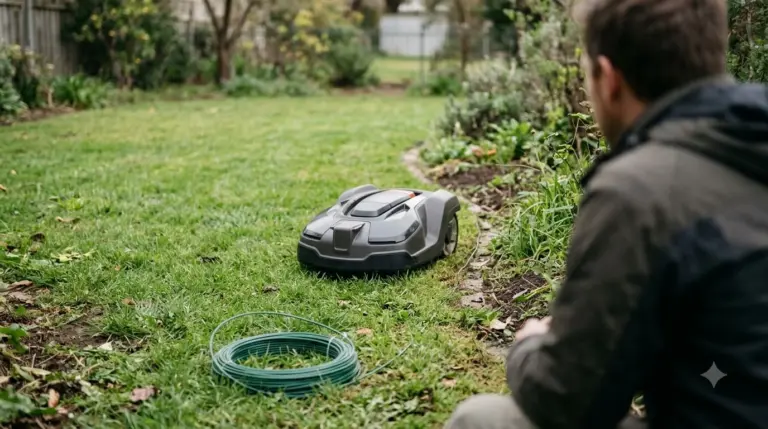
The two main setup types ask for different skills. A boundary wire system needs you to lay a loop of cable around the whole mowing area, bury or secure it, and connect it to the charging station. The mower then follows that wire to know where the lawn ends. An RTK system uses satellite positioning with a reference station placed in an open spot, and the mower builds its map by driving the perimeter in the app. Installation is a one-time cost, so ongoing maintenance costs show what you will pay in later years.
Both approaches can be installed by a careful owner, but they differ in physical work and in how much you need to understand the system. Wire installation is mostly manual labor. RTK installation is mostly placement, pairing and mapping, with some tool-free steps.
| Setup type | Main work | Stated time | Dealer fit |
|---|---|---|---|
| Boundary wire | Digging, laying and securing cable, connecting the dock | “4-8 hours” in one guide; “an entire weekend” in another | Often worth it on a large or complex yard |
| RTK with base station | Placing the reference station with a clear sky view, Wi-Fi setup, mapping | “30-60 minutes” for simple yards, up to 90 minutes for complex layouts | Useful if the base needs a rooftop or pole mount |
| Wire-free vision or RTK | Placing the dock and mapping in the app | “30 and 60 minutes” for mapping in one guide | Usually optional |
These times come from brand articles, and the sources do not always agree. One eufy article gives both “an entire weekend” and “2 to 3 hours for a small yard” for wire, so treat any single figure as a starting point rather than a promise.
Costs: self install versus professional help
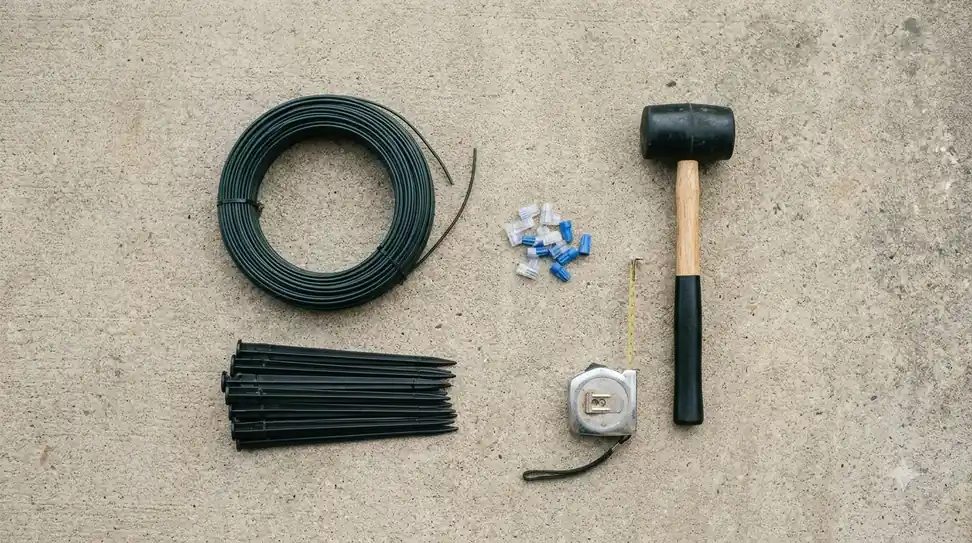
Self-install costs are mostly the parts and your time. A wire kit, stakes and a charging station add cost, while a base station adds more for RTK systems. Professional help adds labor. For boundary wire, one Australian brand article gives “$200 and $500” for installers, depending on how long the perimeter is and how much landscaping the route needs. That article does not give a professional price for RTK base station installation, so do not assume one.
The cost gap is largest on wire systems. If you need a professional for a wire install that takes a weekend of digging, the labor can be worth paying for. A wire-free mower that you can map in an evening may not need that help at all.
When a dealer or installer is the better choice
Hire help when the setup has a high risk of mistakes or physical strain. Our reading is that these are the cases that justify paying a professional. Some warranties depend on who installed the system, and warranty coverage by brand lists the main terms. Dealer plans often bundle longer cover, and whether an extended warranty pays off is worth working out.
- Steep slopes: one brand’s comparison says wire installation is “impractical” on steep slopes, and laying cable on a slope is hard to do safely.
- Large or complex yards: many islands, narrow passages or long perimeters increase the number of mistakes you can make during mapping or wiring.
- Roof or pole mounting: a base station that needs a secure rooftop or pole mount may be safer with a professional.
- Warranty requirements: some brands require a specific install method for coverage, so check the manual before you start.

When self install makes sense
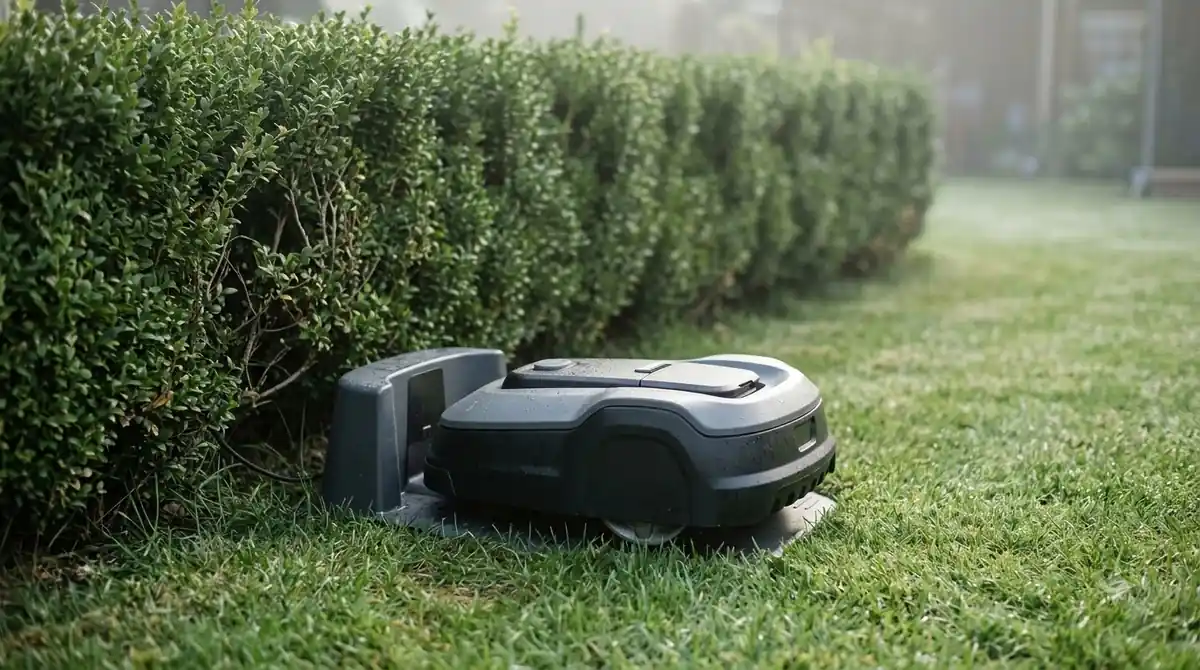
Self-install suits a simple yard, a buyer who is comfortable with a phone app, and a mower that uses wire-free navigation. The first mapping run is the step that needs the most care. Walk the perimeter before you map, clear loose items, and keep the base station in an open spot away from tall structures. The seller you pick can affect installation help as well, as choosing a retailer for your mower compares two big retailers. If you are comfortable with tools, step-by-step robot mower setup shows what a self install involves.
- Read the manual first. Confirm the setup type and whether a base station or wire is required.
- Place the charging dock. Choose a flat, level spot with a power outlet and a clear path onto the lawn.
- Set up the reference station. Put it where the sky view is clear and away from tall trees, buildings and metal objects.
- Map the perimeter slowly. Check the map in the app, and fix obstacles or narrow passages before the first full mow.
- Run a test cut. Watch the first mowing cycle and confirm the mower docks correctly.
Heads up
One guide in this comparison contradicts itself: a link title refers to a “5-minute setup,” while its body gives 30 to 60 minutes for mapping, and it also describes base-station requirements that do not match its own product line. Check the manufacturer’s current manual rather than a single guide.
Frequently asked questions
Is robot mower self install hard?
It depends on the setup. Wire-free and RTK systems are mostly placement and app-based mapping. Boundary wire is more physical work, and it takes much longer on a large yard.
How much does a dealer install cost?
Prices vary by region, yard size and setup. One Australian brand article gives “$200 and $500” for wire installation, but it does not give a professional price for RTK base stations. Get a written quote from a local installer before deciding.
Does a professional install affect the warranty?
It can. Some brands specify an installation method for coverage, while others do not require one. Read the warranty terms for your exact model and keep the installer’s invoice if you hire one.
Can I start with self install and call a pro later?
Yes, in many cases. You can map the yard yourself, then ask an installer to check the wire route, base station placement or mounting if the mower struggles. Keep notes on what you changed.
Sources
- Wired vs wire-free robot lawn mower (eufy): wire installation time, Australian professional install range of $200 to $500, and wire-free mapping time of 30 to 60 minutes. The article is from a brand and contains a conflicting setup-time figure.
- RTK vs wire: which robot mower setup is easier (Lymow): wire labor of 4 to 8 hours, RTK setup of 30 to 90 minutes, and the note that installer advice is given only for one base-station product. The article is published by a brand and favors its own product.
 Up next9 min readReviews & CompareRobot Mower vs Self-Propelled Mower for SeniorsUpdated Nov 11, 2026
 8 min readReviews & CompareWorx Landroid Vision Cloud WR320.1 Review: Specs and Setup LimitsUpdated Nov 16, 2026
 9 min readReviews & CompareWorx Landroid M500 Review: Specs, Setup and LimitsUpdated Nov 16, 2026
 10 min readReviews & CompareSunseeker X7 Review: Specs, Slope, Shade and SetupUpdated Nov 12, 2026
 10 min readReviews & CompareWired vs Wireless Robot Mower Pros and Cons: Which Setup Fits Your YardUpdated Nov 11, 2026
 7 min readReviews & CompareRobot Mower vs Landscaping Company Contract: Which Costs Less?Updated Nov 13, 2026