
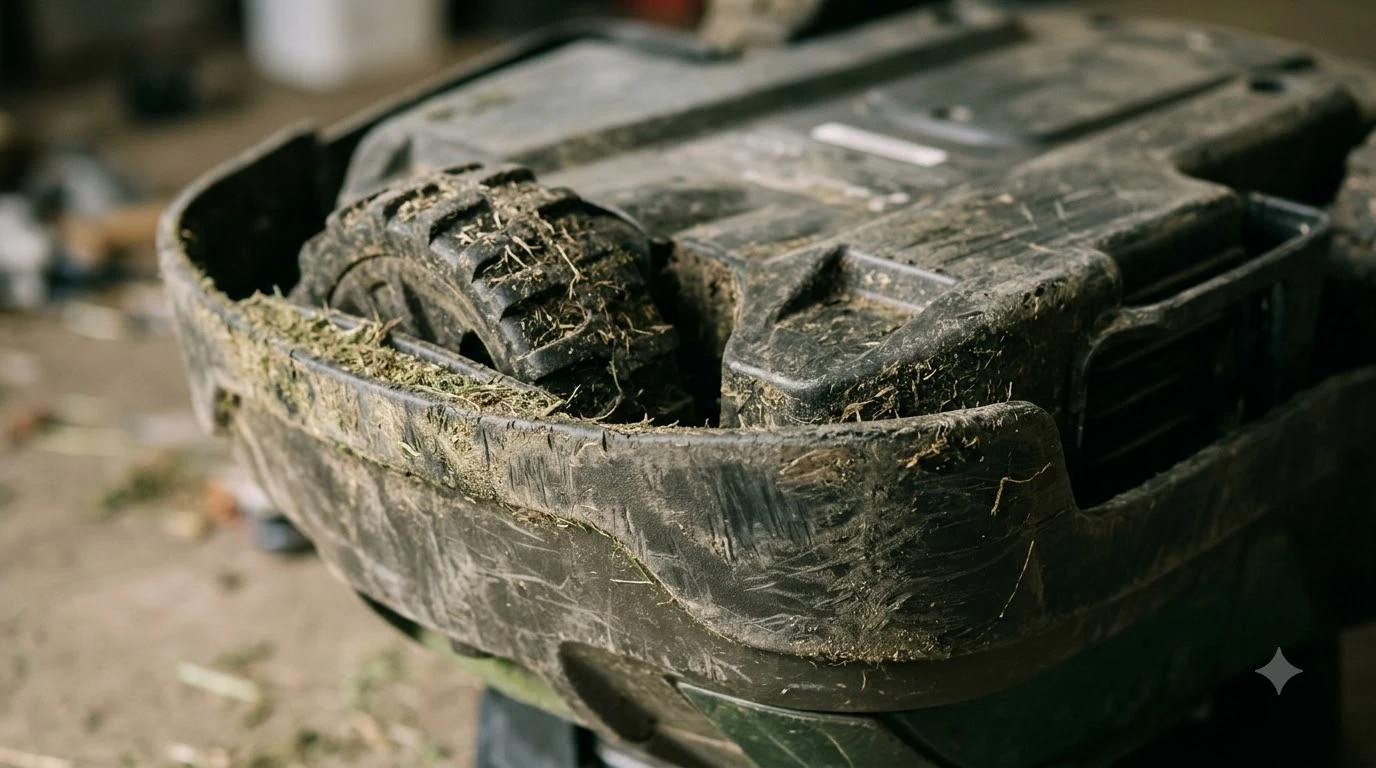

Learning how to prevent grass buildup inside robot mower wheel wells comes down to cutting dry grass frequently, installing wheel brushes, and keeping a simple weekly brushing habit. Damp clippings pack into tight wheel arches like wet papier-mache, robbing your drive motors of traction and leaving dense clumps behind on your lawn. With a few scheduling tweaks and basic tools, you can stop that caking before it hardens into a wheel-jamming crust.
The short answer
- Avoid wet mowing: Delay schedules until morning dew or rain dries, since damp blades stick to plastic arches and treads instead of falling away.
- Follow the one-third rule: Run short, frequent cycles so the mower shaves off tiny dry tips rather than long, fibrous ribbons that wrap around axles.
- Add wheel brushes: Snap-on wheel brush kits or scrapers continuously sweep clippings off the tire tread before they transfer into the wheel housing.
- Brush weekly: Spend two minutes each week clearing loose debris with a soft dry brush and plastic scraper before sap and soil bake onto the chassis.
Why grass packs into robot mower wheel wells
Grass buildup happens when sticky plant sap, morning moisture, and fine soil get flung upward by spinning treads into narrow wheel housings.
Unlike traditional push mowers with wide-open decks and high-velocity discharge chutes, robotic mowers rely on compact bodies and small, low-clearance wheel arches to stay nimble around garden beds. As the drive wheels roll over freshly cut turf, damp clippings adhere to the deep rubber lugs. Once those clippings rotate up into the tight gap between the tire and the inner fender, friction compresses them against the housing wall.
Layer by layer, that compressed mat dries out in the sun and turns into a dense, felt-like pad. According to ECOVACS wet-mowing guidance, wet clippings cling to the underside and body of the machine, slowing movement, straining motors, and creating clumps that drop onto the turf later. Left unchecked, thick buildup inside the wheel well also wraps around the drive axle, triggering wheel-motor overload errors or causing the mower to slip on mild inclines.
Schedule adjustments that stop wet clumping
Shifting your mowing window to dry afternoons and running shorter, more frequent passes eliminates the primary source of sticky clippings.
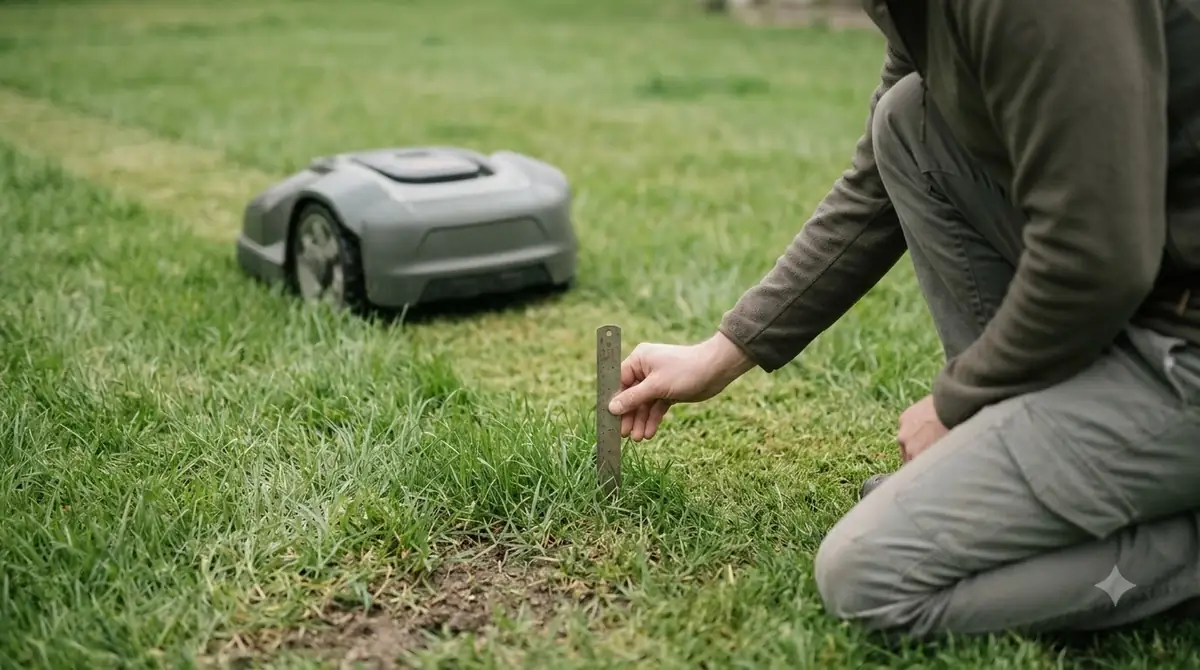
Moisture is the binder that turns loose grass dust into stubborn paste. If your robot leaves its dock at dawn while heavy dew coats the blades, every rotation acts like a roller picking up wet confetti. Moving the start time back until late morning or afternoon—after sun and wind have dried the canopy—allows dry clippings to bounce harmlessly off the tires and settle back into the soil.
Cutting frequency matters just as much as timing. Turfgrass management programs, including Clemson HGIC and Texas A&M AgriLife Extension guidance cited in MOVA turf maintenance recommendations, emphasize the one-third rule: never remove more than one-third of the grass blade height in a single pass. When a robot mower runs several times a week during peak growth, it trims tiny confetti-sized tips that rarely lodge in wheel arches. Skipping several days lets grass grow tall enough that the blades shred into long, fibrous strands that easily wind around wheel hubs.
| Cause of Buildup | What Happens in the Wheel Well | Preventive Fix |
|---|---|---|
| Early morning dew or rain | Wet blades adhere to rubber lugs and pack tightly against the fender liner | Shift schedule to dry afternoons and enable rain-delay sensors |
| Infrequent catch-up cuts | Long grass fibers twist around the wheel axle and hub seal | Increase weekly mowing frequency to trim small tips |
| Low cutting height on thick turf | Tires press deeply into damp thatch, scooping mud and clippings upward | Raise deck height slightly during wet spring or fall growth |
| Bare soil or muddy patches | Mud mixes with grass sap to form a cement-like crust inside the arch | Fill low puddles or set temporary no-go zones around wet spots |
Hardware upgrades and yard tweaks that help
Manufacturer wheel brush attachments and minor yard fixes physically sweep debris off tires before it can accumulate inside the housing.
Many robot mower brands offer dedicated wheel cleaning accessories. For instance, Husqvarna produces snap-on Automower wheel brush kits and wheel cleaners that mount directly above the drive wheels, using stiff bristles or a wiper edge to knock grass and mud off the tread with every revolution. Checking your manufacturer’s accessory catalog for a compatible brush kit—or replaceable bristle refills—is one of the easiest set-and-forget ways to keep arches clear during damp seasons.
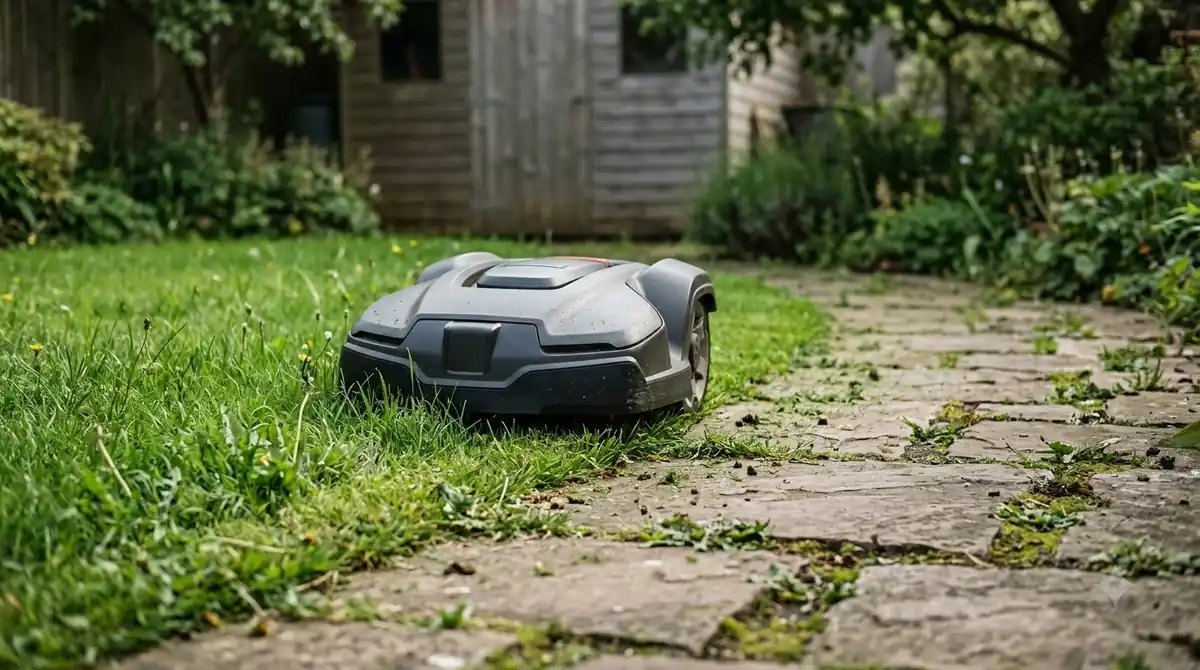
Your lawn surface plays a supporting role too. Bare dirt patches, mossy shade zones, and low spots that hold standing water introduce mud into the mix. Filling ruts with topsoil, improving drainage in soggy corners, or setting virtual no-go zones over temporarily puddled areas keeps muddy paste out of the wheel wells. Keeping cutting blades sharp also reduces buildup; dull blades tear grass tips and release extra plant sap, whereas fresh razor blades slice cleanly with minimal moisture release.
A 5-minute weekly cleaning routine to prevent caking
Consistent weekly dry brushing keeps wheel wells spotless without risking water damage to sensitive wheel-hub electronics.
Even with ideal scheduling and wheel brushes, a light layer of dust and sap will gradually coat the inner fenders. Removing that thin film once a week takes a fraction of the effort required to chisel out hardened clumps at the end of the month. Follow this quick routine based on official maintenance procedures from Husqvarna and Segway Navimow:
- Power down and isolate the mower. Stop the unit, turn off the main power switch, and engage any safety lock or remove the isolator key before tilting the chassis. Put on sturdy work gloves to protect your hands from the cutting disc.
- Position the mower safely on a soft surface. Flip or tilt the robot onto grass, cardboard, or a rubber mat according to your owner’s manual so you do not scratch the top shell or camera sensors.
- Knock loose clumps out by hand. Pull away any large wads of grass tucked behind the tire tread or wedged between the wheel hub and the chassis wall.
- Scrub the arches with a dry stiff brush. Use a narrow, stiff-bristled nylon brush or dish brush to sweep out the inner fender and tire lugs. For stubborn dried residue, gently lift it with a plastic scraper rather than a metal screwdriver.
- Spin the wheels to check the axles. Rotate each drive wheel by hand to confirm it turns smoothly without drag, clicking, or grass wrapped tightly around the inner shaft.
- Wipe sensors and charging contacts. Finish by brushing off the charging plates and wiping optical sensors with a clean microfiber cloth before returning the mower to its dock.
Heads up
Never aim a pressure washer or high-pressure hose nozzle directly into robot mower wheel wells. High-pressure water can force moisture past axle seals and ruin wheel-hub motors or mainboard electronics; stick to dry brushing unless your manual explicitly approves low-pressure rinsing.
Frequently asked questions
Can I spray silicone or non-stick oil inside robot mower wheel wells?
Avoid spraying petroleum lubricants, WD-40, or heavy oils inside plastic wheel housings. Solvents can degrade ABS plastics and rubber tires over time, and oily residues actually trap fine dust and soil faster than clean, dry plastic.
How often should I clean out my robot mower’s wheel wells?
During normal dry growing weather, a quick dry-brush check once a week is enough for most yards. If your mower runs in humid conditions, heavy dew, or fast spring growth, inspect the wheel arches after every few sessions so damp clippings do not harden.
Do wheel brush kits really stop grass buildup?
Yes, manufacturer wheel brush attachments significantly reduce clumping by sweeping clippings off the tire lugs on every rotation before they pack into the fender. You will still need occasional manual cleaning around the inner hub, and the bristles themselves wear down and require periodic replacement.
Why does grass build up faster on one wheel than the other?
Uneven buildup usually happens when a mower consistently turns in the same direction along perimeter wires, navigates a side slope where one wheel slips more, or passes through a damp, shaded edge of the yard on one side of its route.
Sources
- Cleaning Robotic Lawn Mower – Step-by-Step Guide (Husqvarna): shutdown steps, dry brush cleaning methods, and water-rinse restrictions.
- Automower Standard Wheel Brush Kit (Husqvarna): wheel brush attachment function and compatibility details.
- How to clean your robotic lawnmower: A complete guide (Segway Navimow): weekly vs. wet-weather cleaning intervals and pressure-washer warnings.
- Can You Cut Grass When It’s Wet Without Damaging Your Lawn? (ECOVACS): mechanics of wet grass clumping, motor strain, and cutting-height adjustments.
 Up next8 min readLearnHow to Prevent Ant Nests Inside a Robot Mower Charging BaseUpdated Nov 19, 2026
 7 min readLearnWhy Does My Robot Mower Wheels Slip on Grass?Updated Nov 13, 2026
 7 min readLearnRobot Mower Wheels Slipping on Grass: Causes and FixesUpdated Nov 11, 2026
 8 min readLearnHow to Reduce Static Electricity Buildup on a Robot MowerUpdated Nov 19, 2026
 8 min readLearnDo Robot Mowers Cause Thatch Buildup? What Extension Sources SayUpdated Nov 11, 2026
 9 min readLearnHow to Prevent Rust on Robot Mower Blade ScrewsUpdated Nov 19, 2026