
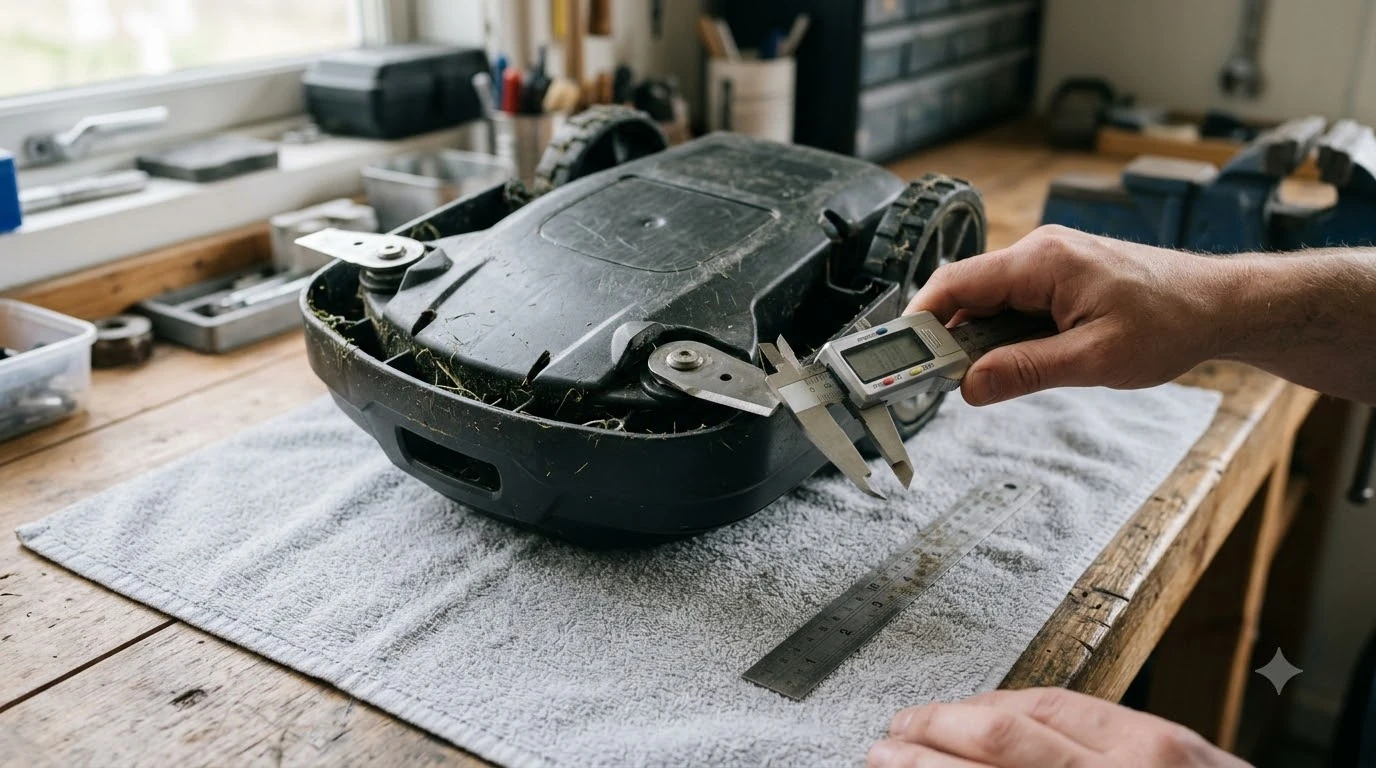

How to prevent rust on robot mower blade screws? Replace the screws with fresh stainless steel hardware at every blade change, clear wet grass clippings from the cutting disc weekly, and apply a tiny dab of anti-seize or silicone lubricant to the threads before installation. Because robotic mowers run almost daily through morning dew, acidic plant sap, and lawn fertilizers, trapped moisture quickly eats through worn screw coatings and seizes fasteners into the disc. Following a consistent cleaning and hardware-swap routine keeps blades spinning freely and stops stripped screw heads before they start.
The short answer
- Swap screws every blade change: Major manufacturers like Husqvarna and Worx instruct owners to install fresh screws alongside every new set of blades rather than reusing old fasteners.
- Choose stainless steel hardware: Stainless steel alloys resist outdoor moisture far better than standard zinc-plated carbon steel screws, whose thin surface coating scratches off during installation.
- Brush away wet clippings weekly: Packed grass under the skid plate traps moisture against metal hardware; dry-brushing the disc keeps humidity from sitting on screw heads.
- Protect threads with anti-seize or silicone: A light touch of dielectric grease, silicone spray, or anti-seize compound blocks water from wicking into the threaded brass inserts of the cutting disc.
- Avoid pressure washers and hoses on the deck: High-pressure water forces moisture deep into screw threads and bearings where it cannot evaporate quickly.
Why robot mower blade screws rust so fast
Unlike traditional push mowers stored dry in a garage between weekly cuts, a robotic mower operates outdoors in damp grass almost every day, exposing tiny fasteners to constant moisture and chemical wear.
Three overlapping factors accelerate corrosion under the cutting deck. First, morning dew and irrigation water coat the underside of the chassis whenever the mower runs early schedules. According to University of Illinois Extension mower maintenance guidance, grass clippings stuck to the underside of a mower deck hold water directly against metal parts, accelerating rust. On a robotic mower, fine mulched clippings pack tightly around the screw shoulders and under the skid plate, creating a damp poultice that rarely dries out.
Second, fresh grass sap is mildly acidic, and granular lawn fertilizers or weed treatments leave behind corrosive salts on turf blades. As the cutting disc spins at high speed, that chemical moisture splashes directly onto the exposed screw heads and into the clearance gap where each razor blade pivots. Third, tool friction damages protective finishes. Tightening a screw with a metal screwdriver scratches the thin surface plating inside the drive slot, leaving bare carbon steel exposed to oxygen and water on its very first run.
Stainless steel vs. zinc-plated blade screws
Selecting the right fastener metallurgy is the most reliable way to slow corrosion before the mower ever touches wet grass.
Replacement blade kits sold online generally include either zinc-plated carbon steel screws or solid stainless steel screws. Zinc plating is only a thin sacrificial layer applied over ordinary carbon steel; once a screwdriver bit nicks the head or grass grit abrades the shoulder, the steel underneath rusts rapidly. By contrast, stainless steel relies on chromium within the alloy itself to form a self-healing passive film against moisture.
| Screw type | Corrosion resistance | Strength and durability | Best use case |
|---|---|---|---|
| Zinc-plated carbon steel | Low to moderate; rusts quickly once plating scratches | High tensile strength, though heads still strip if rusted | Short blade intervals in dry climates |
| 304 stainless steel | High; resists rain, dew, and grass sap well | Slightly softer than carbon steel; requires well-fitting driver | Most residential lawns with regular dew or irrigation |
| 316 stainless steel | Very high; superior protection against fertilizer salts and coastal air | Comparable to 304; holds up across damp seasons | Coastal properties or heavily fertilized turf |
Keep in mind that many robotic mowers use plastic cutting discs fitted with threaded brass inserts. Mixing dissimilar metals in a wet environment can trigger mild galvanic corrosion, which is why pairing clean stainless steel screws with a thread barrier works best.
Step-by-step routine to protect blade screws during maintenance
Combining routine deck cleaning with proper fastener prep prevents both surface rust and seized threads.
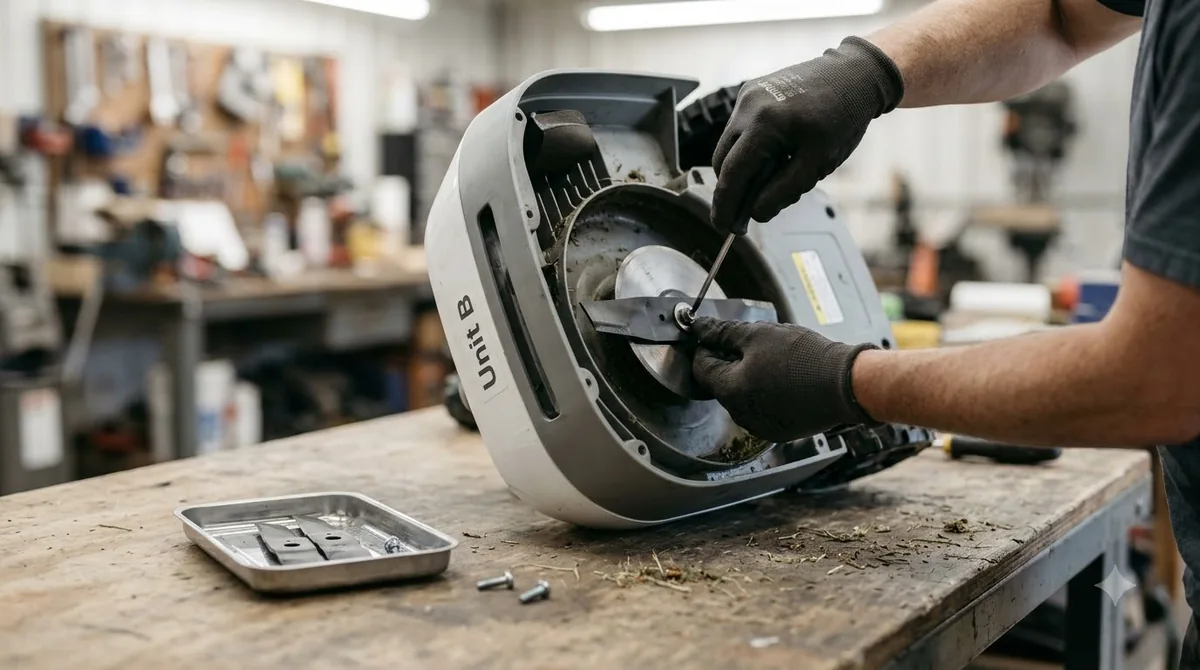
Both Husqvarna Automower support guidelines and Worx Landroid owner manuals emphasize replacing screws every time you install fresh blades. Reusing old screws weakens thread engagement and leaves damaged drive slots in place for another cutting cycle. Follow this maintenance sequence whenever you inspect or swap blades:
- Power down and wear cut-resistant gloves. Switch the mower completely off at the main power button or remove the safety key and battery pack before flipping the unit over on a soft, flat surface.
- Brush away packed clippings dry. Use a stiff dry brush or wooden scraper to clear dried grass cake from the blade disc, skid plate, and screw heads. Avoid spraying water directly onto the underside unless your specific model manual explicitly approves hose rinsing.
- Inspect and remove old screws with an exact-fit driver. Use a clean, magnetized Phillips or Torx driver that matches the screw head tightly so you do not cam out the slot. Discard old screws rather than saving them as spares.
- Clean the disc pockets and let surfaces dry. Wipe around the threaded inserts with a barely damp cloth to remove sap residue, then allow the disc to air-dry completely before installing new hardware.
- Apply a tiny amount of thread protectant. Dab a pinhead-sized amount of marine anti-seize, silicone grease, or blue threadlocker onto the lower threads of each new screw. Keep lubricant off the unthreaded shoulder so grass dust does not stick where the blade needs to pivot freely.
- Tighten snugly and verify free blade spin. Seat each screw firmly without over-torquing into the plastic disc, then flick every blade with a gloved finger to confirm it rotates smoothly around the shoulder.
Heads up
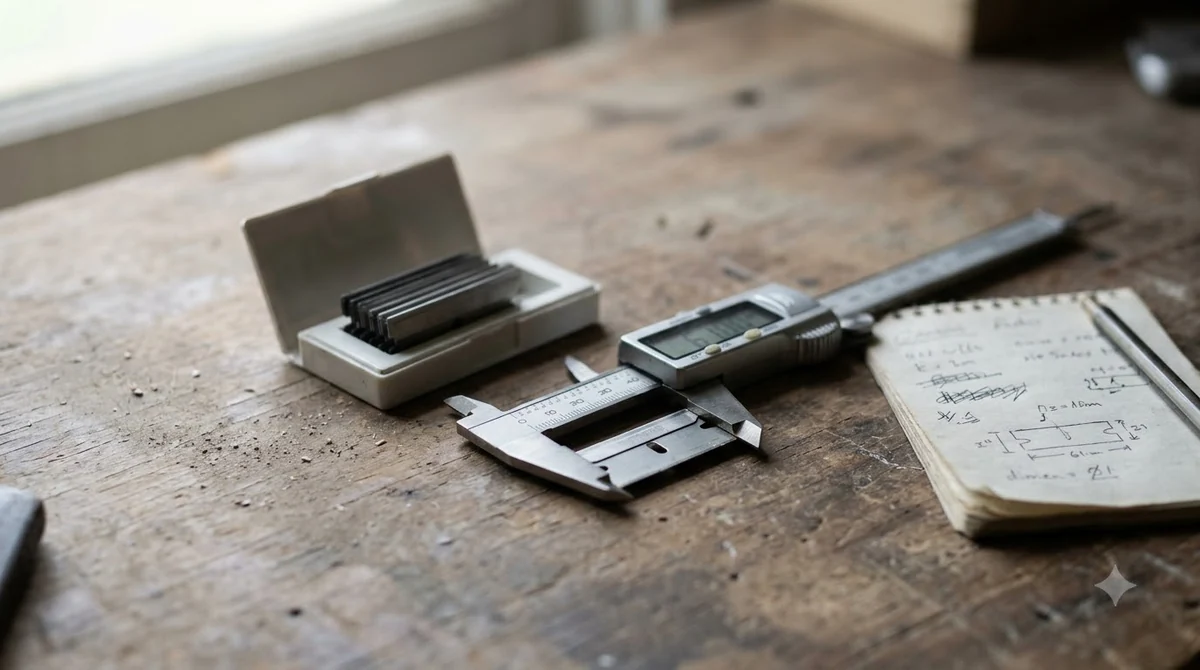
Never use red permanent threadlocker on robot mower blade screws. Releasing red threadlocker requires high heat that will melt a plastic cutting disc, and if a blade stops pivoting freely due to excess grease or over-tightening, the mower loses its impact-deflection safety feature.
What to apply—and what to avoid—on blade fasteners
Choosing the right protective coating keeps moisture out of the threads without turning the cutting disc into a magnet for dirt and grass grit.
University extension guidance on garden tool care, such as recommendations from Washington State University Extension, notes that wiping clean metal hardware with a light oil or silicone inhibitor blocks oxygen and moisture from reaching the steel. On a robotic mower, however, heavy wet oils applied to the outside of the screw head attract fine dust and clippings, forming an abrasive paste that grinds away protective coatings.
- Silicone spray or dielectric grease: Repels water effectively and stays stable across summer heat without drying into a gummy residue. Wipe off any excess on the outside of the screw head after tightening.
- Nickel or marine-grade anti-seize: Ideal for threads entering brass disc inserts, preventing metal-to-metal galling and making removal effortless weeks later.
- Blue medium-strength threadlocker (such as Loctite 243): Fills microscopic gaps between mating threads so water cannot wick inside, while still releasing with normal hand tools at the next blade change.
- Products to skip: Avoid thick wheel-bearing grease on the blade pivot shoulder, and avoid skipping screw replacement even when fasteners look clean on the outside—micro-cracks and worn shoulders often hide underneath the blade.
Seasonal storage and environmental habits that stop corrosion
Simple adjustments to mowing schedules and winter storage dramatically reduce how long moisture sits on your mower’s undercarriage.
According to Worx Landroid maintenance instructions, robotic mowers cut cleanest and stay cleaner in dry weather, whereas wet grass builds up rapidly on the blade turning disc. Shifting your mower’s start time back by one or two hours in the morning lets sunlight and wind burn off heavy dew before the cutting disc engages. Similarly, pause scheduled runs for 24 hours after applying granular lawn fertilizer or liquid iron treatments so chemical residue does not coat the hardware.
At the end of the mowing season, give the underside a thorough dry brushing, remove the blades and screws completely, wipe the disc pockets dry, and store the mower indoors in a dry garage or shed off damp concrete floors. Installing a fresh set of stainless steel screws and blades in spring ensures you start the new season with clean threads and unmarred screw heads.
Frequently asked questions
Can I reuse robot mower blade screws if they do not look rusty?
No. Both Husqvarna and Worx state in their owner manuals that you should always install new screws whenever you replace the blades. Even if a screw looks clean on top, the shoulder where the blade pivots wears thin over weeks of rotation, and microscopic scratches in the drive slot invite rust during the next cycle.
Is WD-40 good for preventing rust on robot mower blade screws?
Standard WD-40 works well for displacing water while cleaning parts, but it evaporates too quickly to provide lasting protection under a wet mower deck. After cleaning and drying the disc, use a dedicated silicone spray, dielectric grease, or tiny dab of anti-seize on the threads instead.
What should I do if a rusted blade screw head is already stripped?
Power off the mower, wear heavy gloves, and grip the outer edge of the screw head firmly with locking pliers to twist it loose. If the head is flush or snapped, carefully cut a shallow slot across the top with a rotary tool so you can back it out with a flathead screwdriver without damaging the cutting disc.
How often should I replace robot mower blades and screws?
Replacement intervals depend on lawn size, grass growth rate, and soil grit, though major manufacturers note typical main-disc blade lifespans around three to eight weeks of regular mowing. Check the underside weekly for frayed grass tips or surface corrosion on the screw heads, and swap both blades and screws together as a matched set.
Sources
- Automower blades replacement guide (Husqvarna): used for official blade lifespan ranges, free-spinning blade safety rules, and the requirement to replace screws with every blade change.
- How to clean Husqvarna Automower and CEORA (Husqvarna): used for dry-brushing procedures and warnings against pressure washing the underside.
- Worx Landroid WR155M Owner’s Manual (Worx): used for hardware inspection intervals, set replacement rules, and dry-weather mowing guidance.
- Mower Maintenance (University of Illinois Extension): used for how trapped wet grass clippings hold moisture against deck metal and cause rust.
 Up next8 min readLearnHow to Prevent Grass Buildup Inside Robot Mower Wheel WellsUpdated Nov 19, 2026
 6 min readLearnHow to Clean Grass Sap Off Robot Mower Titanium Blades EffectivelyUpdated Nov 19, 2026
 10 min readLearnRobot Mower and Invisible Dog Fence Wires: How to Prevent InterferenceUpdated Nov 19, 2026
 8 min readLearnHow to Prevent Ant Nests Inside a Robot Mower Charging BaseUpdated Nov 19, 2026
 8 min readLearnHow to Prevent Sun Fading on a Robot Mower Plastic BodyUpdated Nov 19, 2026
 7 min readLearnHow Do Robot Mowers Prevent Theft?Updated Nov 13, 2026