
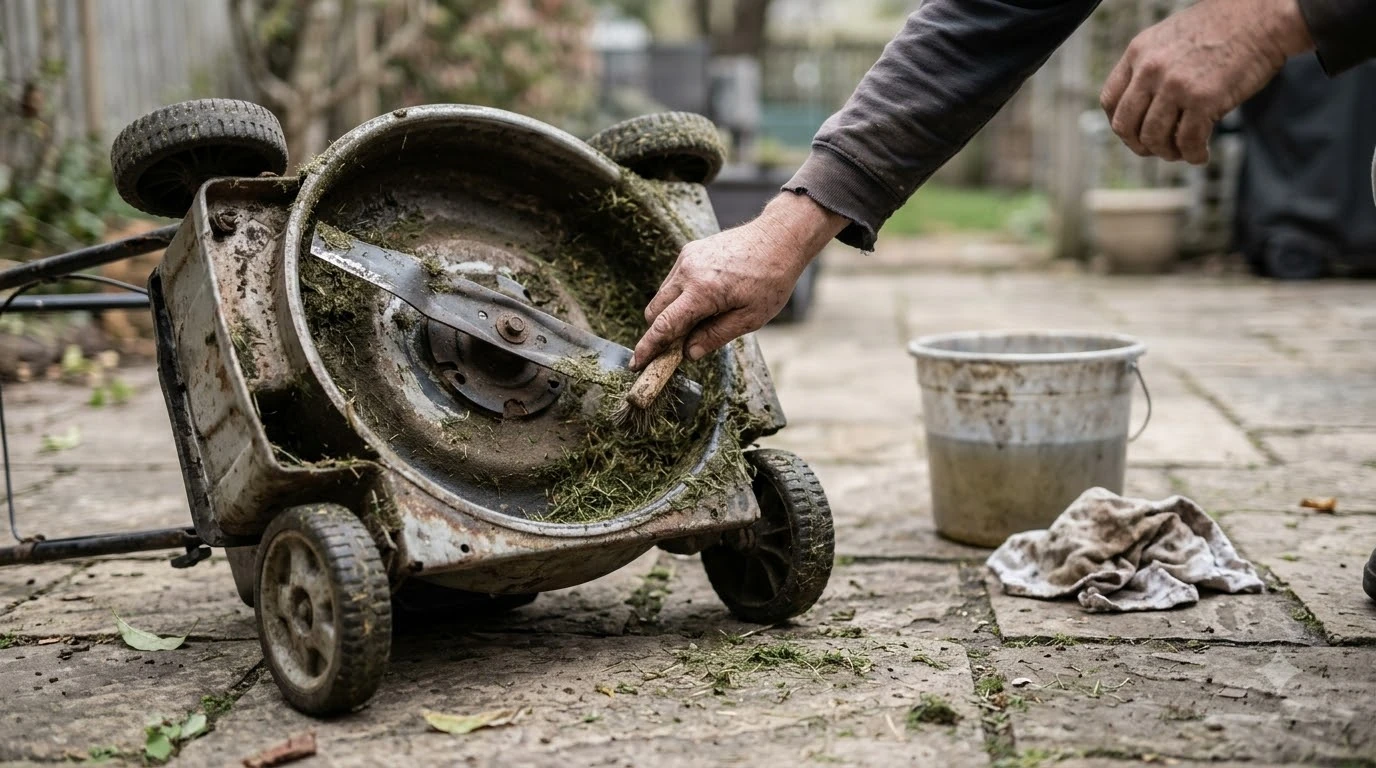

How to clean grass sap off robot mower titanium blades? You can restore cutting performance by soaking the blades in warm soapy water or wiping them with a damp cloth to dissolve stubborn organic residue. Regular removal keeps your automated cutter running smoothly and prevents jagged lawn tips.
The short answer
- Power isolation: Always switch off the robotic mower and engage the safety lock or remove the battery before handling the cutting disc.
- Safe soaking: Submerge sticky blades in warm water with mild dish soap to loosen dried plant sap naturally without metal scrapers.
- Alcohol treatment: Apply isopropyl alcohol on a soft cloth to dissolve stubborn resin films left behind by dense seasonal grass.
- Pivot check: Ensure titanium blades still swing freely on their mounting screws after cleaning to maintain an even, balanced cut.
Understanding why grass sap accumulates on blades
Dense spring growth and morning dew combine to bake green plant sugars into a stubborn film on fast-spinning cutting edges.
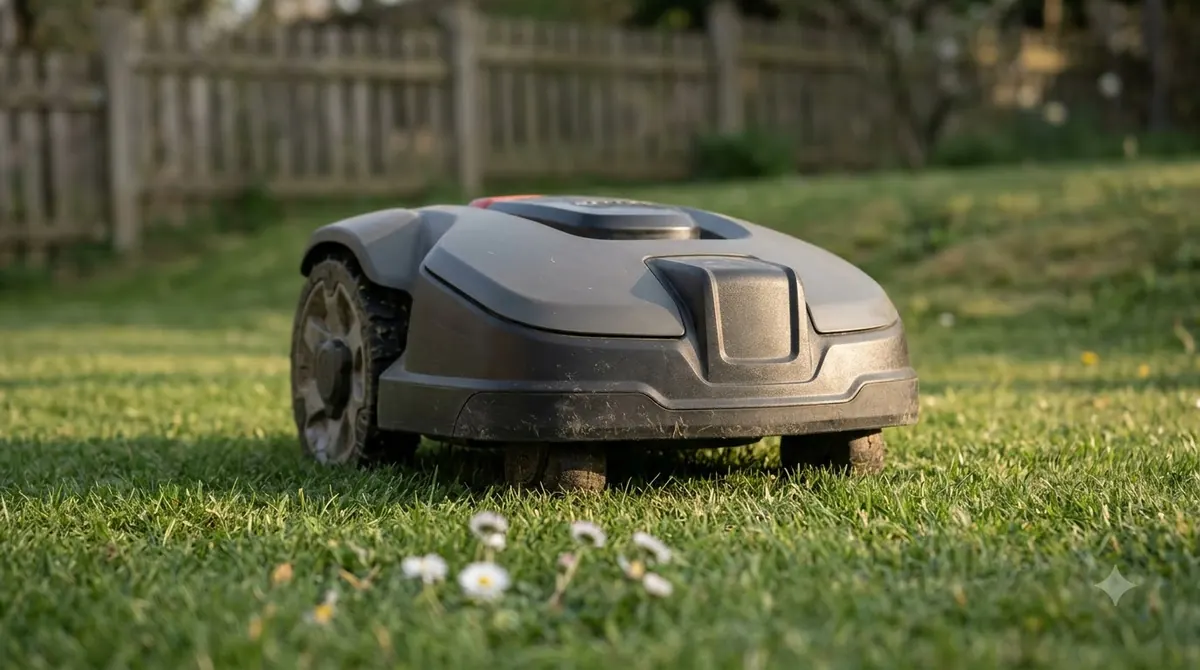
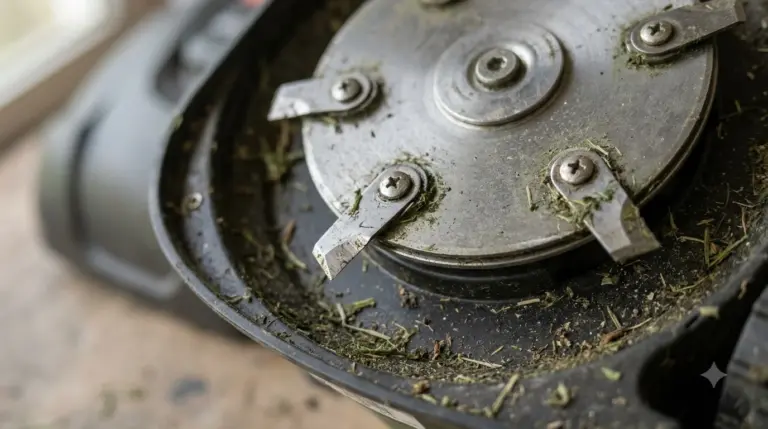
Automatic lawn maintenance relies on high-speed rotating discs that clip grass blades cleanly rather than tearing them. However, when moisture levels run high, freshly cut plant juices mix with microscopic debris and coat the metal surface. Titanium-coated blades offer superior corrosion resistance and edge retention compared to standard carbon steel, but they are still susceptible to organic gumming. Over time, this sticky resin layer builds up, increasing friction and reducing cutting efficiency across your automated mowing schedule. Plant sap contains natural sugars, proteins, and sticky pectins that dry rapidly under sunlight, forming a varnish-like seal over the cutting bevel.
When this green buildup thickens, it alters the aerodynamic profile of the spinning disc and adds unwanted weight. This imbalance forces the cutting motor to draw more electrical current, draining the onboard battery faster and reducing daily mowing coverage. Furthermore, gummed-up blades lose their razor-sharp slicing precision. Instead of making a clean cut, the fouled edges crush and bruise the grass blades, leaving behind frayed brown tips that invite fungal lawn diseases. Addressing this residue promptly preserves both machine longevity and turf health.
Essential tools and preparation steps
Proper preparation protects both your hands and the mower’s sensitive electronic components during routine upkeep.
Before initiating any maintenance on your automated helper, safety procedures must be strictly followed. According to guidelines provided in Anker’s robot mower maintenance guide, isolating the power supply prevents accidental activation while working near rotating parts. Gathering the right supplies ahead of time streamlines the cleaning process without requiring harsh chemical interventions.
- Power down the unit. Switch off the robotic mower completely using its main power button and activate the safety lock or remove the removable battery if your specific model supports it.
- Don protective gear. Put on thick utility or gardening gloves to shield your hands from sharp cutting edges during inspection and handling.
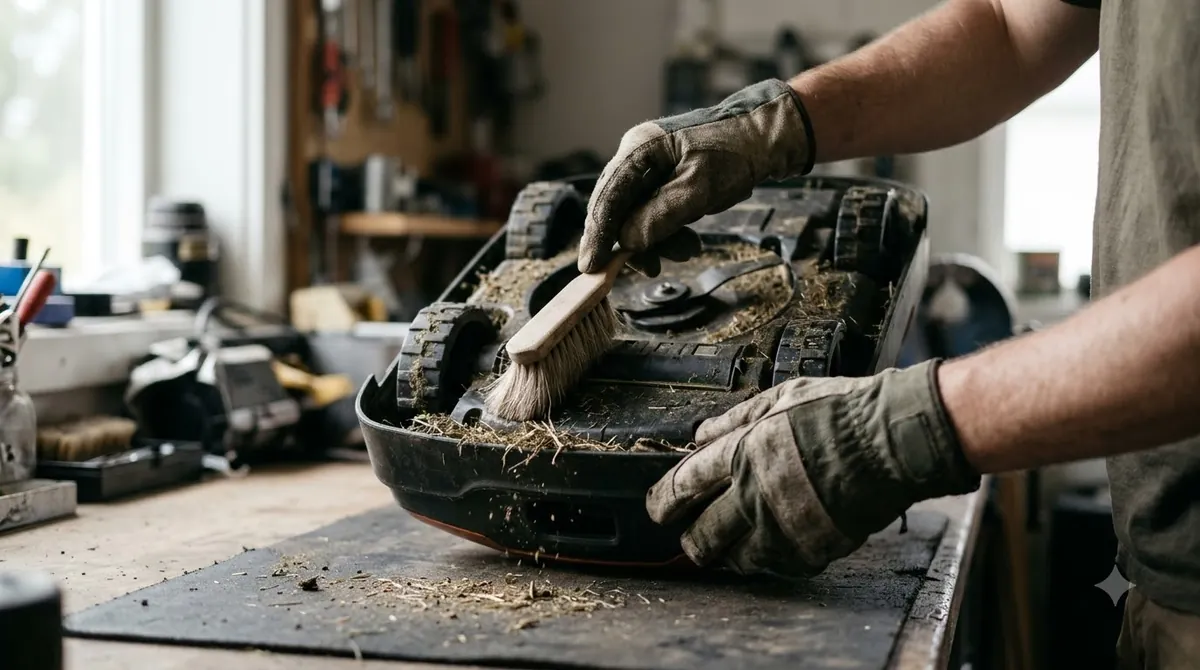
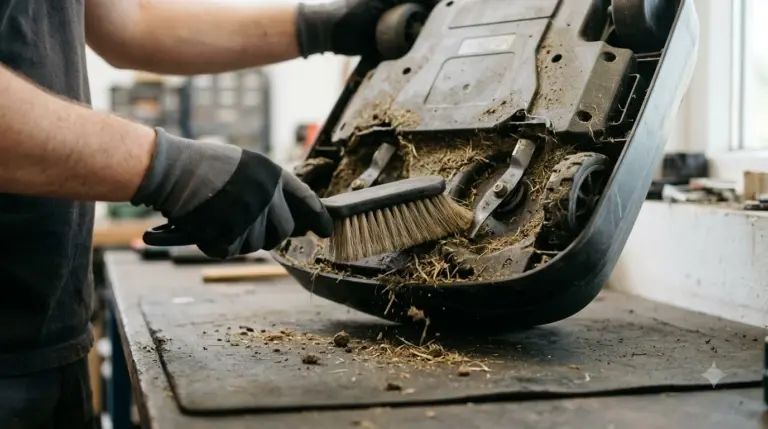
- Position securely. Turn the mower upside down on a clean, soft surface or prop it carefully to access the underside without scratching the upper housing or camera modules.
- Brush loose debris. Use a soft-bristled brush to sweep away dry soil, loose grass clippings, and surface dirt before applying any cleaning liquids.
Step-by-step cleaning methods for titanium blades
Gentle soaking and chemical-free solvents lift sticky residues without damaging specialized surface finishes.
When dealing with hardened sap layers, patience yields better results than aggressive scraping. Metal tools can scratch the protective titanium plating, creating micro-grooves where future plant residue clings even more tenaciously. Instead, chemical dissolution offers a safe alternative.
| Cleaning Method | Recommended For | Important Precaution |
|---|---|---|
| Warm soapy water soak | Fresh, tacky green sap | Do not immerse electronic housings or motors |
| Isopropyl alcohol wipe | Dried, hardened resin films | Keep away from plastic lenses and rubber seals |
| Plastic scraper clearing | Thick, compacted clumps | Never use steel screwdrivers or wire brushes |
For removable blades, unscrewing them and placing them in a shallow container of warm water mixed with a few drops of dish detergent for several hours softens the toughest organic binders. Alternatively, wiping the blades directly with a microfiber cloth saturated in rubbing alcohol dissolves sugar-based plant secretions instantly. As noted in Segway Navimow maintenance advice, keeping cutting assemblies clean ensures optimal motor performance and battery efficiency.
After soaking, use a soft nylon brush or old toothbrush to gently scrub away the loosened residue. Rinse the components thoroughly with clean water and dry them completely with a lint-free towel before reinstallation. If you notice that the cutting edges have become nicked, heavily rounded, or structurally compromised during your inspection, discard them safely and replace the entire set to guarantee balanced rotation.
Preventive maintenance and blade replacement tips
Regular inspection cycles minimize heavy buildup and keep your automatic mowing schedule running efficiently.
Establishing a predictable cleaning routine prevents sap from baking onto the metal during hot summer afternoons. Inspecting the cutting deck every two weeks during peak growing seasons allows you to catch residue before it hardens into an impenetrable shield. Furthermore, check that each individual blade pivots freely on its mounting screw after reattachment. If a blade remains locked in place due to residual gunk or corrosion, it cannot retract upon striking hard objects like pinecones or fallen twigs, which can damage the motor shaft.
Mowing frequency also plays a role in residue management. Letting the robot operate during mid-morning hours after dew has partially evaporated can help natural moisture rinse light debris away, though heavy sap still requires manual intervention. Keeping spare titanium replacement blades on hand ensures you can swap out fouled cutters immediately while cleaning the dirty set in batches.
Heads up
Never use high-pressure washers or harsh acetone solvents, as these can compromise waterproof seals and degrade structural plastic components.
Frequently asked questions
How often should titanium robot mower blades be cleaned?
Cleaning every two weeks during active spring and summer growing seasons prevents thick sap buildup and maintains clean turf cuts.
Can I use metal scrapers to remove hardened grass sap?
No, metal tools can scratch the protective titanium coating and create rough patches where organic matter accumulates faster.
Should I remove the blades from the mower for cleaning?
Removing the small blades using a screwdriver allows for thorough soaking and safer handling without risking damage to the chassis.
Why does grass sap affect robot mower performance?
Thick sap adds weight, unbalances the spinning disc, increases motor resistance, and causes the blades to tear grass rather than slice it cleanly.
Sources
- Cleaning Robot Lawn Mower Made Easy: Full Maintenance Guide (Anker): Used for general safety isolation protocols and underside cleaning procedures.
- The Ultimate Robot Lawn Mower Maintenance Checklist (Segway Navimow): Used for blade inspection standards and preventive maintenance intervals.
 Up next7 min readLearnHow to Clean Under a Robot Mower Deck: 6 Easy StepsUpdated Nov 14, 2026
 8 min readLearnHow to Clean Robot Mower Sensors Safely, Step by StepUpdated Nov 12, 2026
 9 min readLearnHow to Prevent Rust on Robot Mower Blade ScrewsUpdated Nov 19, 2026
 6 min readLearnHow Often to Change Robot Mower Blades?Updated Nov 13, 2026
 7 min readLearnHow to Sharpen or Replace Robot Mower Blades SafelyUpdated Nov 14, 2026
 7 min readLearnRobot Mower Blade Motor Error: What It Means and What to Check FirstUpdated Nov 12, 2026