
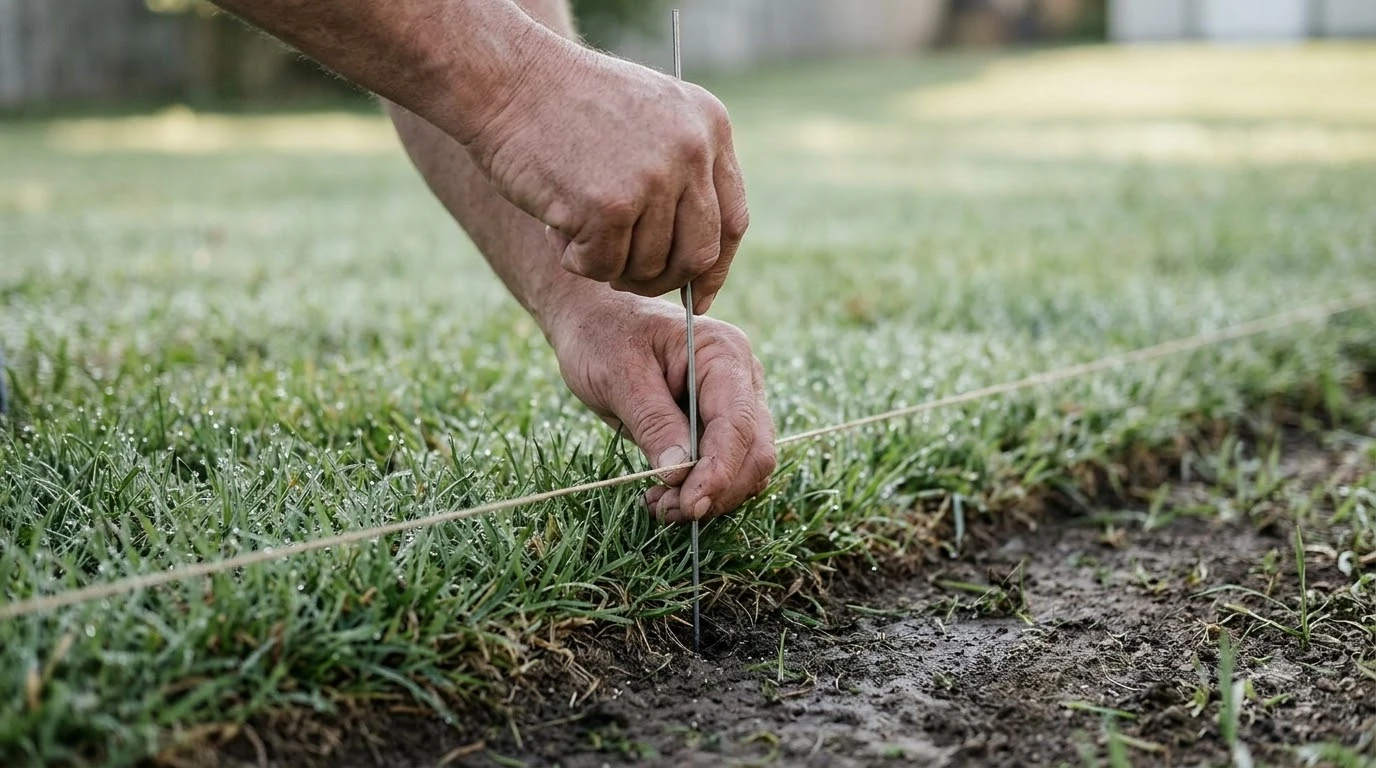

The best robot mower wire pegs hold the boundary wire firmly to the ground, and the most specific guidance we read places them about 1 metre apart on straight runs. Pegs are the above-ground way to fix the wire in place, and Gardena describes its pegs as the parts used to pin down boundary and guide wires. Spacing differs by brand, so this guide explains the common figures, how many pegs to buy, where to add extras, and what to check before you buy.
The short answer
- Straight runs: about one peg every 1 metre when the wire lies above ground, according to Anker’s UK guidance.
- Uneven ground: add pegs at shorter intervals, as Gardena advises for uneven lawn areas.
- Bends and corners: our reading is to peg every bend, because Husqvarna warns against laying wire at sharp angles above 45 degrees.
- Whole route: secure the wire along the entire path, including guide wires, to the connection point, per Husqvarna.
- Quantity: Gardena’s peg bag holds 100 pegs. Use that as a starting reference, then count your own route.
What wire pegs do on a robot mower
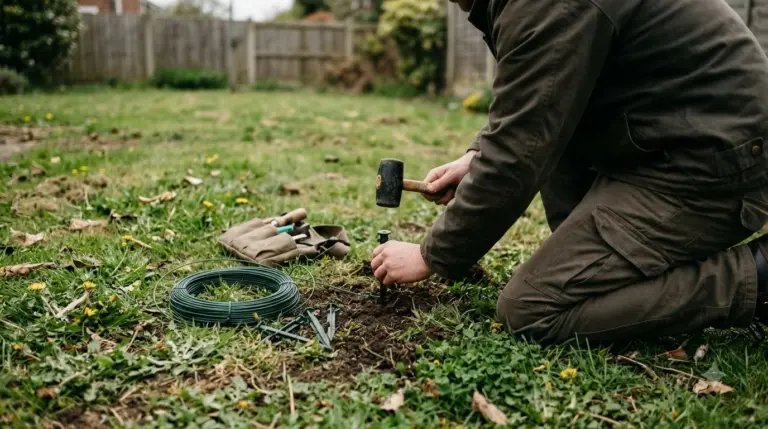
Wire pegs keep the boundary wire pinned to the ground so it stays where the mower expects it. Gardena’s product page says its installation pegs are used to “pin down and secure the boundary and guide wires” for its robotic mowers. The boundary wire sets the area the mower will cut, and guide wires lead the mower from its charging station out to that boundary.
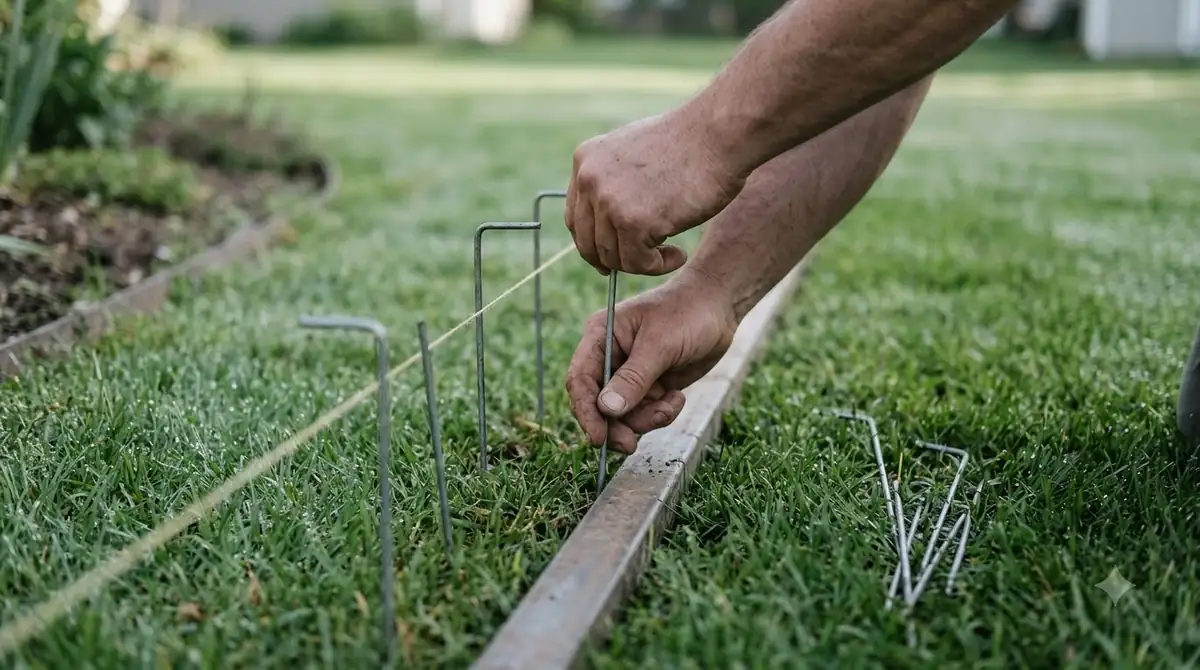
Pegs are one of two common ways to fix that wire. The other is burying it, and Husqvarna’s guidance allows either method. Because pegs are the simplest to remove and reposition, they are usually the first choice during a first installation, when the route may still change. Each brand’s manual gives the final word on which method and spacing it expects. For the whole process, see how to install a robot mower boundary wire.
How far apart to place wire pegs
Most of the guidance we read puts pegs about one metre apart on straight, level runs, and closer where the ground is uneven or the wire curves. Anker’s UK guidance is the most specific figure we found in a full page read: when the wire is above ground, “secure the wire with pegs or lawn hooks every 1 metre.” Gardena’s pages give no single distance. They say extra pegs can be used “at shorter intervals, especially in the case of uneven lawn areas.”
The table below puts those points side by side. The bend row is our reading rather than a published figure, and it follows from the 45-degree limit in Husqvarna’s guide.
| Situation | Suggested peg spacing | Basis |
|---|---|---|
| Straight, level run | About 1 metre | Anker UK guidance (wire above ground) |
| Uneven or soft ground | Shorter than 1 metre, no figure given | Gardena AU page |
| Bends and corners | Peg each bend, closer together on tight turns | Our reading |
| Sharp angles | Avoid angles above 45 degrees, then peg the turn | Husqvarna IE guide |
Heads up
These figures come from different brands and different guides. Before you lay out the wire, check the spacing in the manual for your own model, because a manufacturer’s kit and instructions take priority over general guidance.
How many pegs to buy
When you shortlist the best robot mower wire pegs, a pack size is only a starting point. Gardena’s peg bag includes 100 pegs, and its installation guidance says the mower comes with enough pegs to cover its standard setup, with extra pegs useful where shorter spacing is needed. A 100-peg bag will not cover every lawn, especially a long perimeter with several guide wires. Gardena’s Australian page also ties the included pegs to lawn size, saying the mower’s coverage varies from 250, 500 or 750 square metres depending on the model, so the peg count should follow the model’s coverage as well as the route.
Our reading is that you can work out a count with simple arithmetic rather than guessing:
- Measure the full wire route. Include the boundary loop and every guide wire, measured along the ground rather than in a straight line.
- Divide by your spacing. At one peg per metre, a 120-metre route needs about 120 pegs before any extras.
- Add extra for bends and uneven patches. Our reading is to add roughly 10 to 20 percent for corners, slopes and soft spots.
- Keep spares on hand. Pegs can loosen over time, so a few spares make repairs faster. This is a practical suggestion, not a manufacturer figure.
Those steps give you a number to compare against the pack, and our guide to how much boundary wire you need helps with the route length. If the pack is smaller than your count, buy the difference from the same brand so the peg style matches the wire kit.
Where to add pegs at bends, obstacles and guide wires
Peg the wire along its whole path, not only at the perimeter. Husqvarna’s guide to laying a guide wire says to “secure the wire to the ground using stakes along the entire path to the boundary wire connection point,” and that the wire can be buried instead. The same guide also advises avoiding “sharp angles above 45°,” which is the main reason to add pegs at turns. If a corner is tighter than that, split it into two gentler bends with a peg on each. For wire that has to loop around trees or beds, see how to lay boundary wire around obstacles.
Guide wires need the same attention because they are often laid across open lawn toward the charging station. Our reading is to peg them at the same spacing as the boundary, and to peg the join points closely so the wire does not drift. For a fuller walk-through of routing and connections, the Husqvarna guide to laying a guide wire covers the basic layout.
Pegs or burying: which fits your lawn
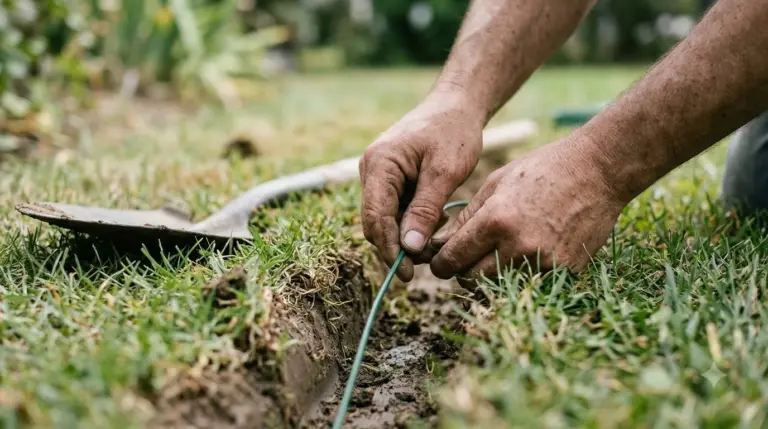
Pegs suit a first installation and any lawn where the layout may change, because they can be lifted and moved. Burying is the more permanent option. Anker’s guide lists both approaches, saying the wire can be secured “with turf hooks or burying it,” so the choice mostly depends on how often you expect to change the route. Our bury or peg boundary wire comparison goes deeper on that choice.

Our reading is that pegs are the better starting point for most homeowners. You can run the mower, check for gaps and dips, and adjust before deciding whether to bury any section. Buried wire is harder to repair, so confirm the route works before you commit. Where the wire crosses a path and needs extra protection, see our notes on an outdoor cable protector for a robot mower. The best robot mower wire pegs are the ones that match your wire kit and your lawn.
Common peg mistakes
Most problems with even the best robot mower wire pegs come from a few habits that are easy to avoid once you know them:
- Using one spacing everywhere. Straight, level runs can take the wider spacing, while uneven ground and bends need closer pegs.
- Skipping guide wires. A guide wire that is not pegged can drift, even when the boundary is secure.
- Leaving sharp corners. Husqvarna’s 45-degree limit is easy to miss at a fence corner or flower bed edge.
- Buying too few. Counting only the boundary and forgetting guide wires or repairs leaves you short mid-install.
- Copying another brand’s spacing. Figures in this guide come from different brands, so the manual for your model is the reference.
Best robot mower wire pegs: what to check before you buy
Before you buy a set of wire pegs, confirm a few practical points. Each one will save time during installation, and none of them depends on a single brand’s marketing.
- Pack count against your route. Compare the number of pegs with your measured route length and add spares, rather than relying on a bag size alone.
- Spacing in your model’s manual. The recommended spacing decides how many pegs you need, so check it before you order.
- Compatibility with your wire kit. Buy pegs designed for your brand’s wire or a clearly matched replacement.
- Replacement availability. Confirm that spare pegs are sold for your model, so a lost or broken peg does not stop a repair.
- Ground conditions. Soft, sloped or uneven lawns need more pegs and closer spacing than a flat, firm lawn.
Frequently asked questions
How far apart should robot mower wire pegs be?
Anker’s UK guidance says about one peg every 1 metre when the wire lies above ground. Gardena advises shorter intervals on uneven lawn areas. Check the manual for your model, because spacing differs by brand.
How many wire pegs come with a robot mower?
Gardena’s peg bag includes 100 pegs, and its installation guidance says the mower ships with enough for a standard setup. Other brands vary, so count your own route rather than relying on the bag size, whichever best robot mower wire pegs you choose.
Can I bury the wire instead of using pegs?
Yes. Husqvarna’s guide says the wire can be buried instead of staked, and Anker lists burying as an alternative to turf hooks. Burying is harder to change later, so many people test the route with pegs first.
Do I need pegs at every corner?
Our reading is yes, at least at each bend. Husqvarna advises against laying wire at sharp angles above 45 degrees, so pegging each turn helps keep the wire on the planned line.
Sources
- Robot lawn mower boundary wire installation (Anker UK blog): pegs or hooks every 1 metre above ground; turf hooks or burying as alternatives.
- GARDENA installation pegs (Gardena Australia): pegs pin down boundary and guide wires; extra pegs at shorter intervals on uneven lawn.
- GARDENA staples for boundary and guide wire (Gardena New Zealand): peg bag of 100 pegs and coverage for a standard installation.
- How to lay a guide wire in an Automower installation (Husqvarna Ireland): stakes along the entire path; burying as an option; avoid sharp angles above 45 degrees.
- Automower wire installation guide (Husqvarna New Zealand): wire attached to the ground with the stakes in the installation kit.
 Up next8 min readGearRobot Mower Wire Splice Kit: What It Includes and How to Use ItUpdated Nov 11, 2026
 7 min readGearRobot Mower Wire Connectors Waterproof: What the Manufacturer VerifiesUpdated Nov 11, 2026
 9 min readGearHow to Find a Break in Robot Mower WireUpdated Nov 11, 2026
 9 min readGearBest Lawn Leveling Sand for Robot Mower: Soil First, Then MaterialUpdated Nov 11, 2026
 9 min readGearBest RTK Antenna for Robot Mower: How to Choose the Right SetupUpdated Nov 11, 2026
 7 min readGearBest Outdoor Cable Protector for Robot Mower: 5 Key ChecksUpdated Nov 11, 2026