

To learn how to install a robot mower boundary wire, lay it as one closed loop that starts and ends at the charging station. Secure the wire about every 3 feet, keep it clear of walls, beds and ponds, and bury it only after a test run. Exact clearances and wire limits depend on your model, so the manufacturer manual has the final word.
The short answer
- Route: one continuous loop from the charging station around the lawn and back to the station.
- Staples: fix the wire about every 3 feet (about 0.9 m).
- Clearance: roughly 35 cm (about 14 inches) from walls and ponds, and about 10 cm (about 4 inches) from beds and hedges.
- Test first: run the wire above ground in test mode for 2 to 3 weeks before burying it.
- Burial: if you bury it, keep a uniform depth of 4 to 5 cm (about 2 inches).
What you need before you start
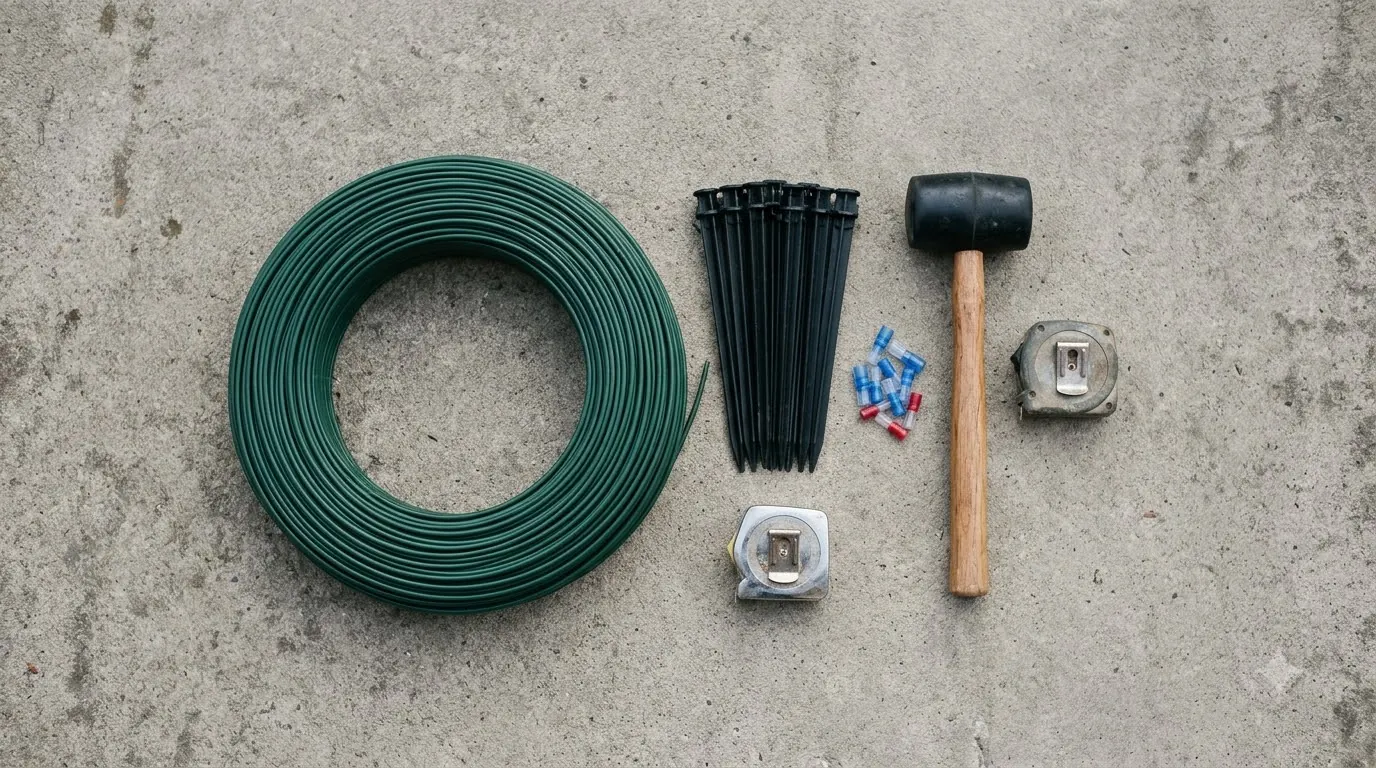
Before you learn how to install a robot mower boundary wire, gather the right parts to save a second trip to the shop. You need the boundary wire itself, staples to hold it down, splice connectors for any joins, and the charging station that powers the loop. Robomow notes that ready rolls come in 100 m, 200 m and up to about 650 m, so measure the full route before you buy, or work out how much boundary wire you need first.
- Boundary wire: enough for the whole perimeter, plus any islands and the guide wire.
- Staples or lawn hooks: plastic pegs that hold the wire to the ground.
- Splice connectors: the kit connectors contain dielectric grease, according to This Old House.
- Mallet and tape measure: our reading is that a rubber mallet sets staples cleanly and a tape measure checks clearances.
Check the quantity against your sketch of the lawn rather than the box label. Our reading is to leave a little spare wire at each connector instead of pulling the wire tight across a join.
Plan the route and place the charging station
Place the charging station (see where to put a robot mower charging station) on flat, level ground near a power outlet, with free space around it. Husqvarna’s guide says to put it in the middle of the cutting area, and This Old House adds that shade and a central spot are good choices. The station sets the start and end point of the loop, so decide its position before you lay any wire.
Sketch the route on paper first. Mark the lawn edge, the beds, the trees and any pond, then plan the path of the perimeter wire around them. Our reading is that a route drawn to scale catches clearance problems before you have stapled a single foot of wire.
The guide wire runs from the station toward the middle of the lawn. This Old House describes running a single guide wire from the station to the center of the lawn and securing it with staples in the same way as the perimeter wire.
How to install a robot mower boundary wire, step by step
Start the perimeter at the charging station and unroll the wire around the lawn edge, so the loop finishes where it began. Our reading is to keep the wire flat against the ground as you go so it cannot snag. The steps below follow the order used in the manufacturer and publisher guides.
Start at the station and walk the outer edge of the lawn, unrolling the wire as you go.
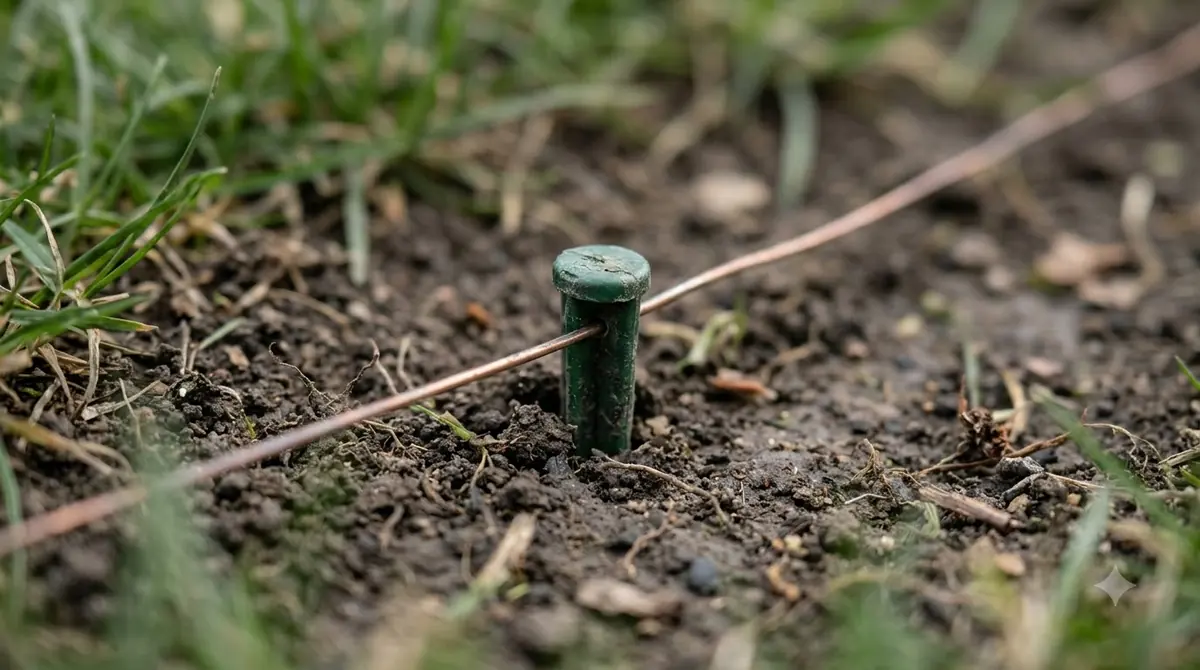
- Staple every 3 feet. This Old House recommends a wire staple about every 3 feet (about 0.9 m) to hold the wire to the ground.
- Curve the corners. Robomow advises laying the wire in a curve at corners, since sharp turns make the mower maneuver in ways that are harder to control.
- Run slopes diagonally. On a slope, Robomow says to lay the cable diagonally rather than straight up and down.
- Close the loop at the station. Bring the wire back to the station so it forms one continuous loop, and make sure it never crosses itself.
Keep the wire clear of walls, beds and ponds
Keep the perimeter wire about 35 cm from walls and tall stones, and about 10 cm from beds and hedges. Robomow’s guide gives these as approximate values, and it refers readers to the model manual for exact figures. Robomow’s boundary wire guide lists the distances below.
| Obstacle or surface | Approximate distance from the wire |
|---|---|
| Walls and tall stones | About 35 cm (about 14 inches) |
| Beds or hedges | About 10 cm (about 4 inches) |
| Pond | About 35 cm, plus extra barriers to stop the mower from falling in |
| Paths or slabs at or below lawn level | About 10 cm |
Heads up
Robomow says a pond needs physical barriers in addition to the wire distance, so the wire alone does not stop the mower from reaching the water.
Wire obstacles, islands and pass-over areas
Wrap each obstacle with a single-wire loop to make a no-mow island, and use a double wire where the mower should cross, such as a path. Those two rules cover most lawns with trees, flower beds or a walkway, and the guide to laying boundary wire around obstacles goes further.
- Islands: run the wire out from the edge, circle the obstacle once, and return along a parallel path that does not cross the outgoing run.
- Pass-over areas: a double wire cancels the signal, so the mower can cross a path without treating it as a boundary.
- Passages: Robomow says a passage between wire sections should be wider than 70 cm to avoid signal interference.
Keep the outgoing and return runs parallel around each island, because crossing them causes the same interference problem as a crossed perimeter. Our reading is that a clean parallel pair is easier to check during the test run than a tangle of wire near the obstacle.
Connect the wire to the charging station
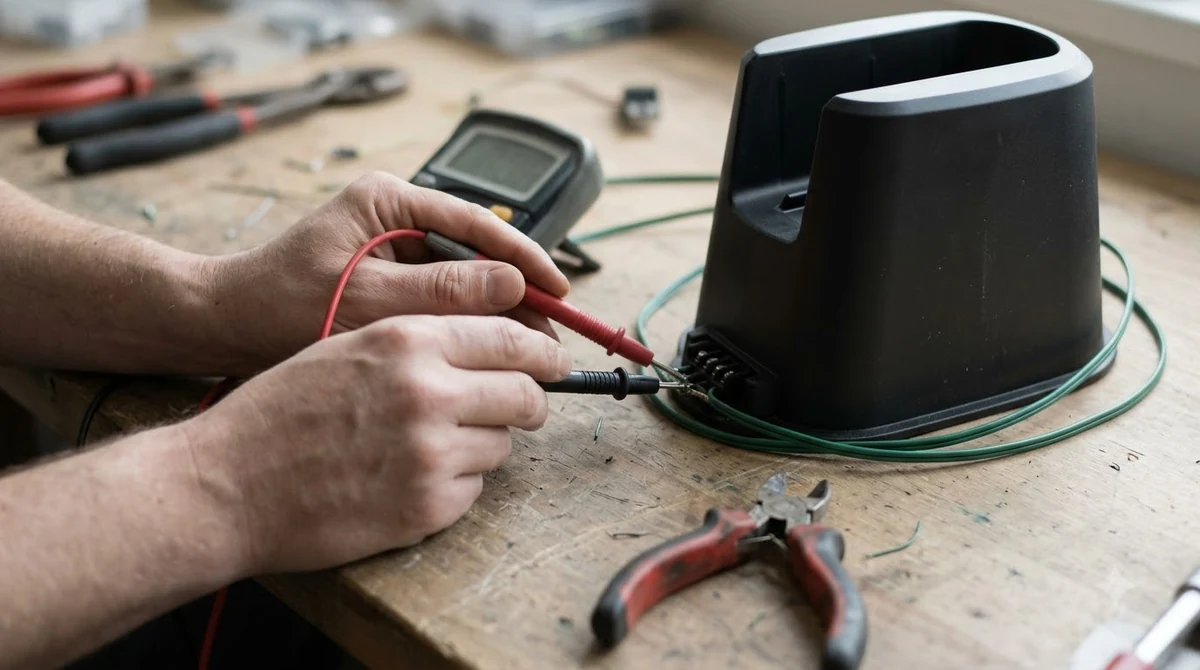
Attach the perimeter wire and the guide wire to their own terminals on the station, then plug the station into a power outlet. This Old House describes both connections as separate terminals, so check that each wire lands on the right one before you power the station.
- Attach the perimeter wire. Connect it to the terminal marked for the boundary wire.
- Attach the guide wire. Connect it to its corresponding terminal on the station.
- Plug the station in last. Our reading is to make every connection before the station gets power.
If you need to join two rolls, use the connector rather than twisting the ends (a robot mower wire splice kit includes them). Robomow says to insert both ends fully until they show on the other side of the connector, then press the button on top. Check each join during testing.
Test before you bury the wire
Run the wire above ground in test mode for 2 to 3 weeks, and bury it only after the mower works as intended. Robomow’s guide treats this stage as the final check before burial, which is the right moment to find a bad join or a loop that is too tight. If you are weighing whether to bury or peg the boundary wire, the test period gives you time to decide.
If you bury the wire, keep the depth uniform at about 4 to 5 cm (about 2 inches). Robomow says the mower can still detect the signal at depths up to 7 cm, but staying near 4 to 5 cm keeps the depth consistent along the whole run. Our reading is that even depth matters more than hitting one exact number.
Common installation mistakes
When you work out how to install a robot mower boundary wire, most faults come from a short list of habits. Robomow warns about crossed wire, sharp corners and uneven depth, and the rest is our reading. Each one is easy to avoid if you check the wire before you bury it.
- Crossing the wire: the wire must never cross itself, or signal interference occurs.
- Sharp corners: lay the wire in curves, because tight turns make the mower’s movement harder to manage.
- Loose wire (our reading): keep the wire flat against the ground so it does not snag or get damaged.
- Burying before testing: a fault found after burial means digging the wire back up.
- Uneven depth: keep the burial depth uniform rather than deep in some places and shallow in others.
That is the whole routine for how to install a robot mower boundary wire: plan the route, lay and staple the loop, connect the station, test, and only then bury.
Frequently asked questions
How deep should you bury robot mower boundary wire?
Robomow recommends a uniform depth of 4 to 5 cm (about 2 inches) once the mower has passed its test run. The signal can still be detected at depths up to 7 cm, but staying near 4 to 5 cm keeps the depth consistent along the whole loop.
How far apart should the staples be?
This Old House recommends a staple about every 3 feet (about 0.9 m). Add staples closer together on curves and slopes, as a matter of our reading, so the wire stays flat and taut where the ground changes.
Can you join two rolls of boundary wire?
Yes, with a connector. Robomow says to insert both ends fully until they show on the other side, then press the button on top. Keep the total wire length within the maximum your mower model specifies, which the manual lists.
Does every robot mower need a guide wire?
Not every model uses one, so check the manual. Husqvarna’s guide and This Old House both describe a guide wire running from the charging station across the lawn and attaching to the boundary wire.
Sources
- Laying the lawn boundary wire (Robomow): obstacle distances, burial depth, test mode, passage width, splicing and roll lengths.
- How to install a robotic lawnmower (This Old House): staple spacing, starting point, obstacle loops, pass-over wire and station site.
- How to install a robotic lawn mower (Husqvarna): station placement on flat ground and the guide wire connection.
- How to lay the boundary wire (Husqvarna support): the topics covered by the installation guide, used for structure only.
 Up next7 min readLearnWhat Is a Boundary Wire on a Robot Mower? How It WorksUpdated Nov 11, 2026
 8 min readLearnCan You Install a Robot Mower Yourself?Updated Nov 11, 2026
 8 min readLearnWhat Is Virtual Boundary Mapping on a Robot Mower?Updated Nov 11, 2026
 8 min readLearnHow Do Robot Lawn Mowers Work Without a Wire?Updated Nov 11, 2026
 9 min readLearnWorx Landroid No Wire Signal: Causes and FixesUpdated Nov 11, 2026
 7 min readLearnWhat Is a Robot Lawn Mower?Updated Nov 11, 2026