
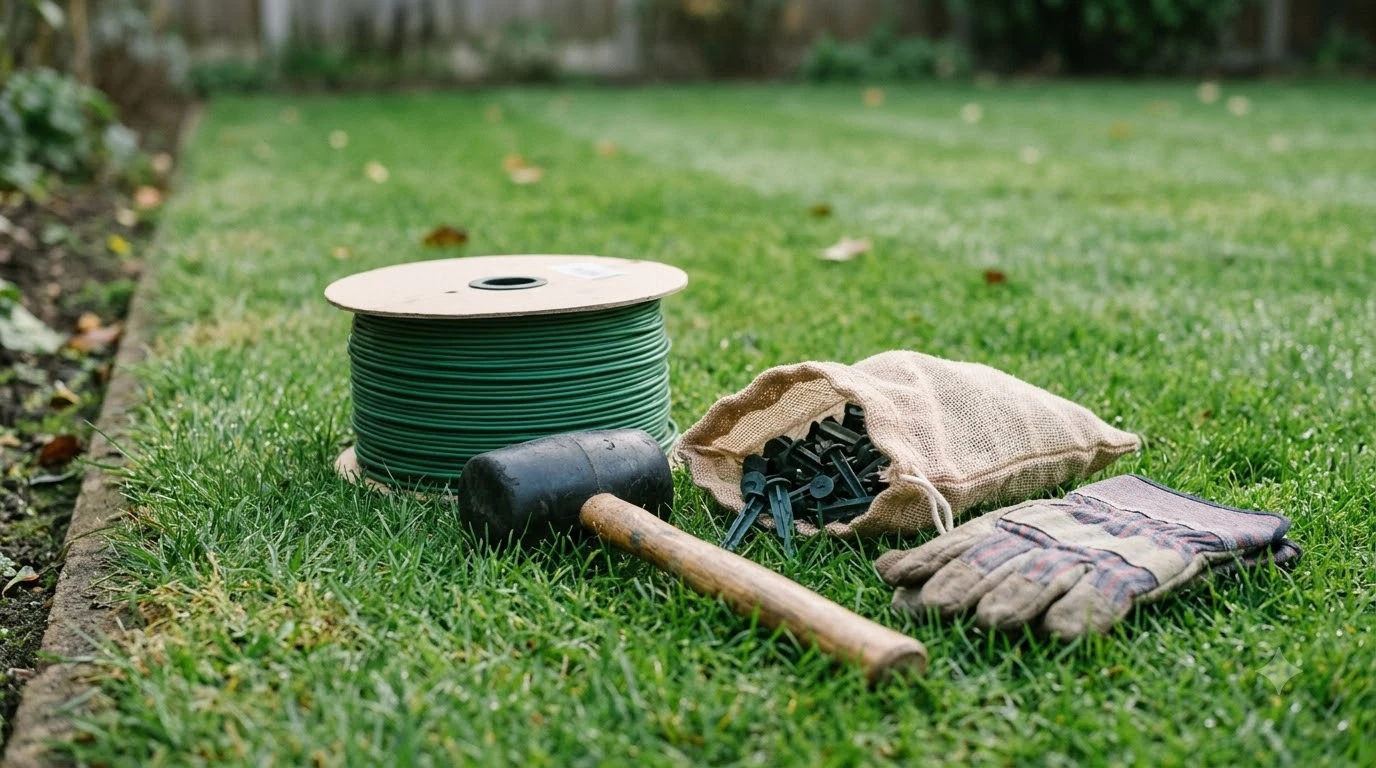

The best perimeter wire and pegs for Husqvarna Automower installs are a 2.7 mm loop wire, stakes along the whole route, and couplers for any join. Husqvarna’s support pages say to secure the guide wire with stakes along its entire path, and they describe the standard 2.7 mm wire as suitable for most Automower installations. The pages we read do not give a single peg spacing figure, so the model manual should set the final spacing.
The short answer
- Wire: Husqvarna’s standard boundary wire is 2.7 mm in outer diameter, made of aluminium and copper, and sold in 150 m, 250 m and 800 m spools.
- Pegs: Husqvarna’s guide wire page calls for stakes along the entire path to the boundary connection point, or burying the wire as the alternative.
- Length limit: Husqvarna’s support article gives a recommended maximum of 800 m of boundary wire (300 m for the Aspire R4).
- Joins: trim 1 to 2 cm of wire above each connector and press the connector closed with pliers, per Husqvarna’s wire guidance.
- Spacing: no peg spacing number on the Husqvarna pages we read. Check your model’s manual before you count stakes.
What makes up the best perimeter wire and pegs for Husqvarna Automower
An Automower installation has three wire-related parts. The loop wire, also called the boundary wire, forms the closed route that defines the cutting area. The guide wire is a separate run that connects the charging station to that loop, so the mower can find its way out to the boundary. The couplers and connectors join lengths and repair damage. Stakes and pegs fix the wire to the ground while it is being laid and tested.
Husqvarna’s repair kit, part 597 53 95-01 in its UK listing, illustrates the typical contents: 5 m of loop wire, 10 pegs and 6 couplers. A kit like this is aimed at small breakages and minor reshaping of the boundary. It is not a full installation kit, so it does not replace the wire and stakes needed for a whole lawn.

The 2.7 mm standard wire and what the spec leaves out
The Husqvarna standard boundary wire is listed at 2.7 mm outer diameter. The Australian product page says it is “suitable for most Automower installations and is easy to install,” and lists spool sizes of 150 m, 250 m and 800 m. The page does not state an AWG gauge.
The length limit comes from Husqvarna’s support article on secondary areas, which gives a recommended maximum boundary wire length of 800 m (300 m for the Aspire R4). The article does not say how extensions count, so our reading is to add up the original wire and every extension before you buy the next roll. Anker’s UK guide also says the total length must not exceed the maximum in your manual, and that a new extension should match the original wire’s thickness, material and electrical resistance. Mixing wire types is the step to avoid. Our reading is that the best perimeter wire and pegs for Husqvarna Automower extensions start with Husqvarna-compatible wire where possible.
Stakes and pegs: how they hold the wire
Husqvarna’s Irish guide-wire page says to secure the wire to the ground using stakes along the entire path to the boundary wire connection point. That covers the guide wire, not only the loop, and it means the stakes are part of the route, not an optional extra. Husqvarna’s guide also mentions burying the wire as an alternative, so stakes are the above-ground choice rather than the only one.
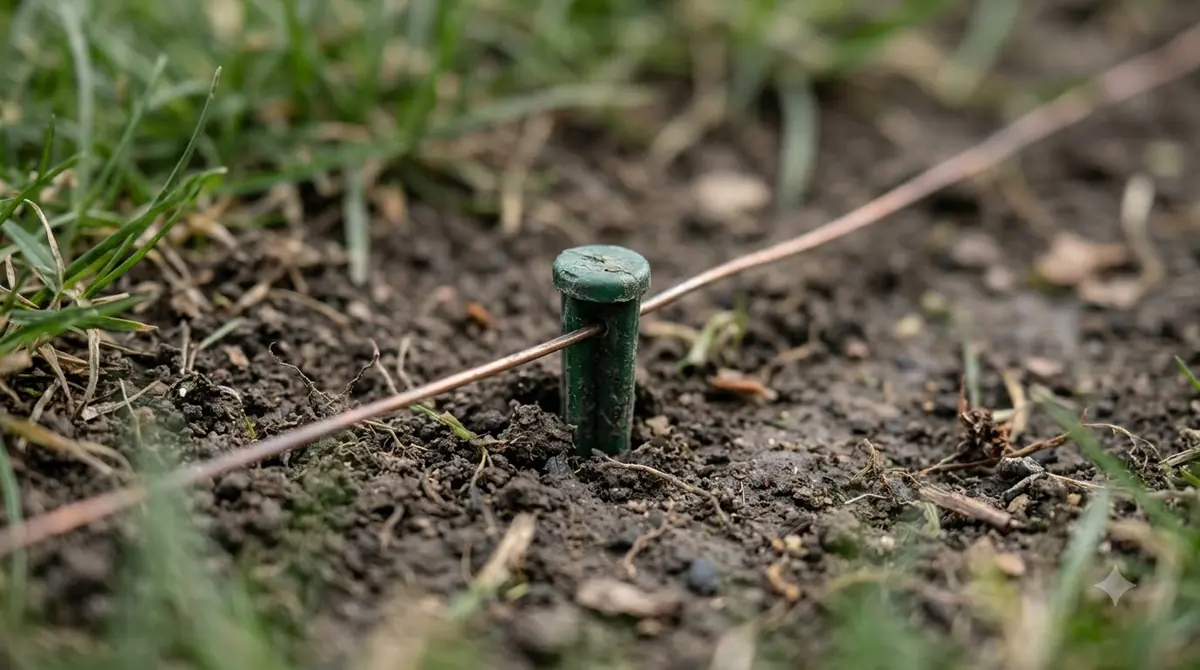
Other brands give more specific spacing, which helps as a reference point. Anker’s UK guide says to secure the wire with pegs or lawn hooks about every 1 metre when it sits above ground. This Old House recommends staples about every 3 feet, or roughly 0.9 m. These are different sources with different wire and products, so the figures are not interchangeable with Husqvarna’s own stake spacing.
| Source | What it says about stakes or pegs | Type |
|---|---|---|
| Husqvarna (Ireland, guide wire) | Stakes along the entire path to the connection point | Manufacturer |
| Anker (UK guide) | Pegs or lawn hooks about every 1 m above ground | Brand guide |
| This Old House | Staples about every 3 feet (about 0.9 m) | Home-improvement guide |
| Husqvarna (US and Ireland, steep slope) | No stake spacing number on the page | Manufacturer |
How many stakes to buy
Count the route, not the bag, because the best perimeter wire and pegs for Husqvarna Automower use are the ones that cover your own route. Measure the loop and the guide wire, then divide by the spacing in your manual. Add extra stakes at every corner, around obstacles and at the connection point, since a stake that is too far from a bend can let the wire lift. Our reading is that bends and corners need more stakes than straight runs, and that you should buy a few spares before you start.
Kit counts show how much stock a supplier packs. The Husqvarna repair kit above includes 10 pegs with 5 m of wire, which is enough for a short repair. A Worx expansion kit in our sources lists 164 ft of spare wire with 70 stakes and 3 connectors, so the stake count there is not tied to a fixed length of wire. Compare the stake count against your own route, not the kit’s total length.
Guide wire and passage spacing
The guide wire has its own placement rules, and they matter as much as the loop spacing. Husqvarna’s Irish guide-wire page says to lay the guide wire straight for at least 2 m (6.5 ft) from the charging station, and 1 m for the Aspire R4 model. It also says to keep at least 30 cm between the guide wire and the boundary wire.
Passages need more room. Husqvarna’s US support article says the boundary wires on each side of a passage should be at least 2 m apart when there is no guide wire, and at least 60 cm apart when a guide wire runs through the passage. Its steep-slope page adds a separate rule: keep 1.5 m of clearance from obstacles on slopes up to 50 percent. Plan the stakes for these corridors before you stretch the loop across the lawn. If the mower later struggles to follow the guide wire, see our Husqvarna Automower guide wire problem guide.
Couplers and joins
Every join is a potential weak spot, so the connector and the wire ends need to be prepared the same way each time. Husqvarna’s wire guidance says to trim 1 to 2 cm of wire above each connector, and press the connectors together with pliers. For repairs, Husqvarna’s KA-01339 article says to cut about 60 cm from each end of the damaged section and push both ends into the coupler. A boundary wire repair kit bundles the couplers and short wire for this job.
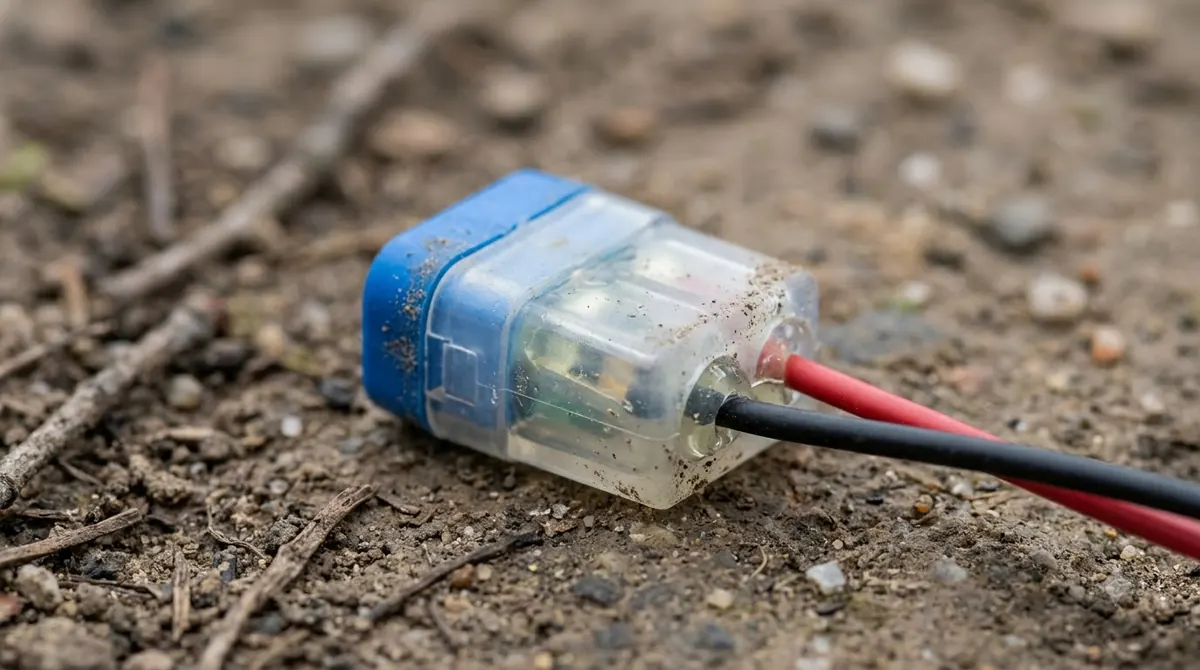
Connector products make different claims about sealing. The Gardena couplers kit listed in our sources contains 6 couplers and 3 connectors, and Gardena describes the couplers as waterproof. Robomow’s repair connector says its silicone gel stops water from getting in, and lists compatibility up to 3.9 mm wire diameter. Those are manufacturer claims. Check that a connector matches your wire diameter before you buy, because a mismatch can leave the joint loose. Our page on waterproof robot mower wire connectors covers what the makers verify.
Damaged wire shows up as a weak signal or a loss of signal. Husqvarna’s loop light shows a solid green light when the loop is good and blue flashing when the loop has a fault. Worx’s documentation says that a damaged wire gives a weak signal and a fully cut wire gives none. Those signs tell you when to look for a break, and a coupler is the usual fix.
What to check before you buy
- Model and manual. If you have not chosen a model yet, start with the Husqvarna Automower model to buy. Then find your model’s manual and note its peg spacing, wire limit and guide wire rules. Our sources give no single figure for every model.
- Total loop length. Add the loop, the guide wire and any planned extension. Stay under Husqvarna’s recommended 800 m limit (300 m for the Aspire R4).
- Wire diameter. Confirm your wire is the 2.7 mm standard wire, or match the existing wire exactly when extending.
- Stake count. Count the stakes from your route and the spacing in your manual, then add spares at bends and near the connection point.
- Couplers. Buy enough connectors for every planned join, plus a spare or two for repairs.
- Surface or buried. Decide whether the wire stays pegged or buried. Pegging first is a common way to test the layout before any burial, and our guide to how to install a robot mower boundary wire walks through the order of work.
Frequently asked questions
What are the best perimeter wire and pegs for Husqvarna Automower?
There is no single product we can name as the best perimeter wire and pegs for Husqvarna Automower from the sources read. The Husqvarna pages describe the 2.7 mm standard boundary wire, stakes along the full route, and couplers for joins, so those are the parts to match to your model.
How far apart should Husqvarna wire stakes be?
The Husqvarna pages we read tell you to place stakes along the whole path but do not give a spacing number. Anker’s UK guide uses about 1 metre for surface wire, and This Old House uses about 3 feet for staples. Use your model manual as the final authority.
Can I extend Husqvarna wire with another brand’s wire?
Our reading is that an extension should match the original wire in thickness, material and electrical resistance, as Anker advises. Mixing wire types is the main risk, so use the same wire family wherever possible.
Should I bury the wire or keep it pegged?
Husqvarna’s guidance allows either method. Anker recommends a 2 to 3 week test with the wire above ground before burying it at 3 to 5 cm. Pegging first makes changes easier.
Sources
- Husqvarna US support, passage in boundary wire installation (manufacturer): passage and guide wire spacing.
- Husqvarna Ireland, how to lay a guide wire (manufacturer): stakes along the path, guide wire length and spacing.
- Husqvarna Ireland, steep-slope installation (manufacturer): guide wire on slopes and obstacle clearance.
- Husqvarna Australia, standard boundary wire 2.7 mm (manufacturer): wire diameter, materials and spool sizes.
- Husqvarna UK support, secondary area in a boundary wire installation (manufacturer): recommended maximum boundary wire length of 800 m.
- Husqvarna UK, boundary wire repair kit (manufacturer): kit contents of 5 m wire, 10 pegs and 6 couplers.
- Husqvarna UK support, KA-01339 wire repair (manufacturer): cutting 60 cm from each end and joining with a coupler.
- Husqvarna NZ, automower wire installation (manufacturer): trimming 1 to 2 cm above connectors, and loop light meaning.
- Anker UK, boundary wire installation guide (brand guide): 1 m peg spacing, test period, burial depth, matching extension wire.
- Robomow, laying the lawn boundary wire (brand guide): burial depth and crossing rules.
- Robomow, wire repair connectors (manufacturer): 3.9 mm compatibility and sealing claim.
- Gardena Australia, couplers and connectors kit (manufacturer): kit contents and waterproof claim.
- This Old House, how to install a robotic lawnmower (home guide): staple spacing about 3 feet.
- Worx, Landroid expansion kit WA0460 (manufacturer): example kit with 164 ft of wire, 3 connectors and 70 stakes.
- Worx wiki, locate a damaged spot in the boundary wire (manufacturer): weak signal versus no signal.
 Up next6 min readGearUV-Resistant Cable Ties for Robot Mower Perimeter Wire: What to CheckUpdated Nov 12, 2026
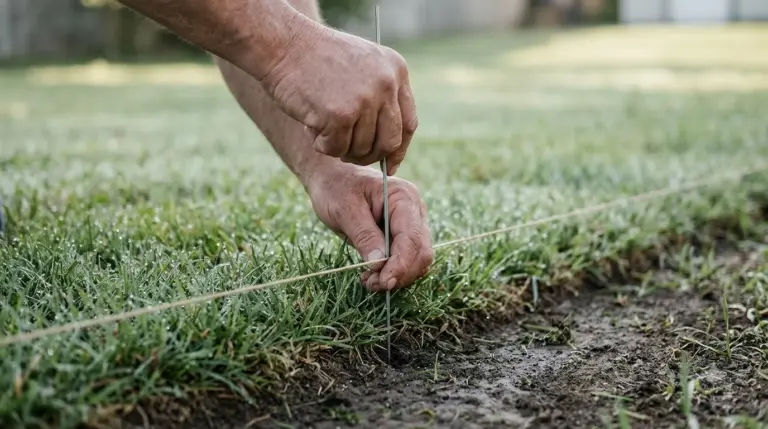 9 min readGearBest Robot Mower Wire Pegs: 1 Metre Spacing and CountUpdated Nov 11, 2026
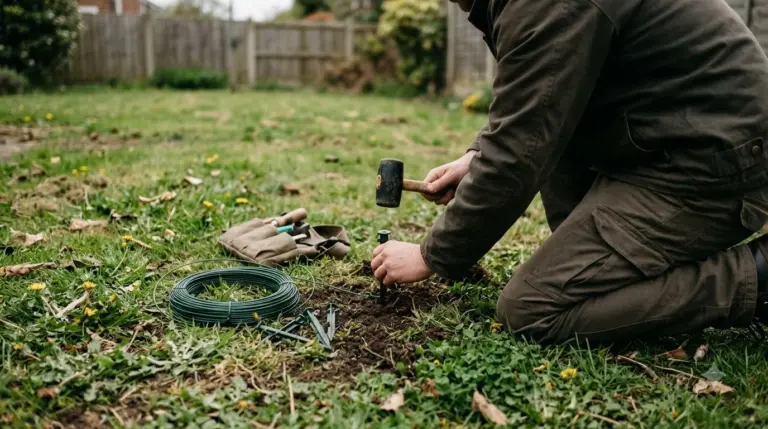 7 min readGearRobot Mower Wire Stapler Tool: Pegs, Tension and Staple DepthUpdated Nov 20, 2026
 8 min readGearHusqvarna Automower Replacement Battery: Dealer Swap and LifespanUpdated Nov 19, 2026
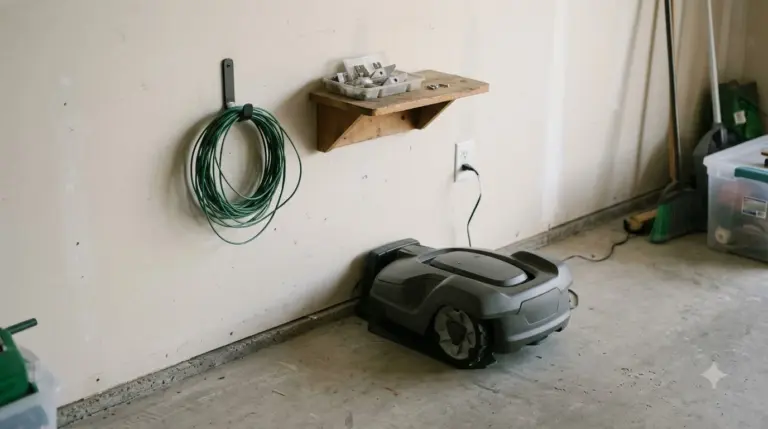 9 min readGearBest Garage for Husqvarna Automower: Fit, Airflow and Winter StorageUpdated Nov 14, 2026
 7 min readGearHusqvarna Automower Spare Parts: What Exists and Where to Buy Genuine OnesUpdated Nov 20, 2026