
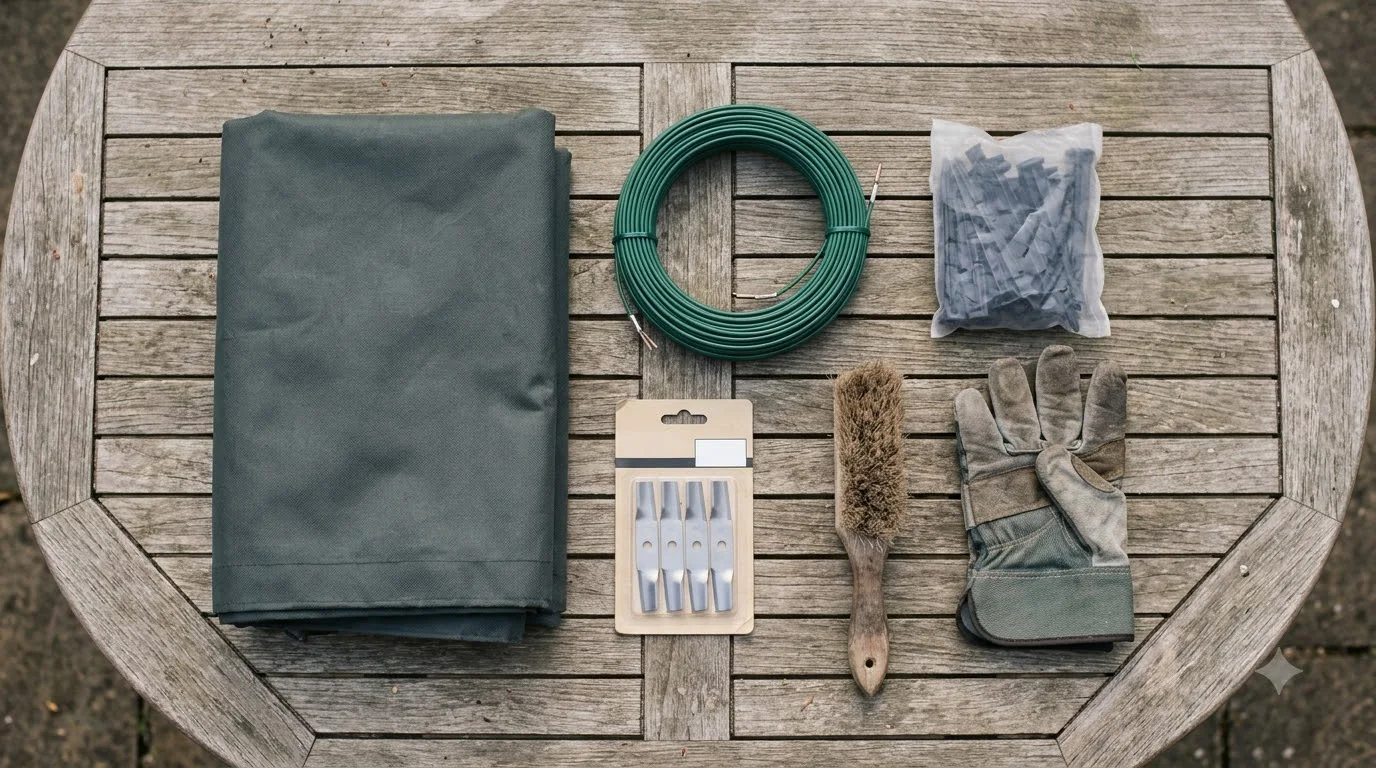

Robot mower starter kit what to buy: a charging station, boundary wire, pegs or staples, wire connectors, and a guide wire if your model requires one. Spare blades, a shelter, a splicing kit and professional installation are optional. Manufacturer install guides are the best place to confirm what your model needs before you buy.
The short answer
- Core parts: charging station with power supply, boundary wire, pegs or staples, and waterproof connectors.
- Guide wire: optional for most models, but Husqvarna says it is always best to install one.
- Tools to bring: pliers, a mallet and a small garden shovel, which Husqvarna does not include.
- Optional: spare blades, a mower house, a splicing kit for islands, and paid professional installation.
Robot mower starter kit what to buy: the core parts
A starter kit is the set of parts a mower needs to find its charging station and stay inside the lawn. The mower itself is the centerpiece, but the wire system around it is what makes the mower work. Think of robot mower kit contents as five items.
- Charging station: the base the mower returns to for power. Its power supply should appear on the packing list.
- Boundary wire: the insulated cable that marks the cutting area and the places to avoid.
- Pegs or staples: to hold the wire on the surface. Husqvarna’s installation kit includes staples for this job.
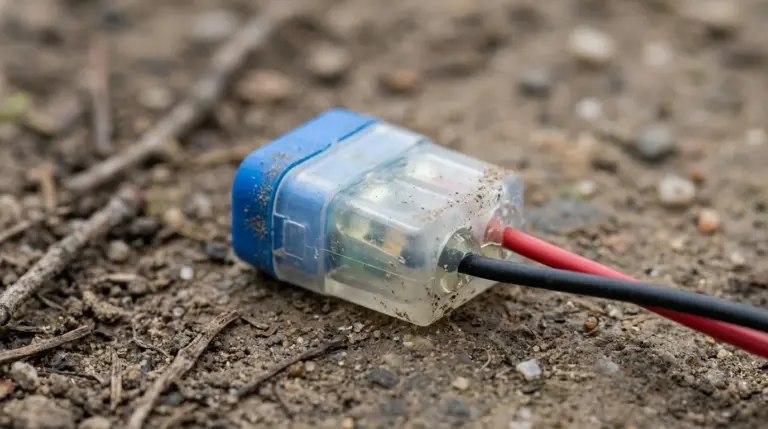
- Wire connectors: waterproof joints for repairs, plus the couplers the guide wire needs.
- Installation kit: Husqvarna says you need one only if the mower did not come with it.
Our reading is that the most useful question before buying is not “what is in the box?” but “which of these parts does my model actually use?” Manufacturer pages do not always list every item, so the packing list and the model manual are the final check. A useful robot mower starter kit what to buy list starts from the manual, not from the box.
Boundary wire, pegs and connectors
Boundary wire is the part of the kit that needs the most planning. Its placement sets how close the mower can cut to edges and obstacles.
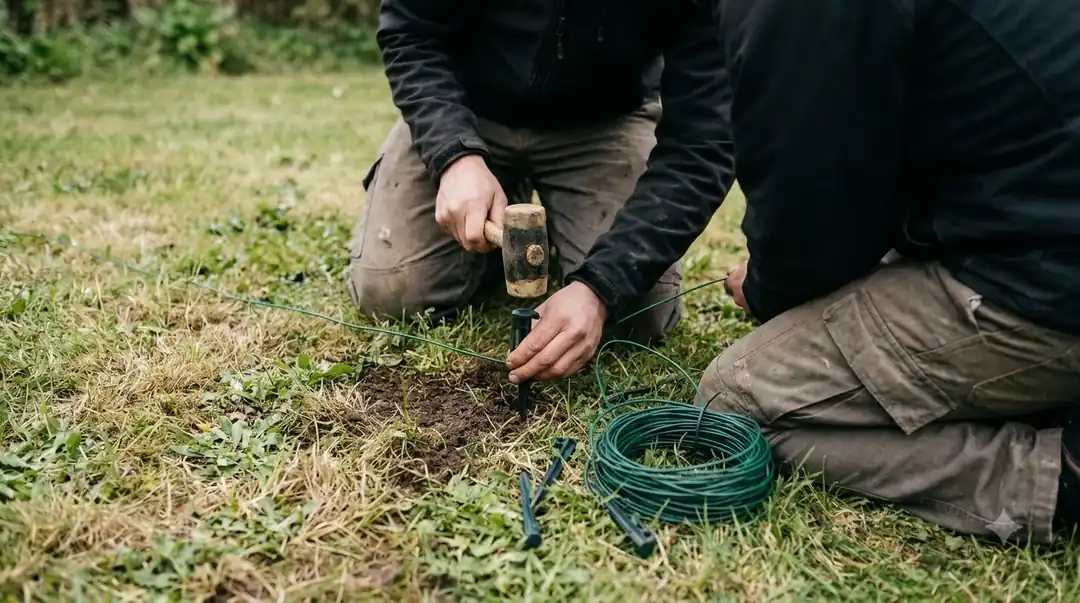
One brand guide gives these rough distances: keep the wire around 30 to 35 cm (about 12 to 14 inches) away from walls, fences and raised beds, and around 10 to 15 cm (about 4 to 6 inches) from flush edges such as a level path or patio. The same guide says burial depth is usually around 3 to 5 cm, while some systems allow up to 7 to 10 cm.
Heads up
These are general figures from a brand blog, not a model spec. The same guide says your mower manufacturer’s instructions take priority, so use the numbers in your model manual.
Whether to bury the wire or peg it is a separate decision, covered in burying versus pegging boundary wire. For fastening, the guide recommends pegs placed every few feet, with extra pegs at curves and corners. It gives no exact spacing, so compare the pegs in a kit with the length of wire you expect to lay. Keep a waterproof wire connector or repair kit on hand, because that is what joins a broken wire. The wire and connectors must match your model.
Charging station: where it goes and what it needs
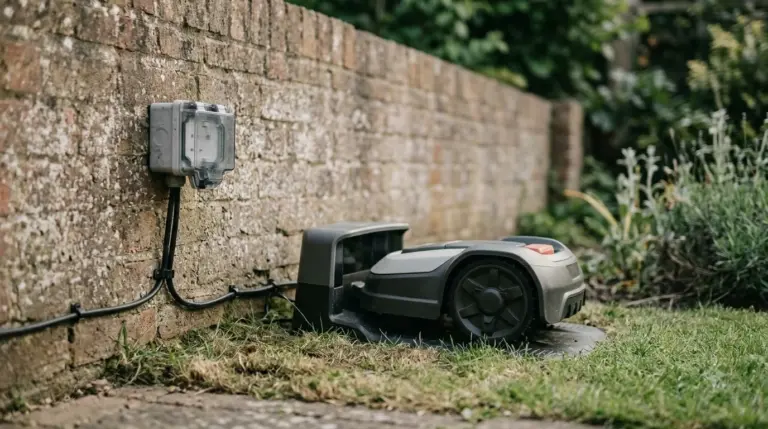
The wire layout is planned around the charging station, so placement matters from the start. Husqvarna’s placement guide gives three clear rules.
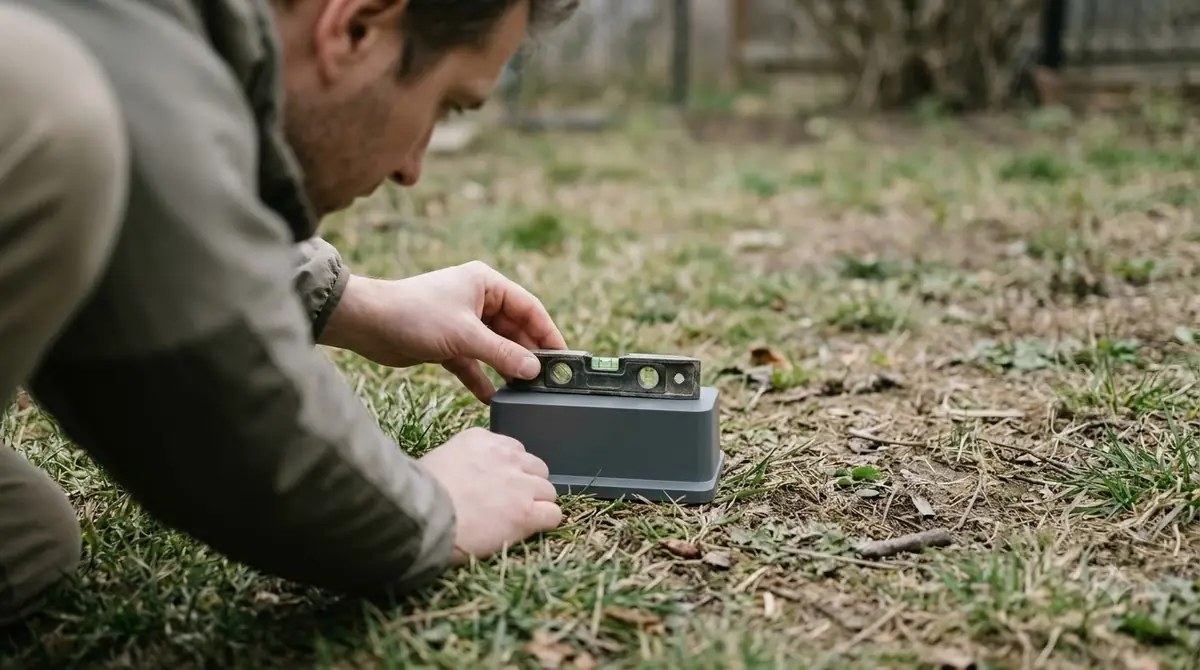
- Level ground: the station must sit on a level surface.
- Clear space: keep at least 60 cm (2 feet) of free space behind the station for boundary wire installs.
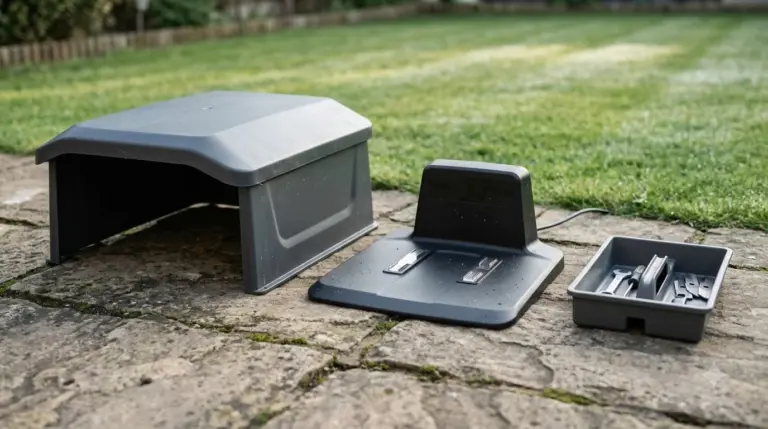
- Shade: protect the station from the sun, or use a mower house.
Husqvarna also suggests a central spot in the mowing area, and our guide to choosing a spot for the charging station goes deeper on placement. If the lawn is split into two sections by a steep slope, put the station in the lower section. Do not fix the station to the ground until all wires are in and the installation is verified, so you can still move it if the first test fails.
Guide wire: when a starter kit needs one
Most models treat the guide wire as optional, but Husqvarna’s US install page says it is always best to install one, and notes that some models, such as the 115H, need it to return home.
When you do install one, the rules in Husqvarna’s guide are specific. Run the guide wire straight for at least 2 m (6.5 feet) from the station, or 1 m (3.3 feet) for the Aspire R4. Avoid bends sharper than 45 degrees, and keep at least 30 cm (12 inches) between the guide wire and the boundary wire. Use the same wire type for both, and join them with an Automower coupler.
Tools to bring that the box may not include
Expect to supply your own hand tools. Husqvarna’s US install page lists a pair of pliers, a mallet and a small garden shovel as the tools you need, and does not include them in the kit.
- Pliers: for the coupler and for cutting or stripping wire.
- Mallet: to drive pegs or fix staples into the ground.
- Garden shovel, spade or lawn edger: needed only if you choose to bury the wire. Husqvarna says the wire can also be stapled to the surface of the ground.
Our reading is that a multimeter or wire break detector is a later purchase, not a starter kit item. Treat these hand tools as part of your own robot mower starter kit what to buy plan, since the box may not include them.
Optional extras worth a look
Several parts are worth buying only when your yard needs them, so a robot mower accessories checklist should put these last. Husqvarna’s install page says a splicing kit and extra wire are needed only to add an island to the layout later. Professional installation is a paid service and is not required for a DIY setup.
- Spare blades: our reading is that a spare set is handy for swaps during the season. Check your model’s blade type first.
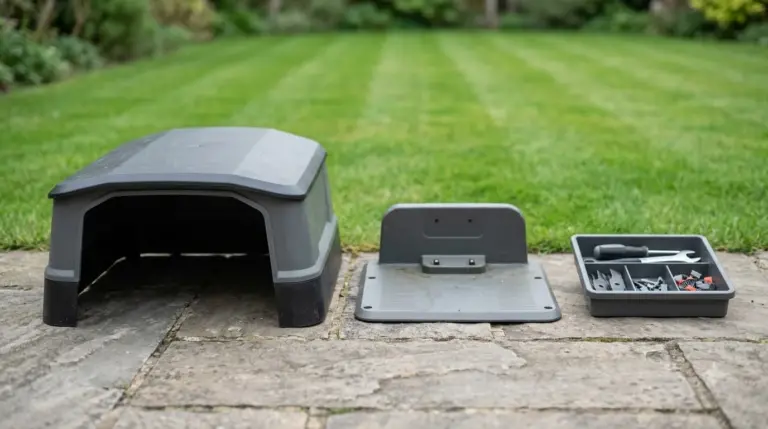
- Mower house or shelter: covers the charging station from sun, which Husqvarna lists as a placement need.
- Splicing kit: only for adding an island later, as explained in our wire splice kit guide.
- Professional installation: a paid option if you want the wire laid for you.
What to check before you buy
Use this robot mower starter kit what to buy checklist on any kit’s product page before you order. The goal is to avoid buying a kit that does not match your model or your yard. Wire-free mowers are a separate topic with different parts, so this list covers wired models only.
- Confirm the packing list. Make sure the charging station, power supply, wire, pegs or staples and connectors are listed, because install guides do not list every item.
- Match the wire to the model. Boundary wire and connectors must suit the mower, so do not mix parts from different brands.
- Check whether a guide wire is required. Look for it in the model manual, since Husqvarna lists some models that need one.
- Measure your yard for clear space. Plan 60 cm behind the station and room for wire 30 to 35 cm from walls and fences.
- Plan the tools. Have pliers, a mallet and a shovel ready before the day of installation, and read the boundary wire installation walkthrough first.
Frequently asked questions
Is the charging station included in a robot mower starter kit?
Check the packing list. Install guides do not list every item in the box, so confirm the station and its power supply in the model manual before you buy.
Do I need a guide wire?
For most models it is optional. Husqvarna recommends installing one, and some models need it to return home, so check your manual.
Are pegs or staples included?
Husqvarna’s installation kit includes staples to fasten the wire. Other brands may supply pegs of a different type, so confirm the count and type in your kit.
What tools do I need to install a robot mower?
Husqvarna’s US install guide lists pliers, a mallet and a small garden shovel as tools you supply.
Sources
- Automower DIY installation: what is in the box (Husqvarna): kit contents, tools, guide wire and optional items.
- Automower charging station: optimal placement and mower house guide (Husqvarna): level ground, clear space, shade and station location.
- How to lay a guide wire in a boundary wire Automower installation (Husqvarna): guide wire length, angle and spacing rules.
- Robot lawn mower perimeter wire (Anker, Eufy brand blog): obstacle distances, burial depth and connector guidance.
 Up next7 min readGearRobot Mower Accessories Not Worth It: What to Skip FirstUpdated Nov 11, 2026
 8 min readGearRobot Mower Accessories Worth Buying: What to Get and What to SkipUpdated Nov 11, 2026
 8 min readGearRobot Mower Wire Splice Kit: What It Includes and How to Use ItUpdated Nov 11, 2026
 8 min readGearRobot Mower Maintenance Kit: What to Include and How Often to Use ItUpdated Nov 11, 2026
 8 min readGearRobot Mower Camera Lens Cleaning Kit: Do You Need One?Updated Nov 11, 2026
 8 min readGearBest GFCI Outlet Cover for Robot Mower: What to Check Before You BuyUpdated Nov 11, 2026