
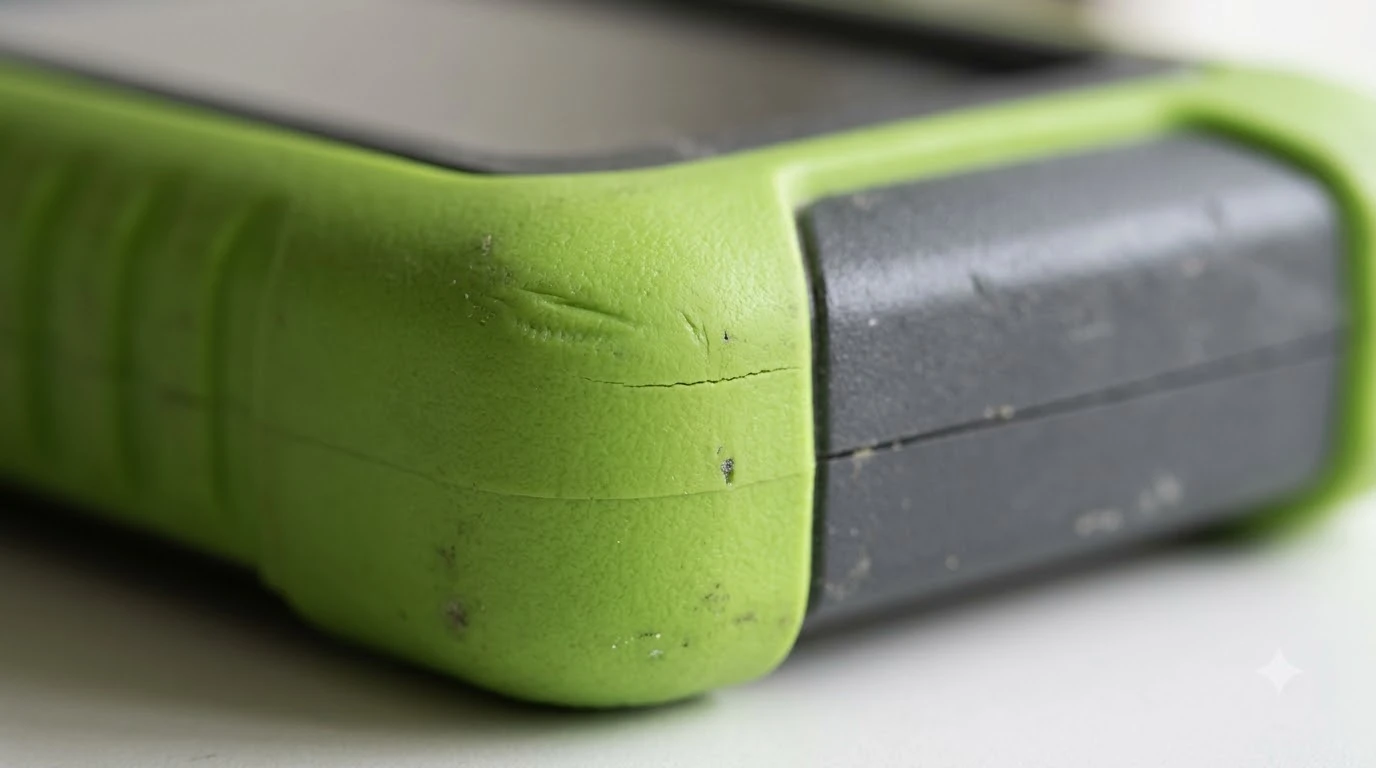

Choosing the best replacement rubber bumper strip for brick walls comes down to matching a high-durability outdoor elastomer—such as UV-stabilized EPDM or flexible TPU—to your robot mower’s exact shell contour without restricting floating bumper travel. Brick masonry acts like coarse sandpaper against factory plastic housings, rapidly gouging corners and wearing down thin stock trim during repeated perimeter turns. A well-fitted replacement strip absorbs abrasive grazing and light impacts while leaving internal collision sensors free to trigger normally.
The short answer
- Why brick wears bumpers fast: Fired clay brick and mortar joints feature rough, porous edges that abrade hard ABS mower shells far faster than smooth vinyl fencing or timber edging.
- Best material choices: UV- and ozone-resistant EPDM rubber or heavy-duty flexible TPU hold their elasticity across wide outdoor temperature swings without cracking or hardening.
- OEM vs. aftermarket fit: Factory rubber moldings use model-specific channels or rivets, while universal adhesive strips require careful trimming so they never bridge the body-to-chassis gap.
- Sensor clearance comes first: A strip that is too thick or stiff can bind the floating outer shell, preventing internal collision sensors from registering contact or causing false stop errors.
- Simple upkeep prevents faults: Brushing grass grit out of the bumper seam and wiping the strip with a damp cloth keeps the housing moving freely without risking water damage to electronics.
Why brick walls destroy standard robot mower bumpers
Brick walls and raised masonry planters punish robot mower shells through constant, low-speed abrasion rather than single high-force crashes.
Unlike smooth PVC fencing or wooden raised beds, fired clay brick and recessed mortar joints present an irregular, gritty surface. Every time a boundary-wire mower runs a perimeter lap or a vision-guided unit experiences signal reflection near a long wall—a phenomenon noted in Segway Navimow H-series user documentation where flat walls can interfere with satellite positioning—the front or side edge of the mower grazes the masonry. Over a single mowing season, those hundreds of glancing contacts chew through thin factory decals, scuff rigid polycarbonate shells, and shred soft foam trim.
Once the outer edge of a mower housing becomes rough or gouged, friction against brick increases. Instead of sliding smoothly along the wall until the collision switch trips and reverses the drive wheels, a scarred plastic corner can catch on a mortar joint. That snagging forces the drive motors to push harder against the wall, accelerating wear on wheel treads and placing extra stress on the mounting posts that hold the floating body onto the lower chassis.
Types of replacement bumper strips and materials
Replacement bumper strips generally fall into three construction styles, each balancing abrasion resistance, weather durability, and installation complexity differently.
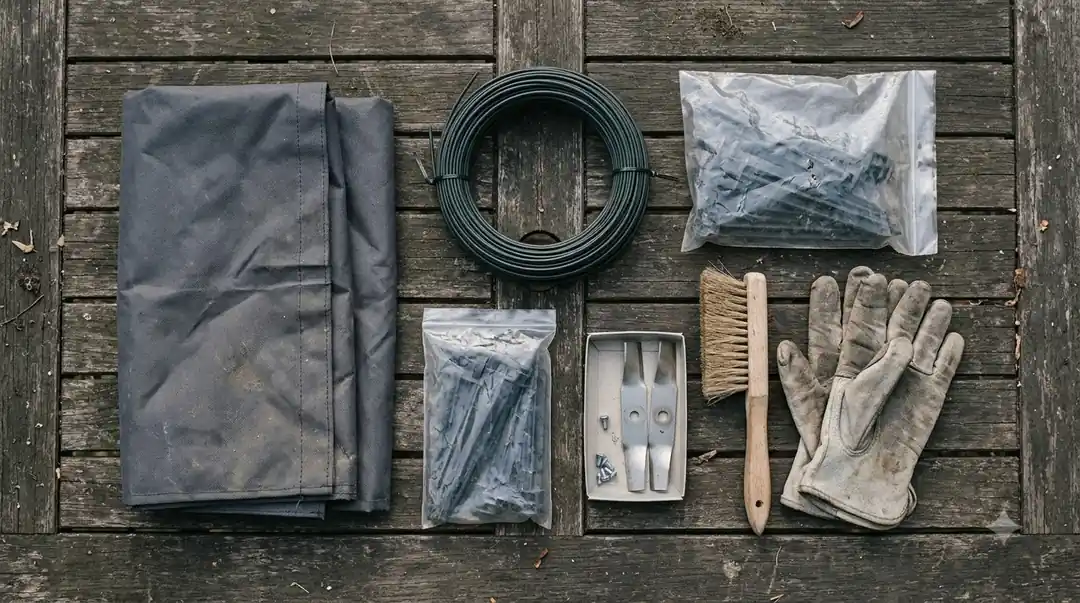
Mower owners shopping for brick-wall protection generally encounter OEM molded rubber strips, 3D-printed TPU or PETG corner guards, and cut-to-length EPDM adhesive extrusion rolls. According to industrial elastomer specifications from Diconfa, EPDM rubber maintains flexibility from minus 40 degrees Celsius up to plus 120 degrees Celsius while resisting UV radiation, ozone, and moisture—properties that directly address full-sun yard exposure. By contrast, standard PVC or untreated natural rubber strips tend to stiffen, chalk, or peel after one summer of ultraviolet exposure and morning dew.
| Strip type | Typical material | Attachment method | Brick abrasion resistance | Sensor interference risk |
|---|---|---|---|---|
| OEM replacement molding | Molded EPDM or TPE rubber | Factory clips, rivets, or pre-applied tape | Moderate to high; engineered for exact shell radius | Low when installed per manufacturer manual |
| Custom aftermarket side/corner guards | Flexible TPU or rigid PETG | 3M VHB automotive tape or small M3 screws | High on corners; rigid PETG can transfer shock | Low to moderate if clearance gaps are respected |
| Universal D-profile or flat extrusion roll | UV-stabilized EPDM foam or solid rubber | Acrylic foam self-adhesive backing | High for solid EPDM; lower for open-cell foam | High if applied across the floating body seam |
Solid rubber profiles outperform closed-cell foam strips against brick. While soft foam feels cushiony out of the package, coarse brick edges tear chunks out of foam within weeks. Solid EPDM or thick elastomer profiles deflect off masonry cleanly and resist tearing even when the mower pivots directly against a sharp brick corner.
What to look for before choosing a bumper strip
Evaluating thickness, adhesive chemistry, and shell geometry ensures a replacement strip protects against brick without triggering false collision alarms.
Start by inspecting how your mower detects obstacles. Most robotic mowers use a floating outer shell mounted on flexible pillars or joysticks; when the shell shifts a few millimeters upon touching a wall, Hall-effect or optical sensors register the collision. According to Husqvarna Automower collision sensor troubleshooting guidance, anything that prevents the body from moving freely around the chassis—including misaligned housings or trapped debris—will trigger persistent collision sensor faults. A replacement strip must never bridge the gap between the upper floating body and the lower fixed chassis.
- Profile thickness and bevel: Look for a low-profile D-shape or beveled flat strip that adds cushioning without protruding so far that it catches on brick corners or pushes the mower into adjacent wheel-trap hazards.
- Outdoor-rated acrylic adhesive: Standard household double-sided tape fails quickly under sprinklers and summer heat; look for genuine outdoor acrylic foam tape (such as 3M VHB) or mechanical fastener compatibility.
- Ultrasonic and camera cutouts: If your mower uses front ultrasonic sensors, LiDAR, or stereo cameras to slow down before touching walls, confirm the strip sits strictly below the sensor field of view.
- Colorfastness and non-marking finish: Low-grade black rubber can leave dark scuff streaks on light-colored brick or limestone trim; non-marking EPDM or gray elastomer avoids staining masonry.
Heads up
Never glue, tape, or screw a bumper strip across the seam separating the movable outer shell from the main chassis. Locking those two halves together disables physical impact sensing and can cause the mower to grind continuously against brick walls until the drive motors overheat or fault out.
How to fit a replacement rubber bumper strip properly
Clean surface preparation and dry-fitting are the two factors that keep an adhesive or riveted bumper strip from peeling off after wet mowing cycles.
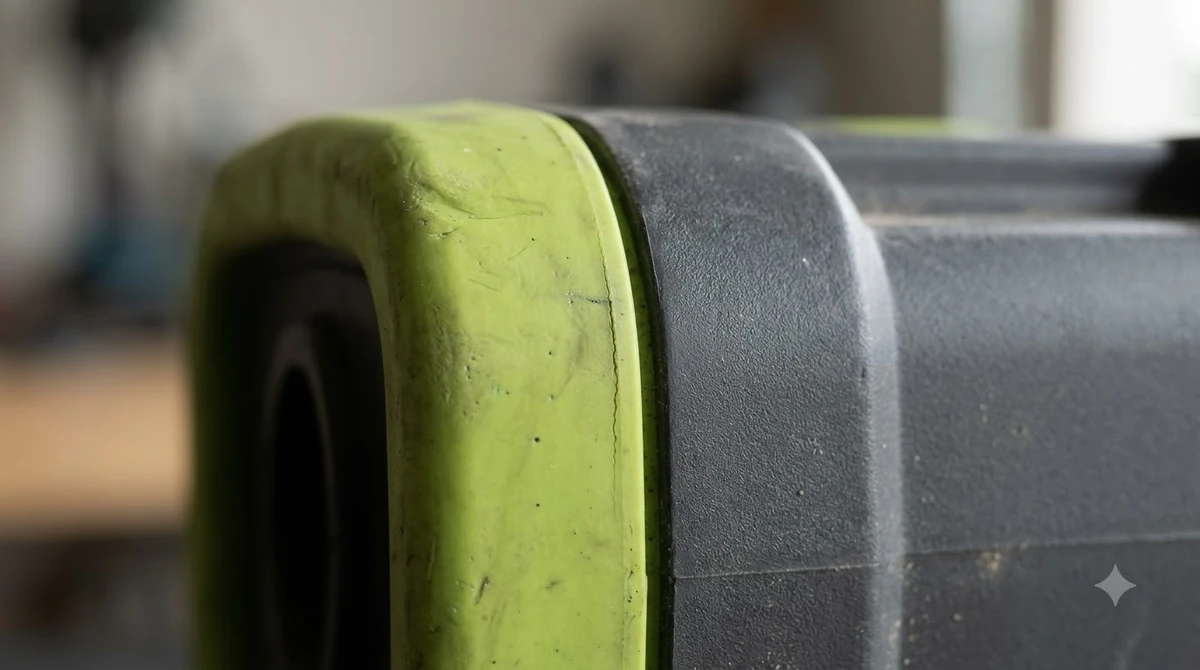
Before ordering or cutting any strip, check your mower’s warranty terms and confirm whether your model uses a replaceable OEM rubber molding—some Husqvarna Automower G2 and X-line housings, for example, use dedicated rubber strips secured with adhesive backing and small rivets. If you are fitting an aftermarket EPDM strip or custom corner guard, follow a methodical prep sequence in a dry workspace.
- Power down and isolate the blades. Turn the mower off completely via the main power switch or remove the safety key, and wear work gloves to protect your hands from the cutting disc underneath.
- Strip old adhesive and scrub the shell. Peel away any torn remnants of the previous bumper strip, remove gummy residue with an adhesive remover safe for ABS plastics, and wash away dried grass sap.
- Degrease the bonding zone with isopropyl alcohol. Wipe the clean plastic bumper edge with 70 percent or higher isopropyl alcohol and let it air-dry completely so no moisture or mold-release oils remain.
- Dry-fit and mark sensor boundaries. Hold the new rubber strip against the contour of the shell without removing the liner, marking where to stop short of ultrasonic eyes, charging contacts, and body-to-chassis gaps.
- Apply gradually with firm, even pressure. Peel back a few inches of adhesive liner at a time, press the strip along the curve without stretching the rubber—stretched rubber shrinks back and lifts at the ends—and roll it firmly with your thumb.
- Test shell travel and allow cure time. Push the mower body gently from the front and both sides to verify it springs back smoothly without rubbing, then let the adhesive cure indoors for 24 hours before mowing.

Routine maintenance to extend bumper and sensor life
Weekly debris clearing and gentle wipe-downs keep both the rubber strip and the underlying collision sensors working reliably all season.
Brick dust, fine sand, and damp grass clippings naturally work their way into the gap behind a bumper strip. As noted in Anker’s robotic lawn mower maintenance guide, owners should use a soft brush or cloth to clear debris from seams and avoid spraying water directly at sensors, cameras, charging contacts, or ports—and never use a pressure washer, which can force water past seals and peel adhesive edges off the shell.
- Weekly seam check: Run a dry soft-bristle paintbrush along the top and bottom edges of the rubber strip to dislodge grit before it packs into the body gap.
- Monthly manual flex test: With the mower powered off, push the bumper inward at several angles to ensure the floating mount rebounds crisply without sticking.
- Edge lift repair: If a corner of an adhesive EPDM strip begins lifting mid-season, clean underneath with a cotton swab dipped in isopropyl alcohol and re-bond the tab with a drop of flexible cyanoacrylate or outdoor rubber adhesive rather than letting it snag on brick.
- Perimeter adjustment: If one section of brick wall still causes heavy scuffing, shift your boundary wire slightly outward or adjust virtual keep-out offsets in the app so the mower turns just shy of the masonry.
Frequently asked questions
Will adding a thicker rubber bumper strip fix collision sensor errors?
No. A rubber strip only cushions the outer shell from scrapes and minor impacts; it does not repair faulty Hall-effect sensors or free a jammed body. In fact, an overly thick strip can wedge against the lower chassis and cause new collision sensor errors.
Is EPDM rubber better than foam tape for brick walls?
Yes, solid EPDM rubber lasts significantly longer against rough brick than open- or closed-cell foam strips. Coarse masonry shreds soft foam quickly, whereas solid EPDM resists tearing, handles UV exposure, and lets the mower slide off walls smoothly.
Can I stretch a universal rubber strip around tight mower corners?
Avoid pulling the strip tight as you press it around curved corners. Stretching rubber creates constant tension that causes the ends to peel away in warm weather; instead, feed the strip loosely into curves or make small relief notches on the hidden inner flange.
How do I clean mud off a rubber bumper strip without loosening the glue?
Switch the mower off, brush away loose dried dirt with a soft dry paintbrush, and wipe the rubber face with a lightly damp microfiber cloth. Keep water jets and harsh solvents away from the adhesive edge and nearby ultrasonic or optical sensors.
Sources
- Collision sensor problem – Automower error message (Husqvarna): referenced for how trapped debris and restricted body movement around the chassis trigger collision sensor faults.
- Robotic Lawn Mower Maintenance: Easy Care and Repair Tips (Anker): referenced for safe seam cleaning methods and avoiding direct water sprays or pressure washers near sensors and seals.
- EN Navimow H-series User Manual V2.1 (Segway): referenced for how long, flat walls interfere with satellite positioning signals and cause mowers to bump into walls.
- EPDM rubber strips – weather-resistant & durable (Diconfa): referenced for EPDM outdoor temperature ratings (minus 40°C to plus 120°C), UV/ozone resistance, and adhesive mounting properties.
 Up next7 min readGearBest Replacement Cutting Disc Guard for Rocky Lawns: Materials, Fit, and CareUpdated Nov 19, 2026
 6 min readGearRobot Mower Collision Bumper Strips: Are They Worth It?Updated Nov 20, 2026
 8 min readGearBest Rubber Threshold Ramp for Sliding Glass Door Tracks: Buyer and Fit GuideUpdated Nov 19, 2026
 6 min readGearRobot Mower Rubber Wheel Covers: Fit, Grip and Trade-offsUpdated Nov 20, 2026
 8 min readGearRobot Mower Bumper Sensor Replacement: What to Check FirstUpdated Nov 19, 2026
 8 min readGearBest Waterproof Junction Box for Outdoor Mower Power BricksUpdated Nov 19, 2026