
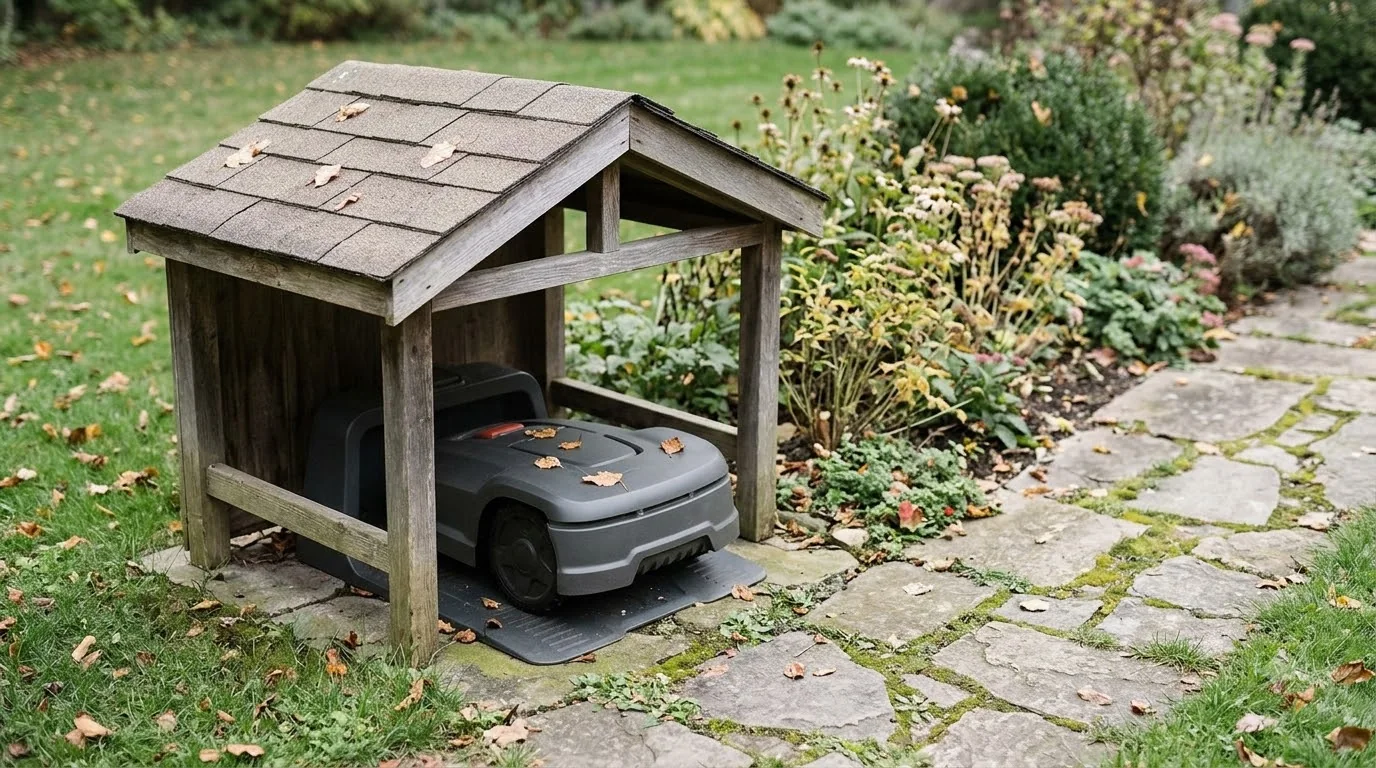

A Husqvarna Automower charging station needs a level spot, a nearby power outlet, shelter from direct sun and clear space in front of it, and the exact clearances depend on whether your mower uses wire-free EPOS navigation or a physical boundary wire. Husqvarna’s own support guides set out these rules, so start there before you buy, move or replace the station. The notes below summarize what the guides say and add our reading for the choices that come up most often.
The short answer
- Power: place the station near an outlet, but not so close that the cable is strained.
- Clearance: keep 6 m (20 ft) of free space in front for EPOS wire-free setups, or 3 m (10 ft) for a boundary-wire setup.
- Ground: the surface must be level, and the baseplate must not be bent.
- Fixing: do not screw the station down until all wires are connected and the installation has been tested.
What the charging station does and why placement matters
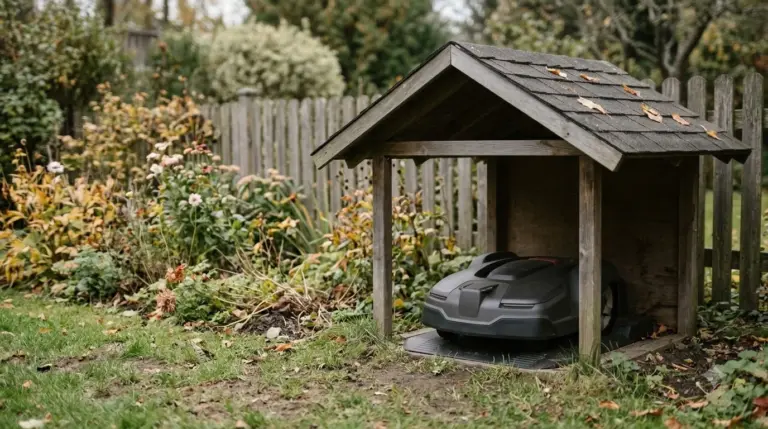
The charging station is where the mower docks, recharges and waits between sessions. Its position also shapes how the mower enters and leaves the lawn, so a poor spot causes docking trouble that no app setting can fully fix. Husqvarna treats placement as the first step of installation for that reason. Weather protection is optional but common, and a cover for the Automower station should leave the front open for the approach.
Husqvarna’s charging station guide covers both wire-free and wire-based installations. Read the section for your setup before you dig holes, run cable or fix the station to the ground.
Placement rules for the charging station
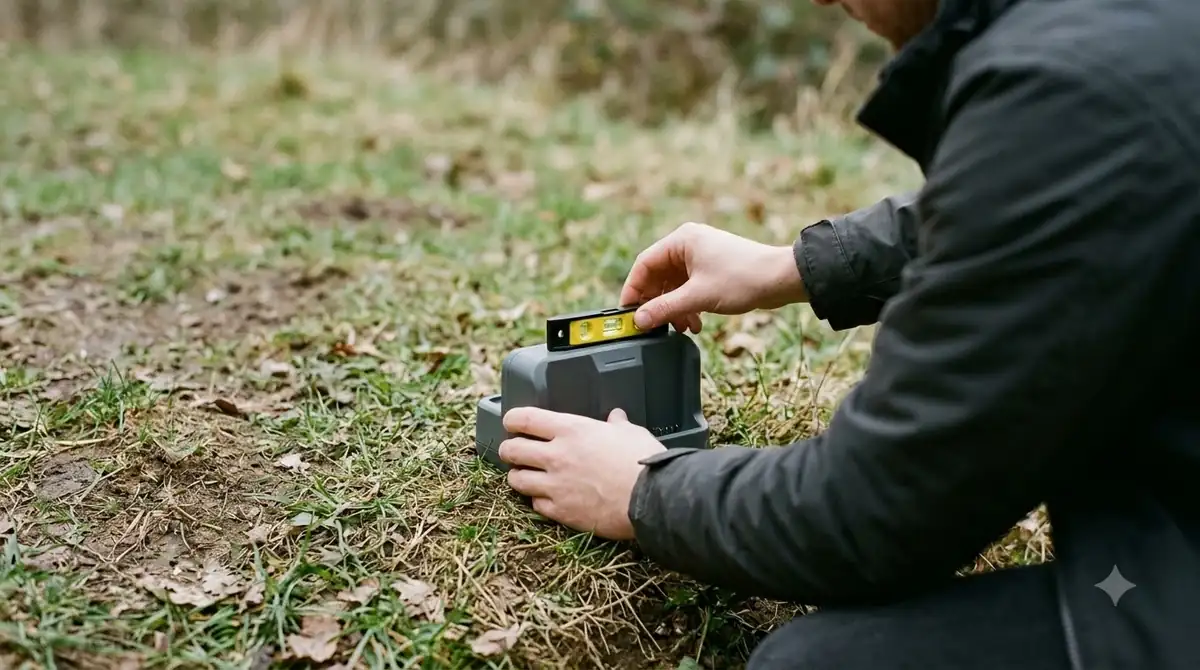
The guide asks for three basics: a level surface, a nearby power outlet and shelter from direct sun. Husqvarna says to place the station near a power outlet, but not so close that the cable is strained. It gives two options for sun protection: shelter the station from direct sun, or use an Automower house. It notes that shade is recommended rather than a substitute for a house in every case. Placement rules assume a level surface, so a base plate for a level station can help on uneven lawn.
The baseplate must not be bent, so check it before you assemble the station. If a slope splits the work area into two parts, the guide says to place the station in the lower section. Our reading is that this rule matters most on hilly lawns, where a station in the upper section can force the mower to climb back down a slope every time it docks.
Clearance in front of the station
Clearance rules depend on the navigation system. For EPOS wire-free setups, Husqvarna says to keep at least 6 m (20 ft) of free space in front of the charging station. For a physical boundary wire, the minimum is 3 m (10 ft) in front. The boundary-wire setup also asks for at least 150 cm (60 in) of free space on each side of the station’s centre and at least 60 cm (2 ft) behind it. Clearance in front can be affected by slope, and a leveling pad when the ground dips can correct small gradients.
These clearances are the minimum the guide gives. A mower that lines up and docks from further away needs more room, so measure the actual approach before you fix the station in place.
Husqvarna automower charging station wiring: boundary and guide wires
For wire-based setups, Husqvarna’s connection guide explains which pin each wire uses. The boundary wire ends get Automower connectors, which you close with pliers and trim so 1 to 2 cm (0.4 to 0.8 in) protrudes. The right boundary connector goes through the right slot in the station tower onto the pin marked AR, and the left connector goes onto the pin marked AL. Matching cable and pegs matters at the station, so see perimeter wire and pegs for Automower before relaying the loop.
Guide wires use the pins marked GUIDE, G1, G2 or G3, but the number you can use depends on the model. The guide says the 320 NERA, 305E NERA and 310E NERA have three guide pins but support only two guide wires, so you should use G1 and G2 only, since G3 does not work on those models. The 405XE NERA, 410XE NERA, 430X NERA and 450X NERA support all three guide wires.
Label each wire before you disconnect anything. The guide suggests this step in particular if you store the station indoors over winter, so the wires are easy to reconnect in spring.
Securing the station and testing the setup
Once the wires are connected, Husqvarna says to secure the charging station to the ground with the supplied screws. Its placement guide adds a separate warning: do not fix the station to the ground until every wire is installed and the setup has been confirmed to work. Our reading is that the order matters, because moving a fixed station to correct a wire mistake is far more work than adjusting a loose one. Once the position is right, ground stakes that secure the station stop it shifting during repeated docking.
For wire-free EPOS installations, Husqvarna’s iQ Series DIY page lists setup videos for the charging station, reference station and pairing, plus a pre-installation checklist. Use those alongside the placement guide rather than working from memory.
What to check when buying or replacing a station
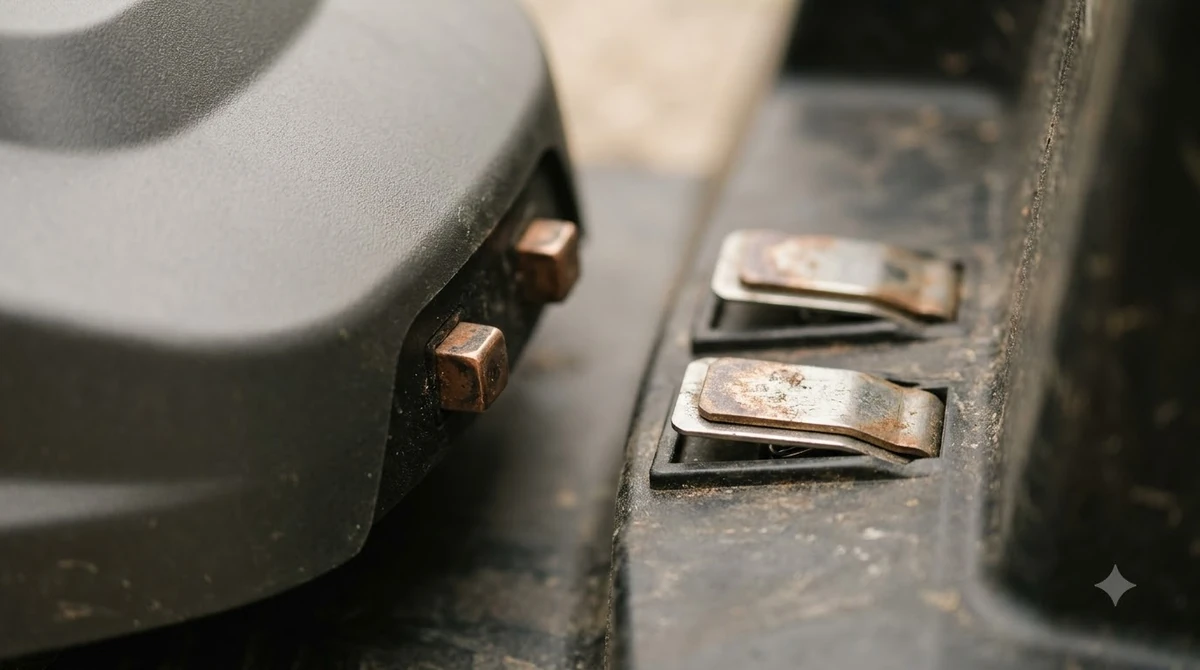
When you buy or replace a station, match it to your mower model before you look at anything else. Husqvarna’s guides list different guide-wire support by model, so check the guide-wire pin count against your mower model before you buy or replace anything. When replacing parts, spare charging contacts for the station are a lower-cost fix than a whole unit.
The 430X NERA page is a useful reference for the mower side of the same setup. It lists a working area capacity of 3,200 m² and a maximum slope performance of 25% at the boundary and 50% inside the installation. Those figures tell you how far the station can be placed from the steepest part of the lawn, which is why a slope-aware placement matters.
Husqvarna also sells a Terrain Kit and a Wheel Brush Kit as accessories for the 430X NERA. The product page does not say what either changes at the station, so do not assume a kit solves a docking problem without checking its description.
Frequently asked questions
How far should the charging station be from the outlet?
Husqvarna asks for a nearby outlet, but not so close that the cable is strained. Check that the cable cannot be caught by the mower or the lawn tools, and keep it out of standing water.
How much space does the mower need in front of the station?
For EPOS wire-free setups, Husqvarna gives 6 m (20 ft) in front. For a boundary wire it gives 3 m (10 ft) in front, plus 150 cm (60 in) on each side of the centre and 60 cm (2 ft) behind.
Can I use a guide wire count of three on every model?
No. Husqvarna’s connection guide says the 320 NERA, 305E NERA and 310E NERA support only two guide wires, so G1 and G2 are the only ones to use on those models. The 405XE, 410XE, 430X and 450X NERA support all three.
Should I fix the station to the ground before testing?
No. Husqvarna says to secure the station with the supplied screws only after the wires are connected and the setup is confirmed to work. As of Nov 2026, check the guide for your region, since the instructions vary slightly between regional support sites.
Sources
- Automower charging station and mower house guide (Husqvarna): power outlet, shelter, level surface, clearances, slope placement and the fixing warning.
- How to connect the boundary and guide wires to the Automower charging station (Husqvarna): connector and pin layout, guide-wire support by model.
- Automower 430X NERA product page (Husqvarna): working area, slope performance at the boundary and inside the installation, accessory list.
 Up next7 min readGearWorx Landroid Charging Station: Placement, Limits, and FixesUpdated Nov 13, 2026
 7 min readGearHusqvarna Automower Accessories Worth Buying: What to CheckUpdated Nov 20, 2026
 7 min readGearHusqvarna Automower Replacement Blades: Part Numbers and Fit ChecksUpdated Nov 20, 2026
 7 min readGearHusqvarna Automower Spare Parts: What Exists and Where to Buy Genuine OnesUpdated Nov 20, 2026
 9 min readGearBest Garage for Husqvarna Automower: Fit, Airflow and Winter StorageUpdated Nov 14, 2026
 8 min readGearHusqvarna Automower Replacement Battery: Dealer Swap and LifespanUpdated Nov 19, 2026