
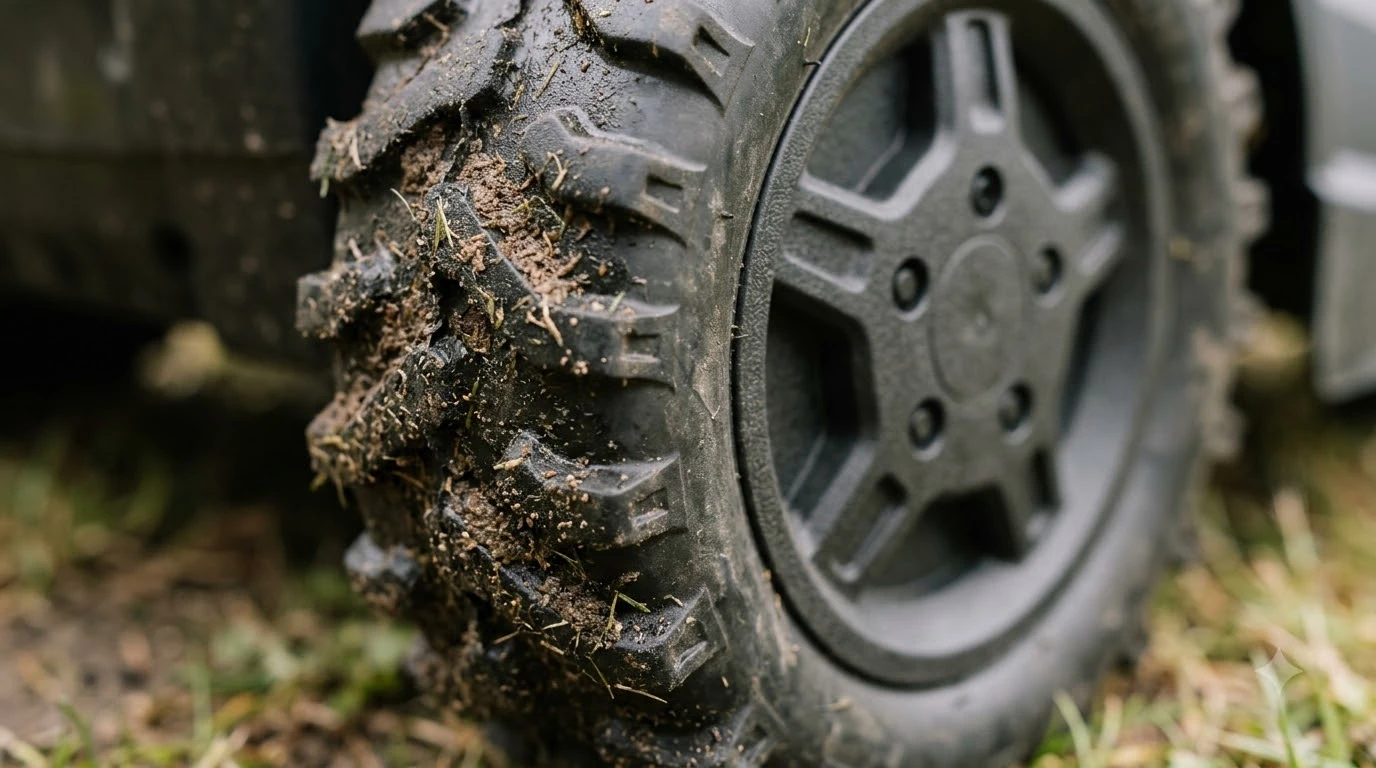

How to replace worn rubber treads on robot mower wheels? On nearly every consumer robot mower, you replace the entire drive wheel assembly rather than peeling off and gluing on a bare rubber tire, because manufacturers mold solid rubber or TPU treads directly onto the plastic wheel hub. Swapping a pair of worn drive wheels usually takes under 20 minutes with basic hand tools once you power down the unit and pry off the center hubcap. Checking whether your traction loss stems from caked mud, smooth rubber lugs, or a stiff axle bearing saves you from buying parts you do not need.
The short answer
- Whole-wheel swap is standard: Brands like Husqvarna, Worx, and Segway Navimow supply complete drive wheel assemblies instead of loose rubber tread sleeves, as solid rubber or thermoplastic polyurethane (TPU) tires are bonded to the rim.
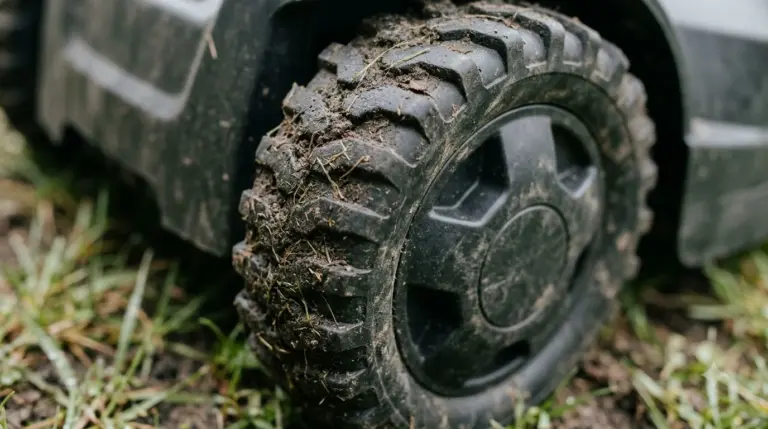
- Inspect and clean first: Dried grass and clay packed into tread grooves mimic bald tires; scrub the lugs with mild soapy water and a soft brush before ordering replacements.
- Safety lockout comes first: Always press STOP, turn off the main power switch, and wear heavy gloves so you do not nick your hands on the underside cutting disc while tipping the mower.
- Basic tools handle most models: A flathead screwdriver to pop the hubcap, a Torx driver (often T20) or a 16 mm box wrench for axle hardware, and a damp cloth are typically all you need.
- Replace wheels in pairs: Installing one fresh lugged wheel opposite a worn wheel creates uneven rolling diameters, which can make boundary-wire and GPS mowers drift off straight lines.
Why most robot mowers use bonded wheel assemblies
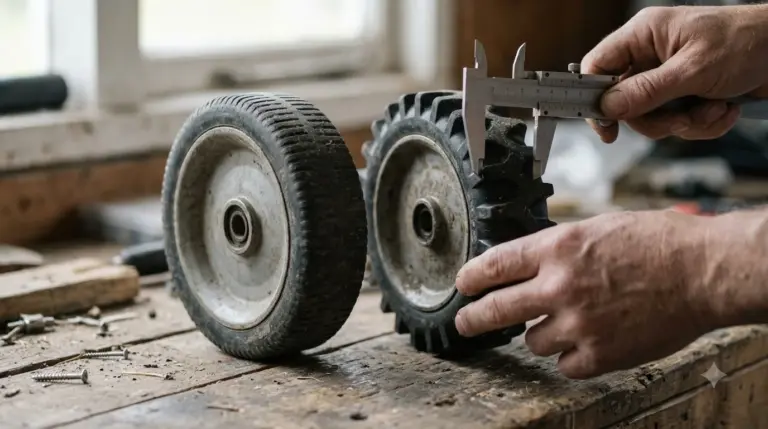
Consumer robot lawn mowers rely on airless, solid rubber or TPU treads permanently molded onto rigid hubs, so replacing worn grip means swapping the complete wheel unit rather than stretching a loose tire onto a rim.
Unlike pneumatic lawn tractor tires that use inner tubes and detachable beads, robotic drive wheels must resist punctures, hold exact outer diameters for odometry sensors, and survive daily exposure to damp turf. According to Segway Navimow support documentation, modern models use solid rubber or TPU tires specifically so owners never have to manage air pressure or patch flats. Because the tread compound is bonded or mechanically locked onto the hub during manufacturing, trying to pry off just the rubber layer usually destroys the plastic spokes beneath it.
The only common exception is bolt-on traction accessories. Several manufacturers and third-party shops sell off-road wheel kits, heavy-duty treaded replacement wheels, or stainless-steel spike rings that screw into the existing plastic rim. Even with those kits, you either mount a complete OEM rough-terrain wheel assembly or fasten metal grip plates onto a healthy rubber base—neither method rescues a wheel whose rubber lugs have already worn smooth down to the carcass.
How to tell if worn treads are actually causing wheel slip
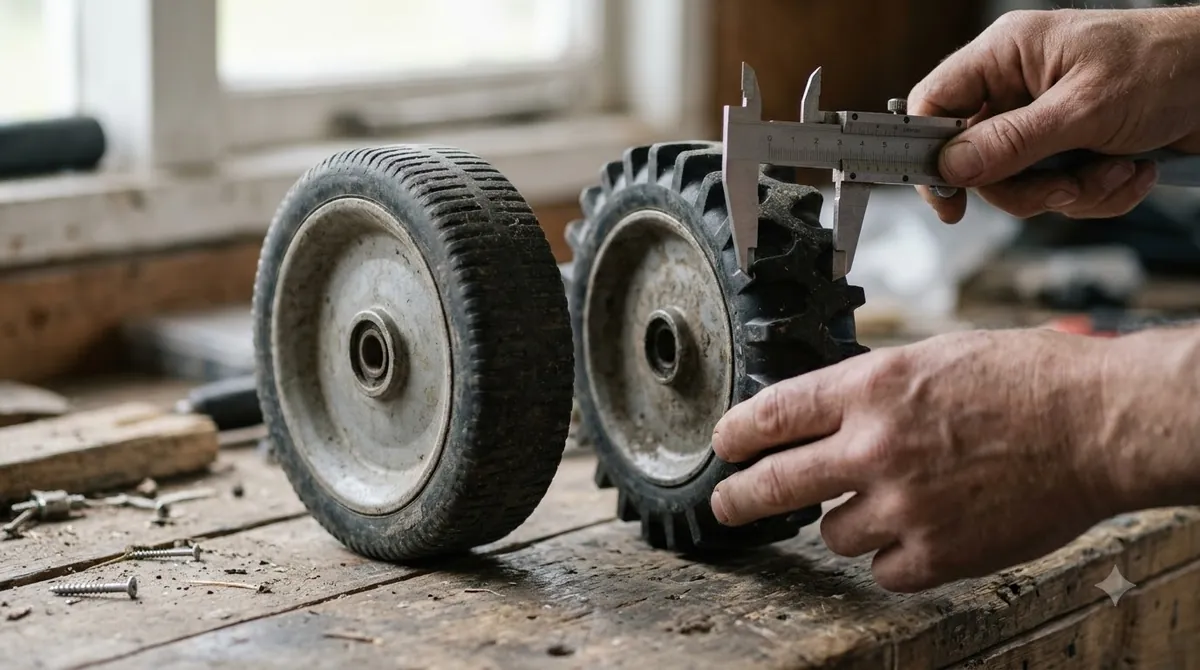
Before ordering replacement wheels, rule out packed mud, wet grass timing, and binding wheel bearings, because all three produce the exact same slope-slipping symptoms as bald rubber.
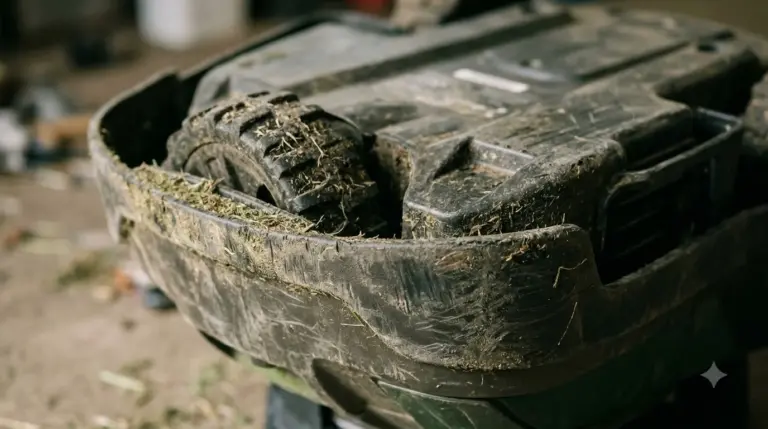
When a drive wheel loses grip on an incline, the spinning tread tears grass roots and leaves bare ruts in your lawn. Industry maintenance guides note that traction on wet or damp grass drops sharply compared to dry turf, so a mower that slips right after morning dew or rain may simply need a schedule adjustment rather than new hardware. According to Mammotion’s maintenance guide, soil and clippings packed between the tread lugs prevent the rubber from biting into the turf and force the wheel motors to work harder over the season.
| Symptom | Likely cause | Recommended fix |
|---|---|---|
| Slips only in morning dew or after rain | Wet turf reducing rubber friction | Delay start times until grass dries or enable rain delay |
| Lugs look rounded and shallow after washing | Genuine rubber tread wear | Order a matched pair of OEM drive wheel assemblies |
| Tread grooves are packed smooth with soil | Compacted mud and grass buildup | Scrub grooves with a soft brush and mild soapy water |
| One wheel drags, clicks, or resists turning by hand | Wrapped grass or worn axle bearing | Remove wheel, clear axle shaft, and inspect bearings |
| Mower veers slightly sideways on flat straightaways | Uneven wear or mismatched wheel diameters | Replace both drive wheels at the same time |
To check true rubber wear, clean the tire thoroughly with a soft brush and lukewarm soapy water, then let it dry completely. Inspect the outer edges of the lugs: on a healthy wheel, the tread blocks have crisp, square edges that dig into soil on side slopes. Once those blocks round off into smooth domes or show deep dry-rot cracks across the rubber face, cleaning will no longer restore hill-climbing grip.
Tools and parts to gather before you start
Gathering your model’s exact OEM wheel part numbers and a handful of standard hand tools keeps the swap quick and prevents stripped fasteners.
Check the serial sticker under your mower’s top hatch or look up the illustrated parts diagram for your exact model year before ordering, because manufacturers often revise axle splines and hubcap clips between generations. Based on our reading of manufacturer service manuals for Husqvarna Automower and Worx Landroid units, most rear drive wheel replacements require only a small flathead screwdriver, a Torx T20 driver or 16 mm box wrench, a microfiber cloth, and silicone-free wheel bearing grease if your model uses separate axle seals.
Heads up
Never apply automotive tire shine, silicone spray, or oil-based lubricants to robot mower treads to make them look black again. Those coatings turn rubber slick on damp grass, attract abrasive grit, and can degrade synthetic TPU compounds.
Step-by-step: how to replace worn rubber treads on robot mower wheels
Replacing the worn drive wheels follows a straightforward sequence of powering down the chassis, unclipping the hubcap, removing the axle fastener, and seating the new assembly.
While exact fastener styles vary between a central hex nut (common on Worx Landroid models) and three-to-four perimeter Torx screws (common on Husqvarna Automower and Segway Navimow models), the overall workflow stays consistent across two-wheel-drive and all-wheel-drive bots.
- Power down and disable the mower. Press the red STOP button, switch the main power toggle to the OFF position (0), and remove the safety key or battery pack if your manual specifies it for underside maintenance.
- Protect the top shell and blades. Set the mower upside down or on its side on a thick towel, cardboard sheet, or foam mat so you do not scratch the top housing or bump optical sensors. Wear cut-resistant gloves whenever your hands work near the underside cutting disc.
- Pop off the center hubcap. Look along the edge of the wheel hubcap for two or three small pry notches. Insert a small flathead screwdriver into a notch and gently twist to release the plastic retaining tabs without snapping them.
- Remove the axle nut or mounting screws. Depending on your brand, either loosen the center hex nut counterclockwise with a 16 mm wrench (holding the tire steady with a gloved hand) or back out the Torx screws securing the wheel hub to the drive motor flange. Keep washers and lock rings in order on your towel.
- Slide off the old wheel and clean the axle. Pull the worn wheel straight off the drive shaft. Wipe away wrapped grass fibers, hair, and dried mud from the motor shaft and wheel well using a damp cloth, and check that the rubber axle seal sits flat without tears.
- Mount the new wheel assembly and torque evenly. Align the keyway, splines, or screw holes on the replacement wheel with the drive hub and push it fully onto the shaft. Reinstall any washers and tighten the axle nut or Torx screws snugly—if your manual lists a torque value, such as 22 to 24 Nm on certain Landroid drive hubs, use a torque wrench rather than over-tightening into plastic threads.
- Snap on the hubcap and test rotation. Align the plastic tabs on the hubcap with the slots in the new wheel rim and press firmly until it clicks flush. Flip the mower upright, spin each wheel gently by hand to confirm smooth movement without rubbing, and run a short test on flat grass before returning to steep slopes.
Preventing premature tread wear on your next set of wheels
Simple adjustments to mowing schedules, obstacle clearance, and weekly cleaning can double the working life of fresh rubber treads.
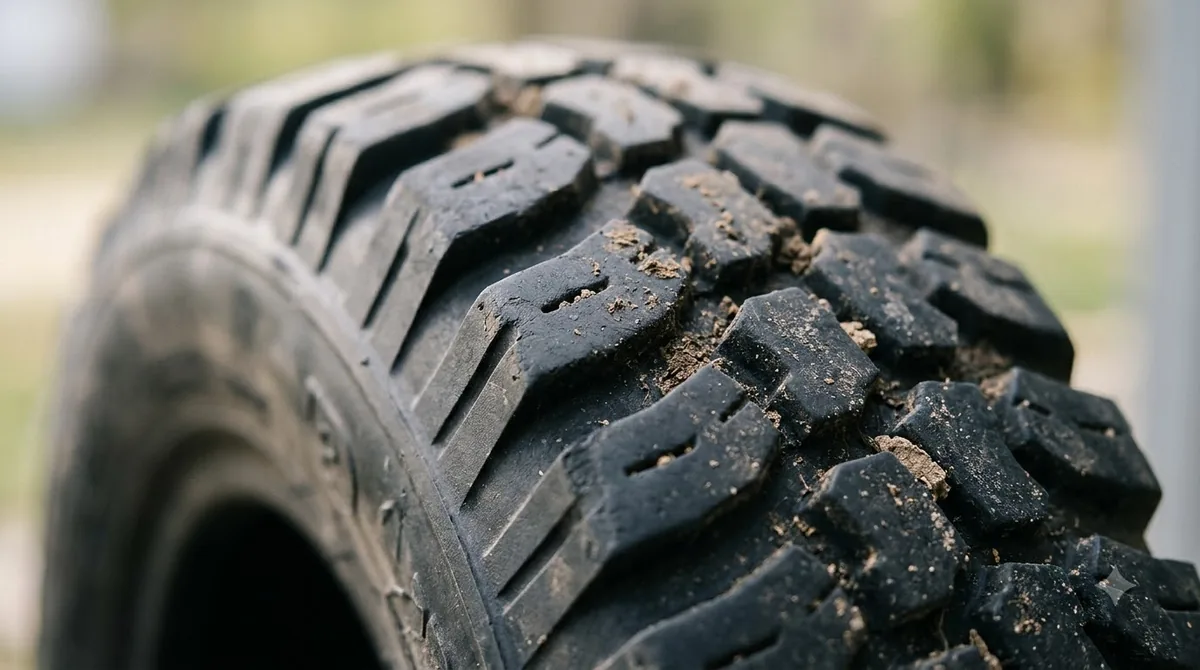
Rubber lugs wear fastest when a wheel spins in place against abrasive surfaces—such as concrete patio edging, gravel borders, exposed tree roots, or steep muddy banks. When a robot mower repeatedly climbs a slick incline and loses traction, every wheel revolution acts like sandpaper against the rubber blocks.
- Keep mowers off wet turf: Enable your mower’s rain sensor or delay morning start times until dew evaporates so the drive wheels roll cleanly instead of spinning in mud.
- Brush out tread grooves weekly: Removing caked clay and grass clippings prevents dried grit from grinding down the rubber shoulders during dry summer weeks.
- Adjust boundary distances near hardscapes: If the outer drive wheel constantly scrapes along brick pavers or concrete curbs during perimeter passes, nudge the boundary wire or virtual map edge a couple of inches inward.
- Avoid unauthorized wheel weights: Adding heavy aftermarket weights to improve hill grip overloads the wheel gearbox and accelerates rubber abrasion; if your lawn exceeds your mower’s rated slope angle, block off that steep section rather than forcing the tires to claw up it.
Frequently asked questions
Can you buy just the rubber tire sleeve instead of the whole robot mower wheel?
For almost all consumer robot mowers manufacturers only sell complete drive wheel assemblies rather than bare rubber tire sleeves. The solid rubber or TPU tread is factory-bonded to the plastic rim so it cannot slip under torque or throw off wheel-speed sensors.
Should I replace both robot mower drive wheels at the same time?
Yes, replacing drive wheels in pairs is strongly recommended. A brand-new wheel has taller rubber lugs and a slightly larger rolling circumference than a worn wheel, which can cause your mower to veer slightly off course or trigger navigation errors on straight runs.
Do I need to recalibrate my mower in the app after installing new wheels?
Most boundary-wire and GPS robot mowers do not require user recalibration after a standard wheel swap, though some service guides note that dealer-level wheel or motor replacements on certain smart models use an app calibration routine. Always test the mower on flat ground first to verify straight tracking and normal docking.
What about front caster wheels—do their rubber treads wear out too?
Front caster wheels carry less weight than powered rear drive wheels, so their smooth rubber rings wear more slowly, though they can develop flat spots if a bearing seizes with wrapped grass. If a front wheel stops spinning freely, clean the axle or replace the front wheel kit, which typically uses a retaining starlock washer rather than bolts.
Sources
- Support X4 Series FAQ (Segway Navimow): confirmed solid airless rubber tire construction and maintenance-free design.
- Cleaning a Robot Lawn Mower: A Step-by-Step Guide (Mammotion): referenced wheel tread cleaning methods, soil buildup effects on slope traction, and solvent warnings.
- Husqvarna Automower 305 Technical Manual (Husqvarna / ManualsLib): verified Torx fastener conventions, reusable thread-locking screws, and wheel test procedures.
- WORX Landroid WA0952/WA0953 Wheel Replacement Guide (Worx / Manuals+): verified axle nut removal sequence and 22-24 Nm hub tightening specification.
 Up next7 min readLearnHow to Sharpen or Replace Robot Mower Blades SafelyUpdated Nov 14, 2026
 7 min readLearnHow Much Does a Robot Mower Charging Station Cost to Replace?Updated Nov 12, 2026
 8 min readLearnDo Robot Mowers Replace a Regular Mower?Updated Nov 11, 2026
 10 min readLearnHow to Troubleshoot a Robot Mower Hall Effect Wheel SensorUpdated Nov 19, 2026
 9 min readLearnWhy Does My Robot Mower Spin Its Wheels When Turning?Updated Nov 19, 2026
 8 min readLearnHow to Prevent Grass Buildup Inside Robot Mower Wheel WellsUpdated Nov 19, 2026