
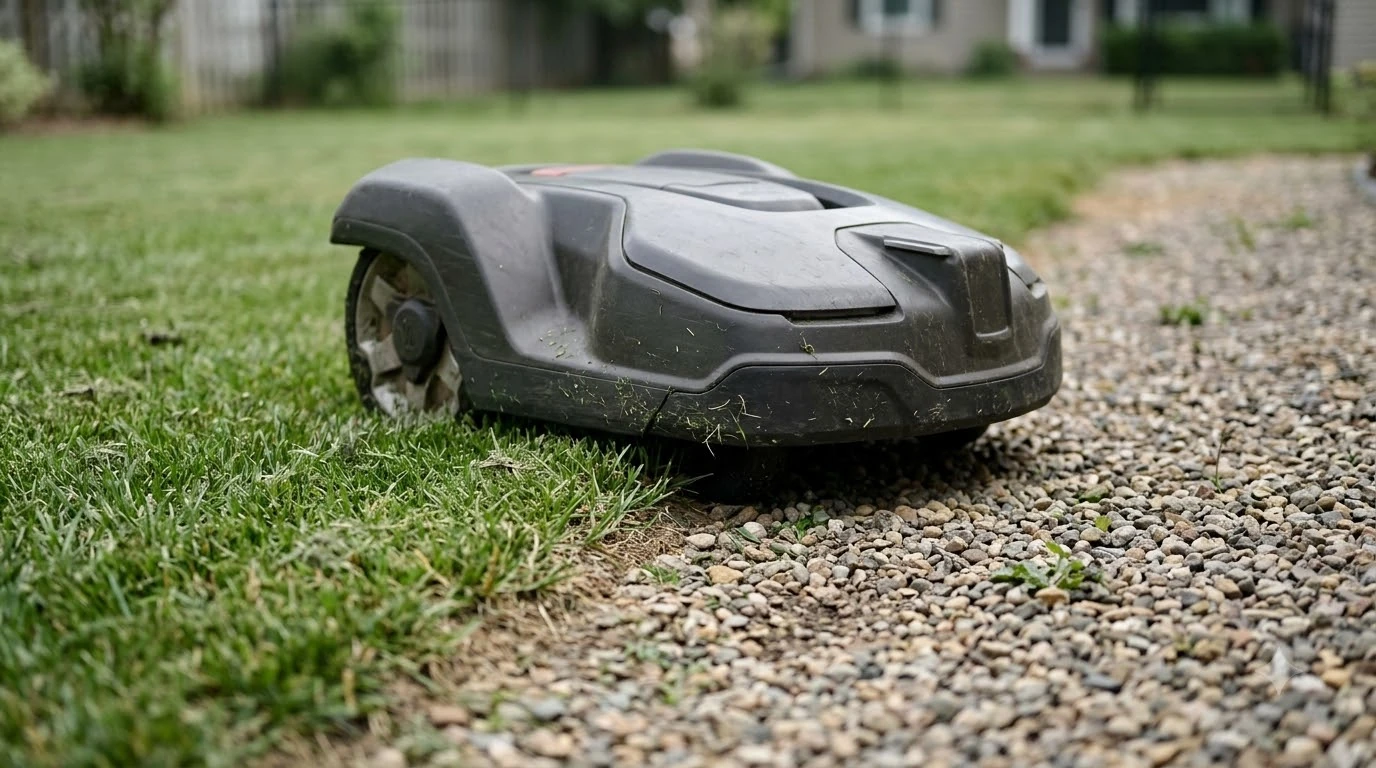

How to set up Dreame A1 Pro: place the charging station on flat, shaded ground near a power outlet, connect the mower to the Dreame app, drive one full lap of the lawn edge to build its virtual map, then add no-go zones and run a short first mow. The A1 Pro navigates with LiDAR and needs no boundary wire or RTK base, so the setup is mostly software and placement.
The short answer
- Place the charging station on flat ground, with clear space in front of it.
- Charge the 5 Ah battery fully before the first run.
- Pair the mower with the Dreame app on your home network.
- Map the lawn with one edge ride, then add no-go zones and set obstacle sensitivity.
Before you start: what the A1 Pro needs
The A1 Pro is a wire-free model. According to a Notebookcheck review, it uses OmniSense 3D LiDAR for navigation, with no boundary cable and no RTK antenna, and it has no camera. The review rates it for lawns of up to 2,000 square meters, with a 45% (24 degree) slope rating, a 22 cm cutting width and a cutting height of 3 to 7 cm adjustable in 5 mm steps. The mower weighs 12.6 kg and carries a 5 Ah battery.
Before you unbox it, measure the lawn and confirm it is within the rated area and slope. Our reading is that a lawn close to the 2,000 square meter rating, or with slopes near 45%, leaves little margin for a first mapping run. Measure the space for the charging station too, since the mower has to return to it every time it needs power.
Heads up
Coverage figures in brochures and listings can vary by market and model variant. Check the rating printed on your unit and in the current manual, not only the marketing number.
Our reading is that you should keep the mower and station in a spot where you can watch the first session, since the first pass is when edge and obstacle problems are easiest to spot.
Place the charging station
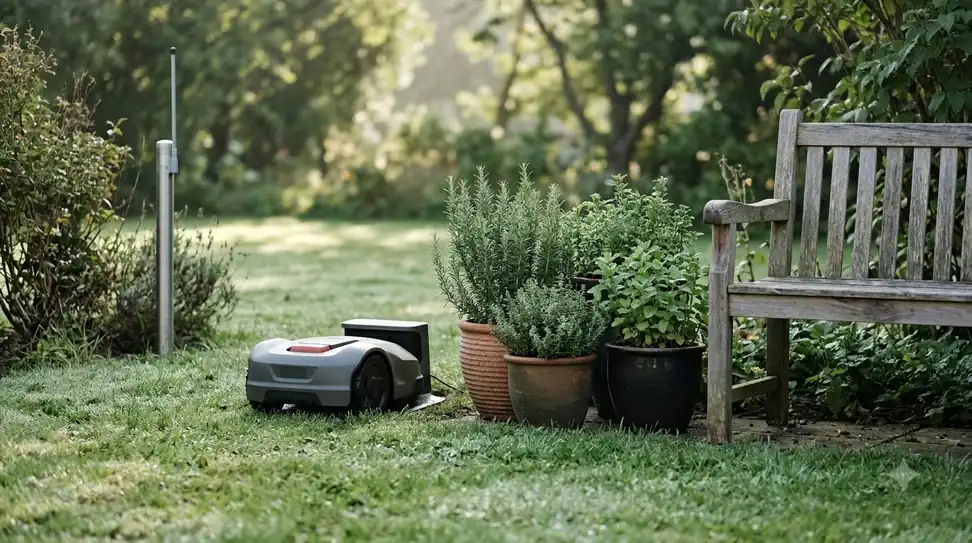
Placement is the first hands-on step in how to set up Dreame A1 Pro, and it matters more than most people expect. This Old House advises a central spot near a power outlet, on flat and level ground, preferably in shade. Choosing a site also means thinking about how the mower will drive out of it and back in.
Husqvarna’s wire-free EPOS guidance asks for at least 6 m (20 ft) of free space in front of the station. That brand’s rule is not a Dreame specification, but it is a useful planning margin: our reading is that a clear approach makes it easier for the mower to line up with the contacts. Keep the station off slopes steeper than the mower’s rating.
Charge and power on
A new mower should charge fully before its first run. The Notebookcheck reviewer measured a charge of just over one hour to add about 80 Wh at a maximum of 78 W, and a standby draw of about 3 W. Charge times from other brands vary, so the figure is useful for planning rather than a guarantee. Husqvarna’s charging guide puts a full charge from empty at 30 to 90 minutes depending on the model.
The same review measured about 150 square meters of mowing in standard mode, dropping from 100% to 15% over roughly two hours. Treat that as a single reviewer test, not a rated run time. Your lawn, grass height and mode will change the result.
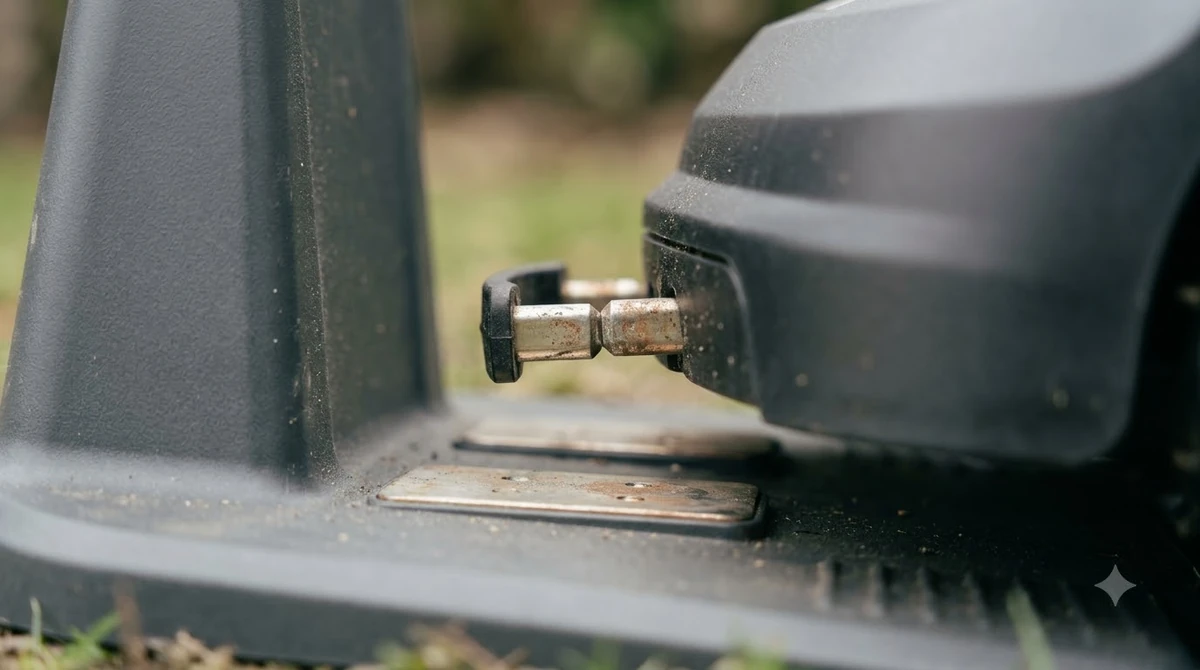
The charging station also has a job beyond charging. According to the review, a brush inside it cleans the LiDAR module each time the mower moves in and out. Keep the station clear of leaves and debris so the brush can do this work.
How to set up Dreame A1 Pro: the app connection
Download the Dreame app, create an account and follow its steps to add the mower. The app pairing needs the mower and your phone on the same home network, and the mower must be able to reach your router. Keep the station within reach of your Wi-Fi signal during setup. If the mower does not show up, move the phone closer, restart the router and the mower, then try again.
The review we read does not describe the Wi-Fi band the A1 Pro supports, so do not assume a 5 GHz network will work. Check the current manual or the app’s network page for the supported band before you start, and use the network name and password you have confirmed on that router.
Run the first mapping ride
Because the A1 Pro has no camera, it cannot map the lawn by itself. Once the app is connected, the review describes an introductory ride: you drive the mower once around the edge of the lawn with the phone as a remote, and that lap builds the virtual map. Start the ride from the station, keep the mower on grass, and go slowly around corners and narrow gaps.
- Clear the lawn. Pick up toys, hoses and garden tools so the first lap is not blocked.
- Start the ride. Begin the mapping ride from the app with the mower on the lawn. Our reading is that starting near the station keeps the route simple, but check the app’s own prompt for the exact start point.
- Drive the edge. Circle the lawn once at a walking pace, keeping the mower inside the grass you want cut.
- Close the loop. Finish the lap back at the start and save the map. Review the outline in the app before the first mow.
Review the saved map for shape errors, such as a corner that cuts into a flower bed or a gap that looks too narrow. We suggest fixing those before the first full run, because a wrong boundary is harder to spot once the mower has been cutting for a while.
Set no-go zones and obstacle settings
No-go zones keep the mower out of beds, trees, pools and ponds. Mammotion’s LUBA guidance lists trees, flower beds, holes and swimming pools as common zones, and advises a zone that follows the crown of any tree whose canopy is more than 2 m wide. Husqvarna’s EPOS guidance adds a minimum zone size of 30 x 30 cm and recommends zones around trees, roots and stones. These are other brands’ rules, so check how Dreame’s app edits zones before you copy their numbers.
Obstacle sensitivity is the other setting to review. According to the Notebookcheck review, the A1 Pro offers four levels between 5 and 20 cm, and obstacle detection can be switched off for the final edge mowing. Our reading is to start at a middle level and adjust after a few runs, since the review does not say which level suits which garden.
Heads up
Do not rely on a no-go zone alone to keep the mower away from a swimming pool or a street. Husqvarna’s AIM guidance says to fence those areas with a physical barrier at least 15 cm high. Use fencing or a barrier as the real safety measure.
Run the first mow
Begin with a short supervised run rather than a full schedule. Let the mower work for one session, then check the cut, the edge and the path back to the station. The review’s reference to a PIN is useful here too: the control unit sits under the cover and asks for the anti-theft PIN each time you open it.
- Set the cutting height. Choose a height between 3 and 7 cm in 5 mm steps.
- Start one session. Run the mower while you watch from a distance for the first few passes.
- Check the edge and return. Confirm it stops at the boundary of the map and docks cleanly.
- Adjust the schedule. Once the first run looks right, set a regular schedule in the app.
Our reading is to start in the middle of the height range and change it only after the lawn looks even across several runs.
Maintenance checks that matter early
Early checks prevent most setup problems. Keep the LiDAR area clean, since the station brush can only clear what reaches it. We suggest checking the blades and cutting disc after the first few sessions, and confirming the mower still returns to the station each time. If it misses the dock, look for debris in the station approach and for a gap in the map before you change any other setting.
Blade replacement is a routine task. Husqvarna’s guidance on its own models suggests changing blades every one to two months, depending on lawn size and grass. Use the Dreame manual for the blade part number and replacement procedure for the A1 Pro.
Frequently asked questions
Is it hard to set up Dreame A1 Pro without a boundary wire?
No. The Notebookcheck review describes the A1 Pro as using LiDAR navigation with no boundary cable and no RTK antenna. Its mapping comes from the edge ride in the app.
How long should the first charge take?
In the review’s test, the mower added about 80 Wh in just over an hour. Charge the mower fully before the first run, and treat the figure as a reviewer’s measurement rather than a rated spec.
Can I set up the A1 Pro without a camera-based map?
Yes. The A1 Pro has no camera, so it cannot use AI mapping. The first edge ride in the app builds the map, and you then add no-go zones by hand.
What should I check if the mower will not dock?
Check that the station has clear space in front of it, the LiDAR area is clean, and the map does not cut through the approach. Restart the mower and re-run the edge ride if the map looks wrong.
Sources
- Notebookcheck, Dreame A1 Pro review (independent tech publication): A1 Pro specs, charging test, LiDAR, mapping ride and obstacle settings.
- This Old House, how to install a robotic lawnmower (consumer home publisher): station placement guidance.
- Husqvarna support, EPOS stay-out zones (manufacturer): station clearance and zone size, cited as another brand’s rules.
- Husqvarna, how to install a robotic lawn mower (manufacturer): charging time range.
- Mammotion, LUBA no-go zone guidance (manufacturer, 2023): zone types and tree canopy rule.
- Husqvarna support, AIM stay-out zones (manufacturer): pool and street barrier guidance.
 Up next7 min readLearnHow Long Does the Dreame A1 Pro Battery Last?Updated Nov 12, 2026
 7 min readLearnHow to Update Dreame A1 Pro Firmware: Over-the-Air Updates ExplainedUpdated Nov 12, 2026
 9 min readLearnHow to Set Up Ecovacs GOAT O1000: Step-by-Step GuideUpdated Nov 10, 2026
 8 min readLearnHow to Set Up Anthbot M5: Step-by-Step GuideUpdated Nov 10, 2026
 9 min readLearnHow to Set Up Segway Navimow i110N: Easy Step-by-Step GuideUpdated Nov 10, 2026
 7 min readLearnHow to Set Up Worx Landroid Vision, Step by StepUpdated Nov 10, 2026