
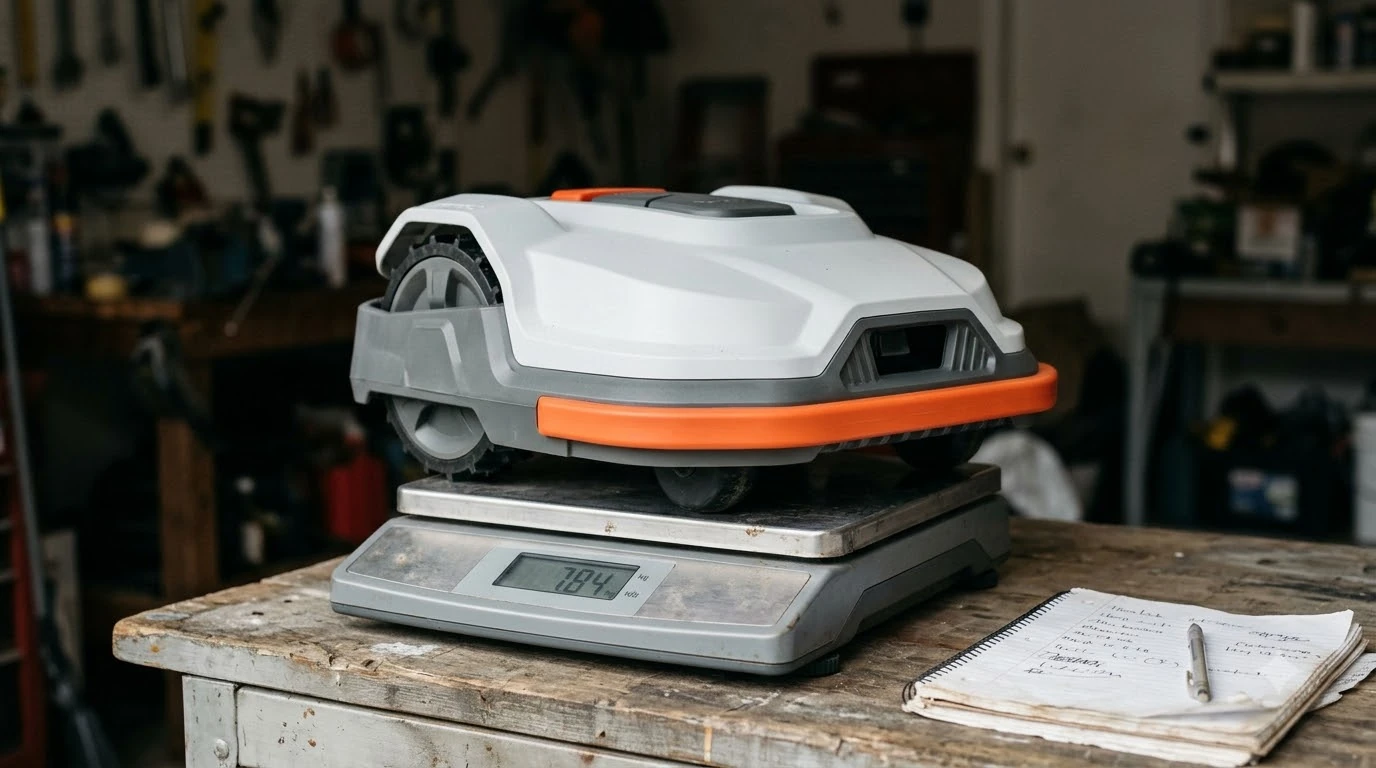

A robot mower for a yard with an outdoor kitchen island works reliably as long as you treat the island as an excluded obstacle—using a boundary wire loop or a GPS no-go zone—and keep narrow turf strips around the counter wide enough for the mower to pass. Permanent masonry, stone veneer, and stainless steel appliances create hard edges and potential GPS signal shadows that require deliberate perimeter setup. Choosing the right navigation system and border layout prevents shell scuffs, trapped mowers, and unmowed grass strips along your patio.
The short answer
- Exclude the island upfront: Map the kitchen base as an off-limit island in your app or loop boundary wire around it so the mower does not repeatedly bump into stone or metal panels.
- Watch for satellite shadow: Tall masonry structures, pergolas, and grill hoods can block RTK satellite signals right next to the counter, making camera-assisted or wire-guided navigation helpful.
- Check side-yard corridor widths: Measure the grass gap between the island patio and your fence or house; boundary-wire systems like Husqvarna Automower models typically need at least 12 inches between a guide wire and a boundary wire.
- Plan for edge trimming: Because mowers stay back from hard vertical walls to avoid collisions, expect to run a string trimmer along the base unless you install a flush stone mowing strip.
- Mind grill heat and grease: Keep charging stations away from grill exhaust and avoid mowing right after heavy cooking sessions when food scraps or hot ash might sit on the turf.
How an outdoor kitchen island affects robot mower navigation
An outdoor kitchen island introduces vertical walls, hard pavers, and overhead structures that change how both wired and wire-free mowers read your lawn.
Unlike a tree trunk or a flexible shrub, a built-in grill island has sharp 90-degree corners, textured stone veneer, and recessed toe-kicks. If a robot relies solely on physical bump sensors, it will repeatedly tap the masonry, turn, and try again, wasting battery and risking scratches on the mower chassis or soft stone. According to Segway Navimow Academy guidance on off-limit islands, letting a vision-equipped mower repeatedly detect and reroute around a permanent yard feature wastes mowing time compared to mapping it as an excluded zone from the start.
Satellite-guided (RTK) mowers face a second challenge: signal reflection and blockage. A tall stone backsplash, a bar-height counter, or an attached pergola roof can partially block overhead sky view along the shaded side of the island. When RTK accuracy dips near a tall wall, a mower that lacks onboard camera vision or LiDAR may drift slightly toward the stone or pause until satellite lock recovers. Wired models ignore sky view completely, making them immune to pergola roofs, though they require physical cable routing around the structure.
Wired islands vs. GPS no-go zones around masonry
Both boundary-wire mowers and wireless RTK robots can circle an outdoor kitchen cleanly, but each system demands a specific boundary layout to prevent signal errors or missed grass.
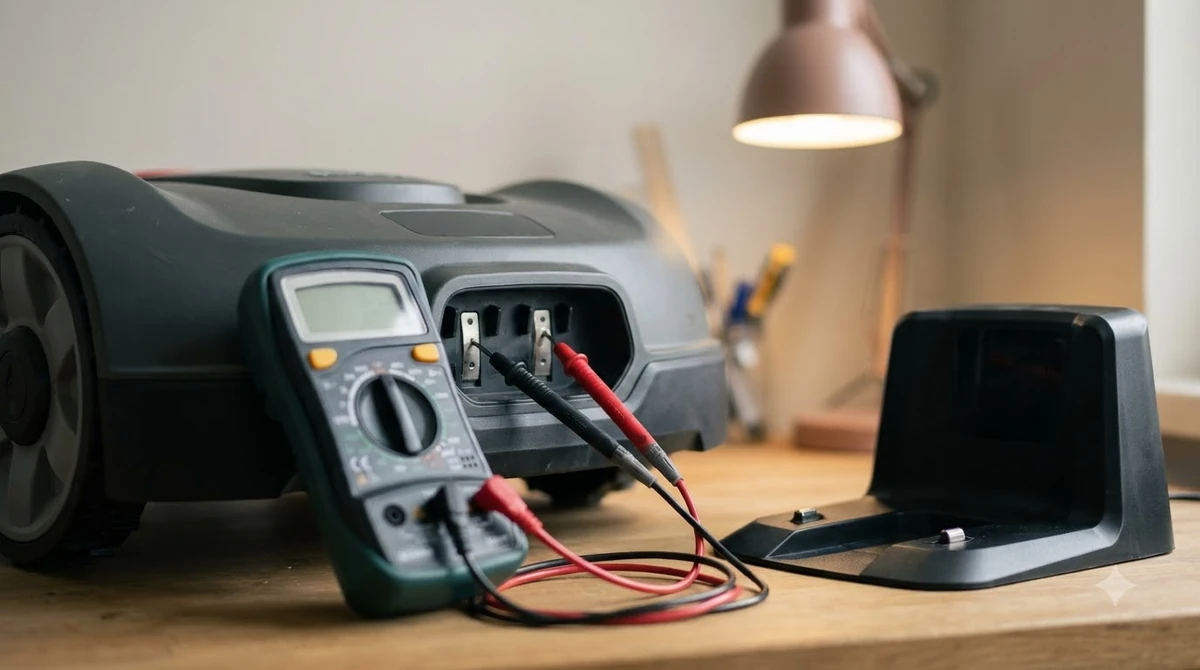
On a wired installation, you create an “island” by running the boundary cable out from the perimeter, circling the kitchen structure, and returning the wire back to the outer loop. Per Husqvarna Automower island installation guidelines, the outgoing and return wires must run close together without crossing so their signals cancel out, allowing the mower to drive smoothly across the connecting path while treating the island perimeter as a hard stop. If your yard also uses a guide wire to help the robot find its charging dock, Husqvarna notes that you must keep at least 30 cm (12 in) between the guide wire and any boundary wire, and never let the guide wire cross the island loop.
Wireless RTK and vision mowers skip trenching altogether. According to Mammotion LUBA no-go zone documentation, you simply drive the robot via the mobile app along the outer edge of the structure and close the loop back at the starting point. Many wireless apps also let you configure “no-go zone mowing laps” and obstacle-avoidance sensitivity—such as choosing between No Touch and Slow Touch modes—so the robot trims neatly around the mapped perimeter without slamming into stone corners.
| Navigation Type | How the Kitchen Island Is Marked | Pergola & Wall Sensitivity | Best Fit Yard Layout |
|---|---|---|---|
| Boundary Wire | Continuous wire loop routed out from perimeter and back without crossing | Unaffected by roofs, grill hoods, or tall masonry walls | Yards with heavy overhead shade or covered outdoor kitchens |
| RTK GPS + Vision | App-mapped virtual no-go zone driven around the island base | Camera and sensors maintain accuracy when walls block satellite view | Open backyards where you may expand patio furniture later |
| RTK GPS Only | App-mapped virtual no-go zone driven around the island base | Can drift slightly within a few inches of tall vertical walls | Low-profile islands in wide, unobstructed yards without roofs |
Managing narrow turf passages, hardscape edges, and utilities
The tightest pinch points around an outdoor kitchen are usually the grass strips between the island patio and adjacent fences, pools, or planting beds.
Before buying a mower, measure the narrowest turf corridor bordering your kitchen island. For example, Husqvarna notes in its passage setup documentation that models like the Automower 435X AWD and 535 AWD recommend a minimum passage width of 2 m (6 ft 6 in) for consistent cutting results, while smaller boundary-wire units still need at least 30 cm (12 in) of clearance between the guide wire and boundary wire. If a grass strip between your grill island and a privacy fence is narrower than your mower’s minimum corridor spec, the robot can get trapped bouncing back and forth, or it may skip the strip entirely.
Hardscape transitions also dictate how much manual trimming you will do after the robot finishes:
- Flush stone or concrete aprons: When patio pavers sit completely level with the soil, you can place a boundary wire or virtual border closer to the stone so the mower’s outer wheel rides slightly onto the hardscape, cutting almost every blade of grass.
- Raised masonry walls and toe-kicks: Because spinning blades sit inset beneath the mower deck for safety, any vertical wall leaves an uncut ribbon of grass a few inches wide. Installing a flat 6- to 8-inch stone or brick mowing border flush with the lawn lets the robot wheel over the edge and eliminates string trimming.
- Pop-up sprinklers and utility boxes: Outdoor kitchens often sit near irrigation heads, gas shutoff valves, or outdoor electrical outlets. Keep the mower scheduled separately from sprinkler cycles, and either map protruding valve boxes as small no-go zones or verify your mower’s deck height clears them safely.

Heads up
Avoid placing your robot mower’s charging dock right next to a built-in grill, smoker, or outdoor fridge exhaust. Grease splatter, radiant heat, and spilled drinks can foul optical docking sensors and charging contacts, while metal appliances right behind the base station can interfere with docking signals.
Step-by-step setup checklist for an outdoor kitchen yard
Mapping or wiring around an outdoor kitchen goes much faster when you lay out your boundaries in a logical sequence before starting the first full mow.
- Measure every turf bottleneck. Walk the perimeter of the outdoor kitchen patio with a tape measure and record the narrowest grass gap between the hardscape and nearby fences, pools, or garden beds.
- Site the charging station in clear space. Place the dock along an open stretch of lawn away from grill vents, foot-traffic bottlenecks, and overhanging pergola roofs so the mower has a straight, unobstructed entry path.
- Mark the island exclusion loop. Lay your boundary wire out from the main loop, around the kitchen island at your manual’s wall-clearance distance, and straight back alongside the outgoing wire without crossing—or drive the mower slowly around the perimeter to save a virtual no-go zone.
- Set edge-cutting and touch modes. Enable perimeter or no-go zone mowing laps in your app, and select a gentle obstacle-avoidance setting (such as Slow Touch or No Touch on vision models) so the bumper does not scuff stone veneer.
- Run a supervised perimeter test. Send the mower on a boundary trace or test lap around the island while watching how it handles corners, flush pavers, and adjacent narrow passages, adjusting the wire setback or virtual line if it leaves wide grass strips.
Frequently asked questions
Can a robot mower drive over flush patio pavers next to an outdoor kitchen?
Yes, as long as the pavers are completely level with the lawn and free of protruding lips or gravel gaps. Setting the boundary wire or virtual edge slightly closer to a flush patio allows one wheel to ride onto the stone so the blades trim right up to the hardscape edge.
Will a pergola or roof over my outdoor kitchen confuse a GPS robot mower?
A solid roof or dense pergola blocks overhead satellite signals directly underneath it, which can cause pure-GPS mowers to lose positioning near the shaded edge of the island. If your kitchen has a covered roof, look for a mower that pairs RTK GPS with onboard camera vision or LiDAR, or choose a boundary-wire model.
How much grass strip will a robot mower leave around a stone kitchen island?
Because robot mower blades sit inset beneath the protective outer shell, any vertical stone wall leaves an uncut strip roughly equal to the distance from the mower’s outer bumper to its cutting disc. Adding a flat, flush stone mowing border around the base of the island lets the mower cut all the way to the masonry.
Should I rely on obstacle avoidance instead of setting a no-go zone around the island?
No, permanent structures like an outdoor kitchen should always be excluded with a boundary wire island or a virtual no-go zone. Relying solely on obstacle sensors forces the mower to repeatedly approach the counter, brake, and reroute on every pass, draining battery life and slowing down mowing cycles.
Sources
- How to create islands in a boundary wire Automower installation (Husqvarna): Used for boundary wire island routing rules and preventing crossed-wire signal interference.
- How to lay a guide wire in a boundary wire Automower installation (Husqvarna): Used for minimum 30 cm (12 in) spacing between guide wires and boundary loops.
- How to create a passage in an Automower boundary wire installation (Husqvarna): Used for narrow passage clearance requirements and systematic passage mowing behavior.
- How to Set No-Mow Zones or Off-Limit Areas in Navimow (Segway Navimow): Used for virtual off-limit island mapping and efficiency comparisons against obstacle detection.
- How to Create No-go Zone (Mammotion): Used for wireless RTK no-go zone perimeter mapping workflow.
 Up next9 min readBy YardChoosing and Setting Up a Robot Mower for a Yard With an Outdoor AC Condenser UnitUpdated Nov 19, 2026
 10 min readBy YardChoosing and Setting Up a Robot Mower for a Yard with Exposed Septic Cleanout PipesUpdated Nov 19, 2026
 9 min readBy YardChoosing and Setting Up a Robot Mower for a Yard with Crushed Granite PathwaysUpdated Nov 19, 2026
 9 min readBy YardChoosing and Setting Up a Robot Mower for a Yard With an Above-Ground Pool LadderUpdated Nov 19, 2026
 9 min readBy YardChoosing and Setting Up a Robot Mower for a Yard With a Split-Rail Wooden FenceUpdated Nov 19, 2026
 8 min readBy YardChoosing and Setting Up a Robot Mower for a Yard With a Pool Deck Coping LipUpdated Nov 19, 2026