
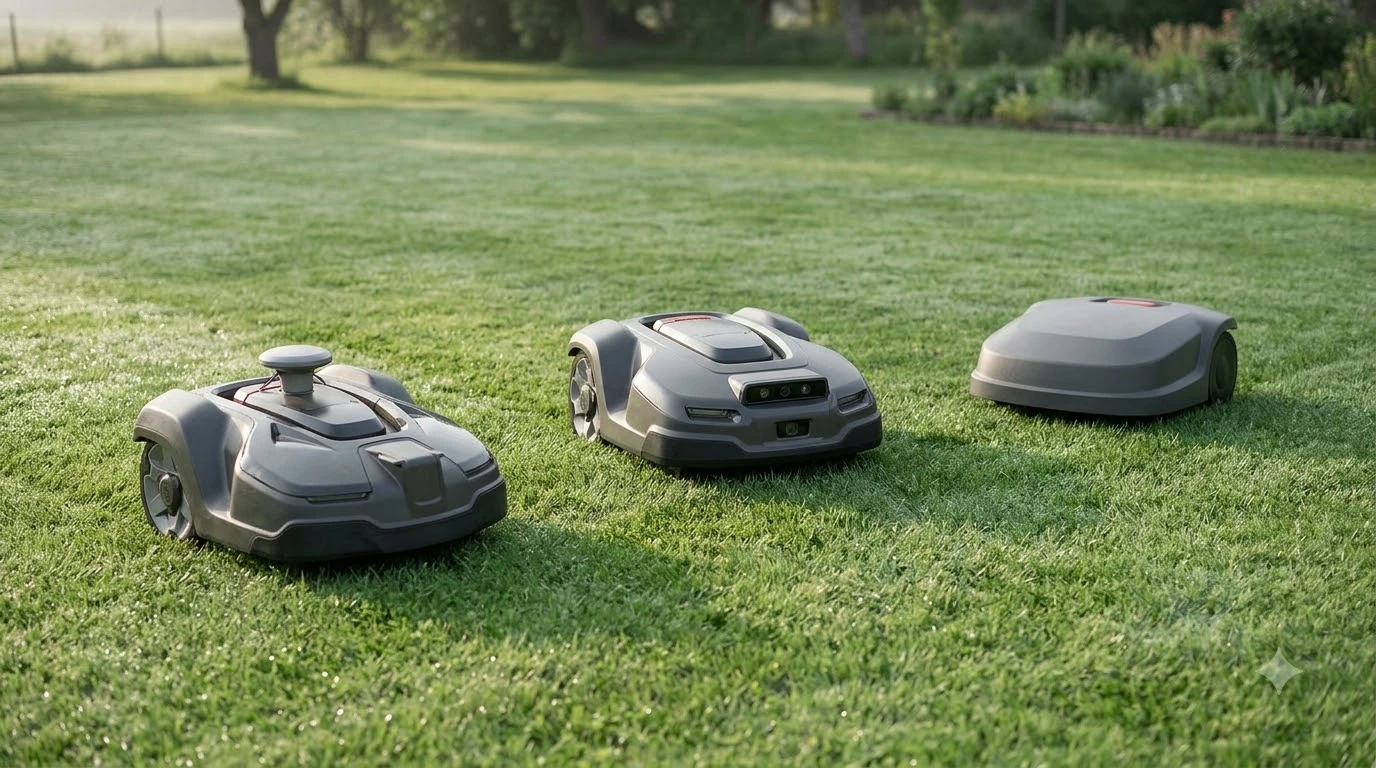

How to set up a robot lawn mower step by step: plan the lawn, place the charging station, define the boundary, map the no-go zones, and run short test sessions. The order is much the same across brands, but the boundary step differs: wired models need a perimeter wire, while wire-free models need an RTK base station. Manufacturer and home-improvement guides agree on most of the sequence, so this guide shows each step with the numbers the sources give.
The short answer
- Plan first: measure the lawn and check the slope limit, which is 20% to 40% for standard Husqvarna models and up to 70% for AWD models.
- Station: place it on flat, level ground near a power outlet, with free space around it.
- Wired boundary: staple the wire about every 3 feet, keep it about 35 cm from walls and 10 cm from beds, and test above ground for 2 to 3 weeks before burying it.
- Wire-free base: keep it at least 3 m from walls and trees, with a clear view of the sky.
- No-go zones: mark trees, flower beds, holes, and pools in the app before the first full run.
How to set up a robot lawn mower step by step, starting with the plan
Start by measuring the lawn and checking its slopes against the mower’s limit. Husqvarna lists 20% to 40% for standard models and up to 70%, about 35 degrees, for AWD models. Husqvarna also says its models can be installed yourself by following its video tutorials, or by a paid professional in select cities.
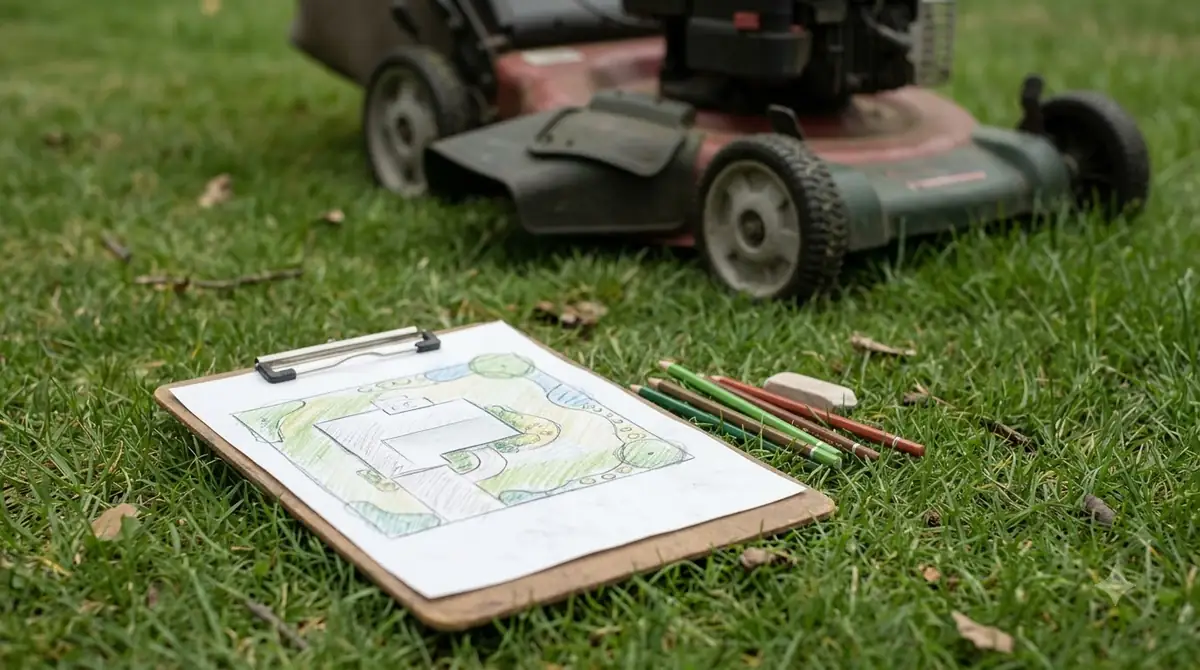
Before you unbox anything, sketch the lawn with its beds, trees, paths, and the nearest power outlet. That sketch decides where the charging station, the wire, and the no-go zones will go. Our reading is that a steep section close to the limit deserves a closer check than the average slope figure, because a mower that barely meets its limit has little margin on wet grass.
Place the charging station
Put the charging station on flat, level ground in the middle of the cutting area, with free space around it. This Old House recommends a central spot near a power outlet, on flat and level ground, in shade. Husqvarna’s Canadian installation guide describes the same flat ground with free space around the station, so these sources agree on the core rules.
Heads up
Charging takes time. Husqvarna’s Canadian guide gives 30 to 90 minutes for an empty battery, depending on the model, so connect the station to power and let the mower charge before its first run.
Lay the boundary wire on wired models
Wired models follow a boundary that you define with a perimeter wire. The wire starts at the charging station, runs around the lawn edge, and must be fixed to the ground at regular intervals so it stays in place.
- Start at the station. This Old House lays the wire from the charging station and unrolls it around the perimeter.
- Staple it down. Use staples about every 3 feet (about 0.9 m) to hold the wire in place.
- Keep clearances. Robomow’s guide values put the wire about 35 cm from walls and tall stones, and about 10 cm from beds and hedges. The model manual sets the final distances.
- Wrap obstacles and cross paths correctly. A single-wire loop around an obstacle makes a no-mow zone. Where the mower must cross, such as a path, This Old House uses a double wire, which cancels the signal there.
- Add a guide wire if needed. A guide wire runs from the station toward the middle of the lawn. Husqvarna says a passage needs at least 60 cm (24 in) between boundary wires with a guide wire, and at least 2 m (6 ft 6 in) without one.
- Test before burying. Robomow says to leave the wire above ground in test mode for 2 to 3 weeks, then bury it at 4 to 5 cm once the mower works as intended.
Two layout rules apply to any wire run. The wire must never cross itself, because crossing causes signal interference. Robomow also suggests curving the wire at corners to avoid awkward maneuvers, and laying it diagonally across slopes.
Set up a wire-free mower with an RTK base station
Wire-free models use satellite positioning, so the base station is the part that needs careful placement. Mammotion’s support guidance asks for flat open ground, or an unobstructed wall or roof, at least 3 m (10 ft) from walls and trees. Husqvarna’s EPOS models use satellite signals for virtual boundaries and need physical wire only where coverage is poor.
| Setup point | Wired model | Wire-free model |
|---|---|---|
| Boundary | Perimeter wire, stapled and tested | Virtual boundary drawn in the app, with wire only where coverage is poor |
| Base hardware | Charging station | RTK base station plus charging station |
| Placement | Flat, central, near an outlet | Flat open ground or an unobstructed wall or roof, 3 m from walls and trees |
| Mapping | Walk the wire and confirm placement | Map in the app and check satellite strength |
Mammotion advises against the corner of an L-shaped building, a narrow path between two structures, and a spot under a tree. Yarbo recommends mounting its base at least 2 m (about 6.5 ft) off the ground, with at least 120 degrees of sky view, within 200 m of the mowing area. Sky-view guidance is not consistent across brands, so check the manual for your model.
RTKdata, a third-party guide that cites NGS guidance, says to keep the base at least 30 m from structures taller than the antenna. Metal sheds, parked cars, and large windows can bounce the signal, so keep the base clear of them. Once the lawn is mapped, do not move the base, because shifting it moves every boundary point with it.
Map the lawn and mark no-go zones
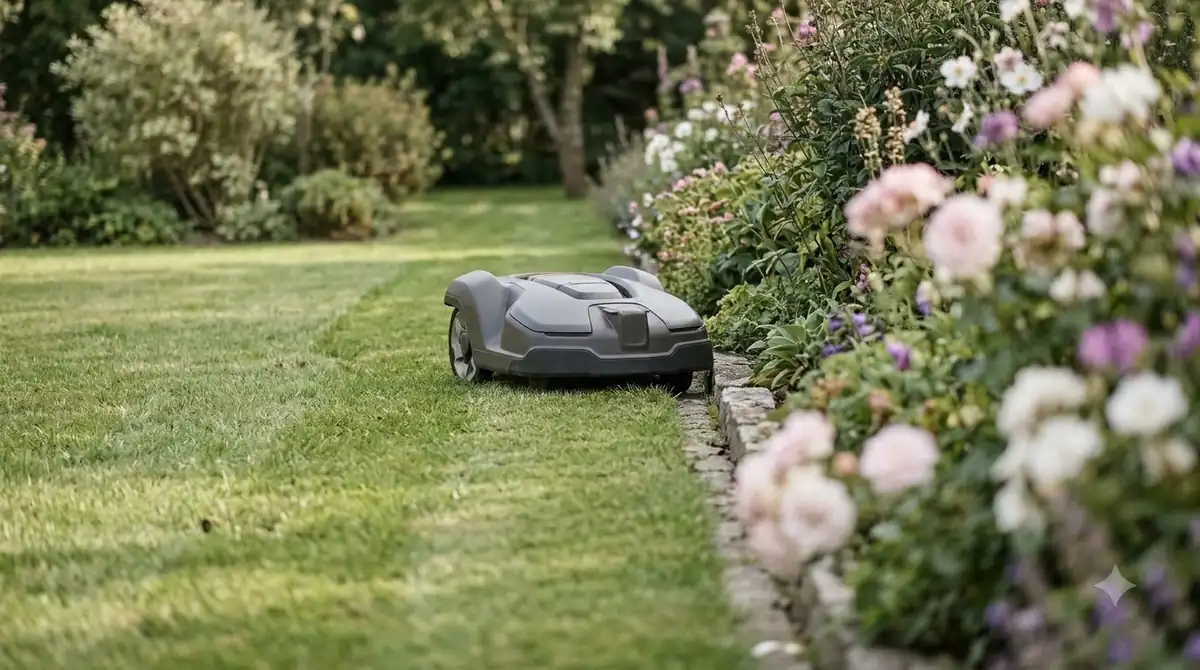
Mark no-go zones around trees, flower beds, holes, and swimming pools so the mower stays out of them. Mammotion says a tree crown wider than 2 m needs a zone that follows the crown, not a single point.
- Trees: draw the zone to match the crown, so the mower does not clip roots or low branches.
- Beds and holes: flower beds, holes, and pools get their own zones in the same way.
- Signal: check satellite strength in the app, then edit the boundary where reception is poor.
- Fit check: Mammotion does not recommend its RTK setup for lawns under 200 m2, or where tall walls or trees cover more than 30% of the lawn.
Review the map on screen before the first full run. Our reading is that a map drawn from the sketch you made in the first step is easier to correct than one drawn from memory after a quick walk around the yard.
Schedule the first runs and avoid common setup mistakes
Begin with short, frequent sessions. A University of Florida report from June 2026 links robotic mowers that cut small amounts daily to denser, healthier turf. That research was on warm-season grass, so treat it as a schedule guide rather than a rule for every lawn.
Husqvarna recommends replacing blades every 1 to 2 months, depending on lawn size and grass type. UF/IFAS also notes that fire ant mounds can form near docking stations, and it suggests grounding the dock or using surge protection against lightning.
| Common mistake | What to do instead |
|---|---|
| Letting the boundary wire cross itself | Keep the wire from crossing, since crossing causes interference |
| Burying the wire before testing | Leave it above ground in test mode for 2 to 3 weeks first |
| Skipping the no-go zones | Mark trees, beds, holes, and pools in the app before the first full run |
| Moving the RTK base after mapping | Keep the base in place, because moving it shifts every boundary |
| Placing the station near metal or water | Move it away from sheds, parked cars, and water to reduce signal bounce |
Frequently asked questions
Can I set up a robot lawn mower myself?
Yes, in many cases. Husqvarna says its models can be installed yourself by following its video tutorials, or by a paid professional where that service is offered. Wired installs take the most care, because the boundary wire and its test period decide how well the mower works.
How far should the boundary wire be from flower beds?
Robomow’s guide values put the wire about 10 cm from beds and hedges, and about 35 cm from walls and tall stones. These are guide values, so the distances in your model’s manual take priority.
Do wire-free robot mowers need a base station?
Wire-free models that use RTK satellite positioning need a base station for accurate mapping. Husqvarna’s EPOS models need physical wire only where satellite coverage is poor, so check whether your lawn has coverage gaps before you buy.
How long should a robot mower charge before its first run?
Husqvarna’s Canadian installation guide gives 30 to 90 minutes for an empty battery, depending on the model. Use the charging time in your model’s manual, because the figure varies by brand.
Sources
- How Automower works (Husqvarna): install route, slope limits, boundary wire, blade replacement interval.
- How to create a passage in an Automower boundary wire installation (Husqvarna): passage widths and guide wire clearance.
- How to install a robotic lawn mower (Husqvarna): station site and charging time for an empty battery.
- UF robot mowers news (University of Florida, IFAS): daily short cuts linked to denser turf, docking station risks.
- Laying the lawn boundary wire (Robomow): guide distances, burial depth, test mode, wire crossing rule.
- How to install a robotic lawnmower (This Old House): station site, staple spacing, obstacle and pass-over wiring.
- How to install the RTK reference station (Mammotion): placement surface, 3 m clearance, locations to avoid.
- GPS lawn mower robot signal guide (Yarbo): base height, sky view, distance to the mowing area.
- Wire-free robot mower RTK accuracy guide (RTKdata): base distance from tall structures, metal and multipath, moving the base.
 Up next7 min readLearnHow to Set Up Mammotion Luba 3: Easy Step-by-Step GuideUpdated Nov 10, 2026
 7 min readLearnHow to Set Up Worx Landroid Vision, Step by StepUpdated Nov 10, 2026
 9 min readLearnHow to Set Up Segway Navimow i110N: Easy Step-by-Step GuideUpdated Nov 10, 2026
 8 min readLearnHow to Set Up Anthbot M5: Step-by-Step GuideUpdated Nov 10, 2026
 9 min readLearnHow to Set Up the Dreame A1 Pro Robot Mower Step by StepUpdated Nov 10, 2026
 9 min readLearnHow to Set Up Ecovacs GOAT O1000: Step-by-Step GuideUpdated Nov 10, 2026