
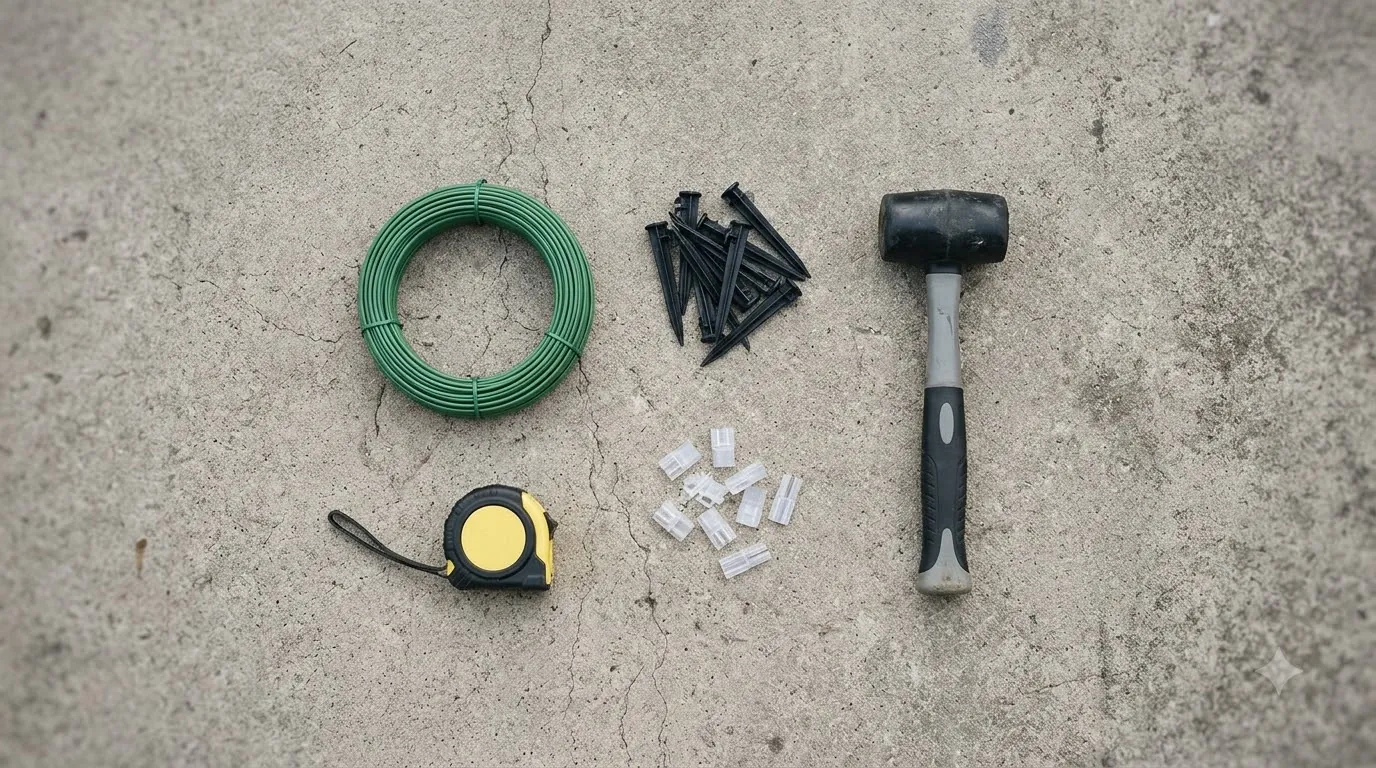

To learn how to set up Husqvarna Automower 430X, place the charging station on level ground with 3 m (10 ft) of clear space in front, lay the boundary wire as a closed loop, connect both ends to the station’s AR and AL pins, and then add the guide wire to a G pin. Husqvarna’s product page labels the 430X as discontinued, so the steps below are based on the manufacturer’s installation pages, and any older unit may ship with different parts.
The short answer
- Status: the 430X is labelled discontinued. Husqvarna names the 430V and 450V NERA as its replacements.
- Charging station: 3 m clear in front, 150 cm to each side of centre, 60 cm behind, a level base and a nearby power outlet.
- Boundary wire: a closed loop, kept 10 cm, 30 cm or 35 cm from obstacles depending on their height.
- Connections: the right wire goes to AR, the left wire to AL, and the guide wire to G1, G2 or G3.
- Check: a solid green light means the boundary loop signal is good.
- Wire-free: needs the EPOS plug-in accessory and a clear view of the sky.
How to set up husqvarna automower 430x: check the specs first
Compare the lawn with the 430X’s rated limits before you buy parts or dig anything in. The Husqvarna product page lists a working area of 3,200 m² (±20), a 24 cm cutting width with three pivoting razor blades, and a perceived sound level of 56 dB(A). It also lists a maximum slope of 25% at the boundary and 50% inside the installation area.
Two other listed features affect setup decisions. The page lists a PIN code as standard and GPS theft tracking as available. It does not state the cutting height range on the same page, so check the operator’s manual for that figure before you set the blade height.
Our reading: the 25% boundary limit matters most for setup. If the edge of your lawn drops or rises steeply, plan the wire path to keep the mower off those slopes rather than relying on the inner 50% figure.
Place the charging station first
Set the station before you lay any wire, because the boundary loop starts and ends there. Husqvarna’s placement guide asks for a level surface, a straight baseplate that is not bent, and a spot near a power outlet. The station should sit in a central part of the mowing area where possible, with protection from direct sun or an Automower house.
A physical boundary wire needs clear space around the station. Husqvarna’s guide gives these minimums, so measure them out before you fix anything in place:
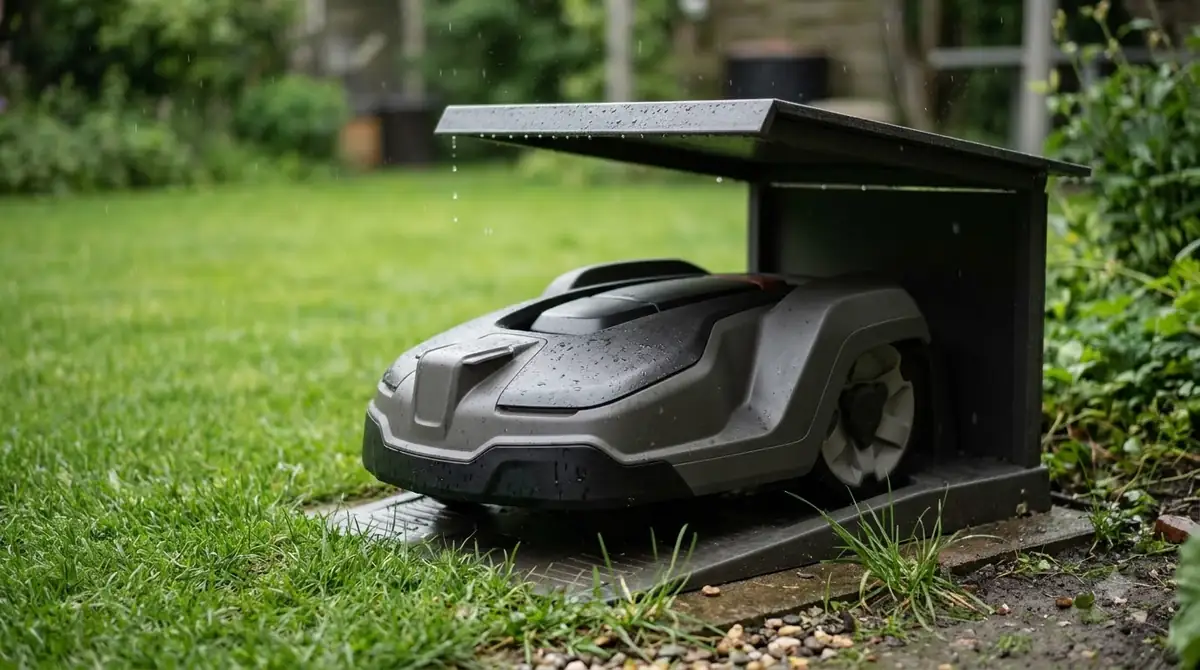
- In front: at least 3 m (10 ft) of free space.
- To each side: at least 150 cm (60 in) from the centre of the station.
- Behind: at least 60 cm (2 ft).
- Metal: keep rebar, metal edging and coiled low-voltage cable away from the station.
Do not fix the station to the ground until all the wires are installed and the setup is verified.
Lay the boundary wire as a closed loop
The boundary wire has to form a closed loop around the work area, and the loop has to pass back to the station. Husqvarna’s New Zealand installation guide asks you to lay the wire along the lawn edges and use the cardboard ruler from the box to measure distances from edges and islands.
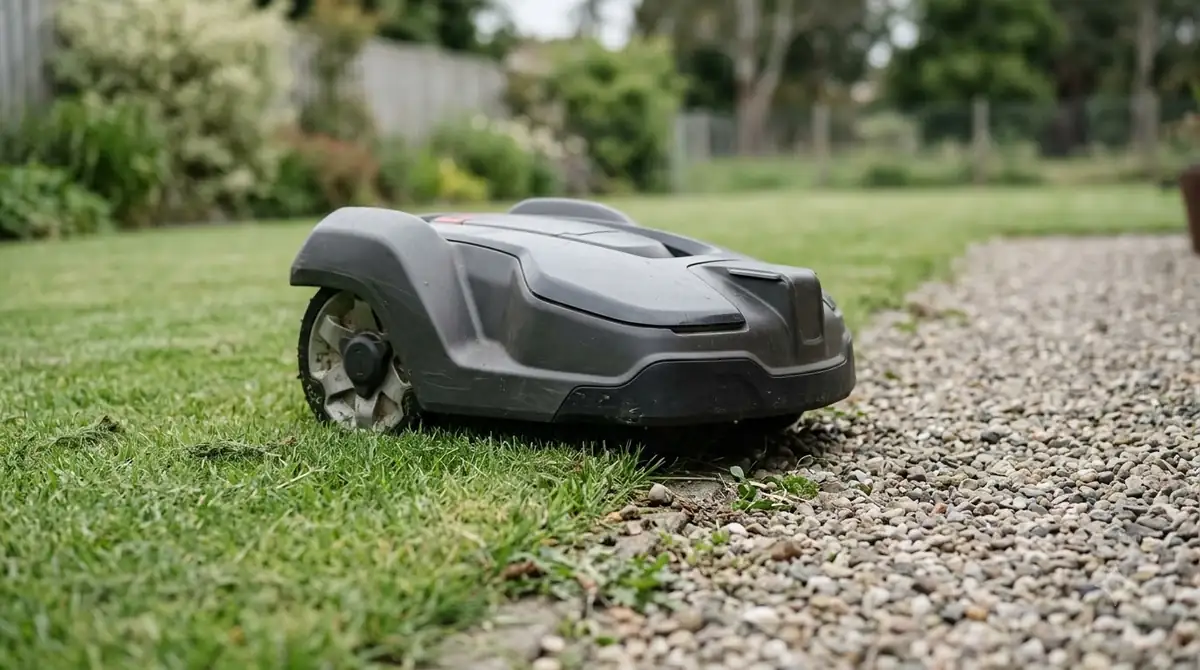
The guide gives three clearance rules that depend on what the wire runs past:
- Low obstacles under 1 cm (for example, a pathway): keep the wire 10 cm (4 in) away.
- Obstacles 1 to 3.5 cm high (for example, a flowerbed): keep the wire 30 cm (12 in) away.
- Obstacles over 3.5 cm high (for example, a wall): keep the wire 35 cm (14 in) away.
Avoid sharp bends, and secure the wire with the stakes from the installation kit.
Join the wires at the charging station
Once the loop is laid, the connections are made inside the station. Husqvarna’s connection guide uses Automower Connectors that are closed with pliers, and each connector needs a short tail of wire sticking out past it.
- Cut the loop at its centre. Husqvarna’s wire guide asks you to cut the boundary wire with wire cutters at the centre of the loop you made for the guide wire.
- Press the connectors closed. Use pliers to close each Automower Connector, then trim so that 1 to 2 cm (0.4 to 0.8 in) of wire stays above each connector.
- Attach the boundary wire. Open the station, push the right-hand connector onto the pin marked AR, and the left-hand connector onto the pin marked AL. Husqvarna says the right-hand wire must go to the right-hand contact pin.
- Join the guide wire. Connect the two ends of the guide wire with the coupler and press it fully shut with pliers, then lay at least 1 m (3.3 ft) of guide wire straight out in front of the station.
- Fix the station. Secure the charging station with the supplied screws only after the connections are checked.
Guide wire pins and passages
The guide wire pin depends on the model. The 430X accepts all three guide wires, but some older NERA models do not, so check which pin you are using before you connect anything.
| Model | Guide wire pins that work |
|---|---|
| Automower 320 NERA, 305E NERA, 310E NERA | G1 and G2 only. A guide wire on G3 will not work. |
| Automower 405XE NERA, 410XE NERA, 430X NERA, 450X NERA | G1, G2 and G3 |
The guide wire also sets up any passages the mower must cross. Husqvarna’s passage guidance gives a minimum width of 60 cm (24 in) between boundary wires when a guide wire runs through the passage, and 2 m (6 ft 6 in) when there is no guide wire. The guide wire itself has to sit at least 30 cm (12 in) from the boundary wire.
Read the light signals before you walk away
The charging station’s lights show whether the boundary loop is working. A solid green light is the signal you want, and the other colours point to a specific fault.
| Light | What it means |
|---|---|
| Solid green | Good boundary loop signal |
| Flashing green | ECO mode is active |
| Flashing blue | Boundary loop malfunction. Check the wire joins and any breaks. |
| Flashing red | Charging station antenna malfunction |
| Solid red | Circuit board fault or the wrong power supply. Husqvarna says an authorised service technician should fix it. |
Heads up
If the light stays blue after you have checked the joins, look for a break in the wire before you change any other part.
Once the loop signal is good, the mower needs to charge before its first run. Husqvarna’s Canadian guide gives 30 to 90 minutes for an empty battery, depending on the model.
Wire-free setup with the EPOS plug-in
The 430X can run without a physical boundary, but only with the EPOS plug-in accessory. Husqvarna’s product page lists the EPOS Plug-in NERA as an installation accessory for the 320, 430X and 450X NERA. Husqvarna’s EPOS guidance uses satellite signals to create virtual boundaries through the Automower Connect app, with a buried wire as the fallback where satellite coverage is poor.
The same guidance asks for a clear view of the sky at the docking point and at least 6 m (20 ft) of free space in front of the station for EPOS installs. Husqvarna’s pages read for this guide do not give step-by-step app setup, so use the operator’s manual for the mapping steps.
Mistakes that cause most setup problems
- Placing the station before checking clearances. Moving the station after the wire is laid means cutting and rejoining the loop.
- Running wire too close to obstacles. Use the 10, 30 and 35 cm rules for low, medium and tall obstacles.
- Putting the guide wire on the wrong pin. On the 320, 305E and 310E NERA, a guide wire on G3 does not work.
- Ignoring a blue light. A flashing blue light means a loop fault, so check the joins first.
- Planning a steep boundary. The 430X’s 25% boundary slope limit is much lower than its 50% inside limit, so the edge of the lawn needs the most care.
Frequently asked questions
Is the Husqvarna Automower 430X still sold?
Husqvarna’s product page labels the 430X as discontinued and gives no replacement on that page. Husqvarna’s own announcement names the 430V and 450V NERA as the newer models, so check current availability before you buy.
Does a Husqvarna Automower 430X need a boundary wire?
A standard installation uses a boundary wire. Wire-free operation needs the EPOS plug-in accessory and a clear view of the sky, and Husqvarna says a physical wire can still be buried where satellite coverage is poor.
How far should the boundary wire be from flower beds?
Husqvarna’s guide puts the wire 30 cm (12 in) from a flowerbed that stands 1 to 3.5 cm high. For walls over 3.5 cm high, the guide uses 35 cm (14 in), and for low pathways, 10 cm (4 in).
How long does the 430X take to charge?
Husqvarna’s Canadian guide gives 30 to 90 minutes to charge an empty battery, depending on the model. The 430X’s exact time is not on the pages read for this guide, so use its manual.
Sources
- How Automower works (Husqvarna): boundary wire placement, guide wire, EPOS fallback, blade replacement interval.
- Optimal placement and installation of the Automower charging station (Husqvarna): clearances, level surface, power outlet, metal avoidance, EPOS front clearance.
- How to connect the boundary and guide wires to the Automower charging station (Husqvarna): AR and AL pins, guide wire pins by model, connector trim length.
- Automower wire installation (Husqvarna): loop layout, obstacle clearances, coupler, light signals.
- Automower 430X NERA (Husqvarna): discontinued status, working area, slope limits, sound level, PIN and EPOS accessory.
- How to create a passage in an Automower boundary wire installation (Husqvarna): passage widths with and without a guide wire.
 Up next8 min readLearnHow to Update Husqvarna Automower 430X FirmwareUpdated Nov 11, 2026
 8 min readLearnHow Long Does the Husqvarna Automower 430X Battery Last?Updated Nov 12, 2026
 9 min readLearnHusqvarna Automower Guide Wire Problem: How to Diagnose and Fix ItUpdated Nov 10, 2026
 8 min readLearnHusqvarna Automower No Loop Signal: Causes and FixesUpdated Nov 11, 2026
 7 min readLearnHusqvarna Automower Factory Reset: Steps for Newer and Older ModelsUpdated Nov 13, 2026
 7 min readLearnHusqvarna Automower App Problems and FixesUpdated Nov 13, 2026