
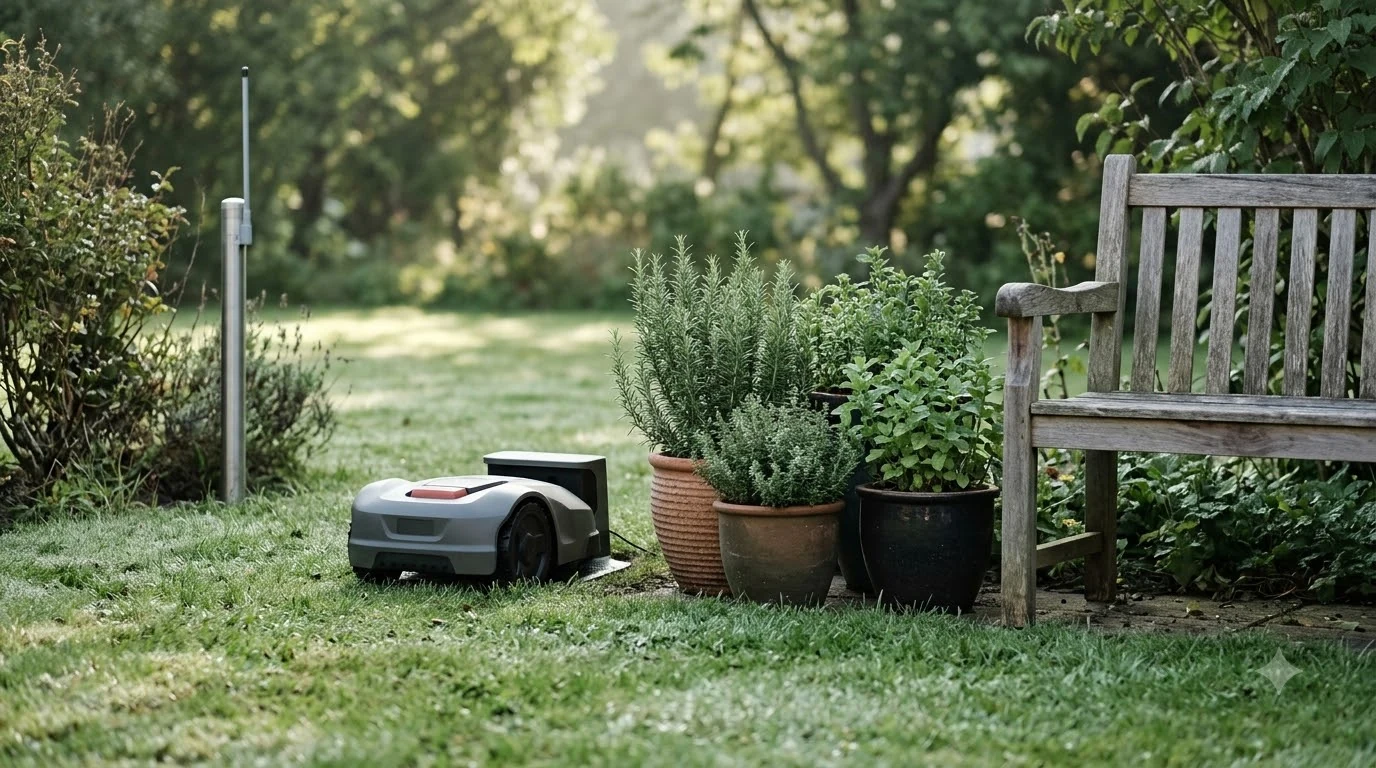

How to set up Anthbot M5: first confirm which M5 version you bought, then place the charging station with clear space on both sides, pair the mower in the ANTHBOT app, map the lawn, and add no-go zones before the first full mow. The steps are the same across versions, but the navigation hardware differs, so the step that involves a base station only applies to the RTK version. Anthbot’s listing states 500 m² coverage for the M5 family.
The short answer
- Check the version: the M5 name is used for an RTK model, and there is also an M5 LiDAR. Read the label or the order page before you start.
- Place the charger on level ground with about 2 meters of open space on each side, as the manufacturer recommends.
- Pair the mower in the ANTHBOT app over Bluetooth or Wi-Fi, then update the firmware.
- Map the lawn by driving the edges manually, add channels between zones, and draw no-go zones around obstacles.
First, check which M5 you have
Before you set up Anthbot M5, check the version, because the name “M5” alone does not tell you how the mower finds its position. Anthbot’s own product listing shows three versions with similar names, and the navigation line in each one is different. The table below uses the wording on the listing, and our reading of what each wording means for setup.
| Listing name | Navigation as listed | What it means for setup (our reading) |
|---|---|---|
| M5 | Full-Band RTK + Dual Vision, 4G | Uses satellite correction. Check the manual for the reference station and its placement. |
| M5 LiDAR | 360° LiDAR + Dual Vision, 4G | An independent review reports no perimeter wire and no RTK station for this version. |
| M5 PRO | LiDAR + RTK & NetRTK + Vision, 4G | Combines both. Follow the PRO manual, not the M5 steps below. |
The rest of this guide describes the LiDAR setup, because that is the version an independent reviewer has documented in detail. If your mower came with a reference station, follow the RTK manual instead and treat the charger and app steps as a general guide only.
Place the charging station
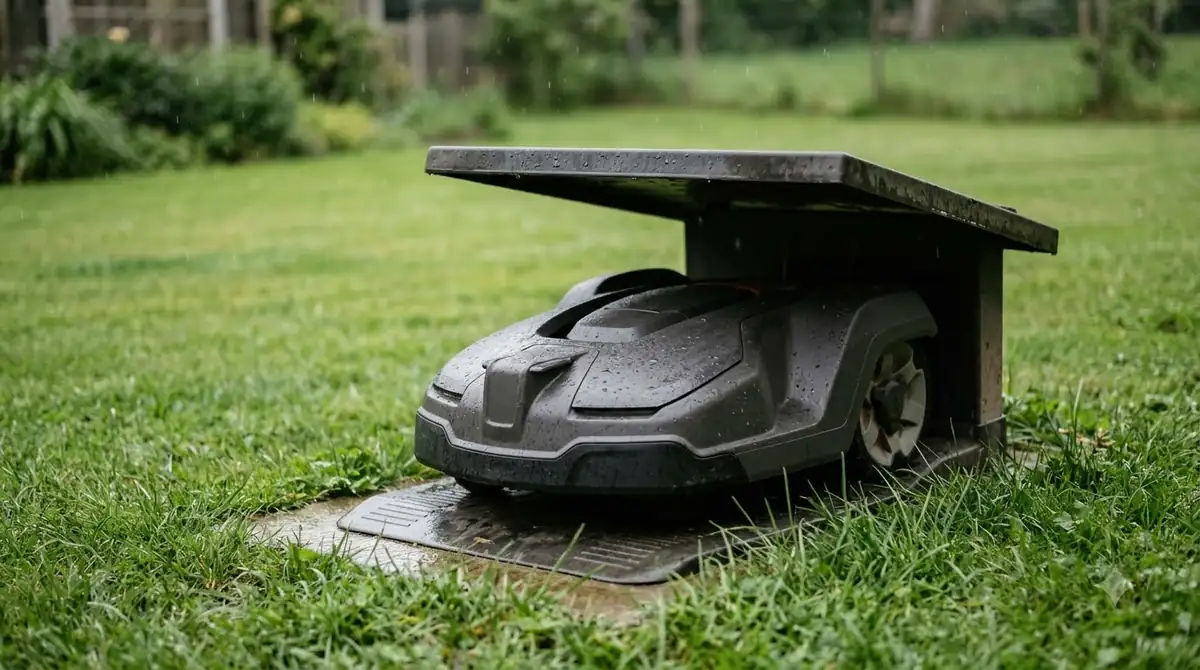
The charging station is the anchor for everything else, so place it before you set up Anthbot M5 in the app. Pick a spot on level ground near a weatherproof outdoor outlet, with the mower’s path to the lawn kept clear. Anthbot recommends about 2 meters of clearance on both sides of the station, and the review we read reports the same figure from the manufacturer. That space helps the mower line up with the dock and back in cleanly.
Avoid spots that are tight or cramped. The reviewer placed the station near a shed, where clearance was not ideal, and the mower still docked successfully. Treat that as one reported result, not a guarantee. If the dock is in a tight corner, check the mower’s docking for a few days before you rely on it.
Electrical and pest risks also apply. The University of Florida’s 2026 research note on robot mowers warns that fire ant mounds near docking stations can cause problems, and that lightning is a risk for the dock. It suggests grounding or surge protection, though it gives no numbers. Before you buy an extension cord, check the mower’s power requirements in the manual.
How to set up Anthbot M5 in the app
Charge the mower fully before pairing. The review gives a battery of 2.5 Ah (45 Wh), about 40 minutes of mowing per charge, and about 60 minutes to charge, all as specification figures. Once the mower has power, download the ANTHBOT app from your phone’s app store, create an account or log in, and follow the in-app steps to add the mower.
The reviewer describes three connection methods. Bluetooth is used for nearby mapping, Wi-Fi gives full app control, and 4G allows remote monitoring. The 4G service needs a subscription after the included period. The Wi-Fi connection supports both 2.4 GHz and 5 GHz networks, so if pairing fails on a 5 GHz-only setup, check the router’s band settings. After the mower connects, install any firmware update over Wi-Fi before you start mapping.
- Power on and charge. Charge the mower fully on the station before the first pairing.
- Install the app. Create an account or log in, then choose to add a new mower.
- Pair nearby. Keep the phone close to the mower and allow Bluetooth.
- Join Wi-Fi. Connect the mower to your home network for full control and updates.
- Update the firmware before you start mapping.
Map the lawn in the app
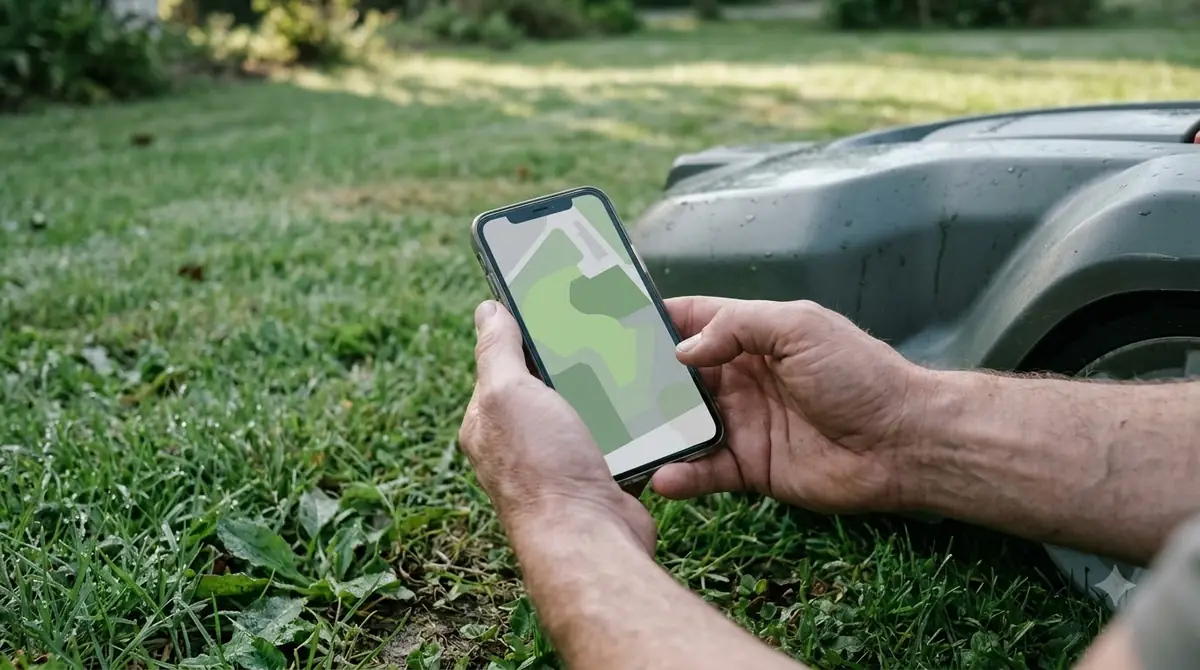
Mapping is where most setup time goes. The reviewer used two methods. Manual mapping means you drive the mower around the edge of a zone with the app’s remote-style controls, which gave the most precise edges. Auto mapping lets the mower trace the lawn itself, and it handled shadows well and got close to the edges, though in one spot it stopped short of where the reviewer would have stopped by hand.
A practical approach, based on what the reviewer reports, is to map the edges that matter most by hand, such as beds, walls and paths, and use auto mapping for open areas with few corners. Our reading is that manual mapping is worth the extra time for edges next to flower beds or a driveway, where a short stop would be visible.
Add channels and no-go zones
If your yard has more than one area, the reviewer created channels between zones so the mower could travel from the back garden to the front. Channels are the paths the mower uses to move between areas, so draw them along a clear, flat route that does not cross a flower bed. Without a channel, a second zone may be unreachable.
No-go zones keep the mower out of areas such as a pond, a play set or a garden bed. The review confirms that the app supports them but does not describe how to draw one, so follow the on-screen prompts and check the result on the map before the first run. Keep no-go zones simple: a zone with clear straight edges is easier to verify than an irregular shape.
Heads up
The reviewer noticed the mower hesitated briefly at a ramp and at a change in surface color, then continued. The suggested fix is to paint or mark the surface so it matches the nearby path. This is a single reviewer’s observation, so check the first few runs for the same pause.
Run a first test and check the results
After you set up Anthbot M5, watch one full cycle before you leave the mower to run on its own. Check that it leaves the dock, mows every zone on the map, returns to the dock and charges. Look for places where it stops, turns repeatedly or moves outside the boundary you drew, and fix those spots in the app before the next run.
Set the cutting height in the app to match your grass. The review gives a range of 30 to 70 mm, adjustable in the app. Keep the mower on a schedule that suits your lawn, and check the manual for any rain or sensor settings. Do not rely on a first run at a high height; start at a height that lets you see how the mower cuts before lowering it.
What to check before you buy
Before you set up Anthbot M5, make sure the lawn fits its stated limits. Anthbot’s listing states 500 m² for the M5 family, and the review recommends a 500 m² lawn as the ideal size. A larger yard may need a different model. Check the slope in the manual, since the review gives 45% (about 24 degrees) as a manufacturer figure, not a tested result.
Frequently asked questions
How do I set up Anthbot M5 without a perimeter wire?
The independent review of the LiDAR version says it does not need a perimeter wire or an RTK station. The RTK version uses satellite correction instead of a wire, but its reference station setup is different, so check the manual for your exact model.
How long does charging take?
The review gives about 60 minutes to charge the battery, as a specification figure. Actual times can change with battery age and temperature, so check the manual for guidance.
Do I need a paid subscription to use the M5?
Basic app control works over Bluetooth and Wi-Fi. The reviewer reports that 4G remote monitoring needs a subscription after the included period, so check the current terms before you buy.
What coverage area does the M5 handle?
Anthbot’s listing states 500 m² for the M5 family, which is about one-eighth of an acre. Measure your lawn before you choose a model, and do not assume a larger yard will be covered.
Sources
- ANTHBOT product support (Anthbot): listing of the M5, M5 LiDAR and M5 PRO with navigation types and 500 m² coverage. Used for the version table.
- Anthbot M5 LiDAR review (independent review site): setup, app connections, mapping methods, battery and cutting height figures, all reported by the reviewer or taken from the spec sheet.
- University of Florida news on robot mowers (UF/IFAS, June 2026): fire ant and lightning risks near docking stations.
 Up next7 min readLearnHow to Update Anthbot M5 Firmware: Step-by-Step GuideUpdated Nov 12, 2026
 9 min readLearnHow to Set Up Segway Navimow i110N: Easy Step-by-Step GuideUpdated Nov 10, 2026
 9 min readLearnHow to Set Up the Dreame A1 Pro Robot Mower Step by StepUpdated Nov 10, 2026
 9 min readLearnHow to Set Up Ecovacs GOAT O1000: Step-by-Step GuideUpdated Nov 10, 2026
 7 min readLearnHow to Set Up Worx Landroid Vision, Step by StepUpdated Nov 10, 2026
 7 min readLearnHow to Set Up Mammotion Luba 3: Easy Step-by-Step GuideUpdated Nov 10, 2026