
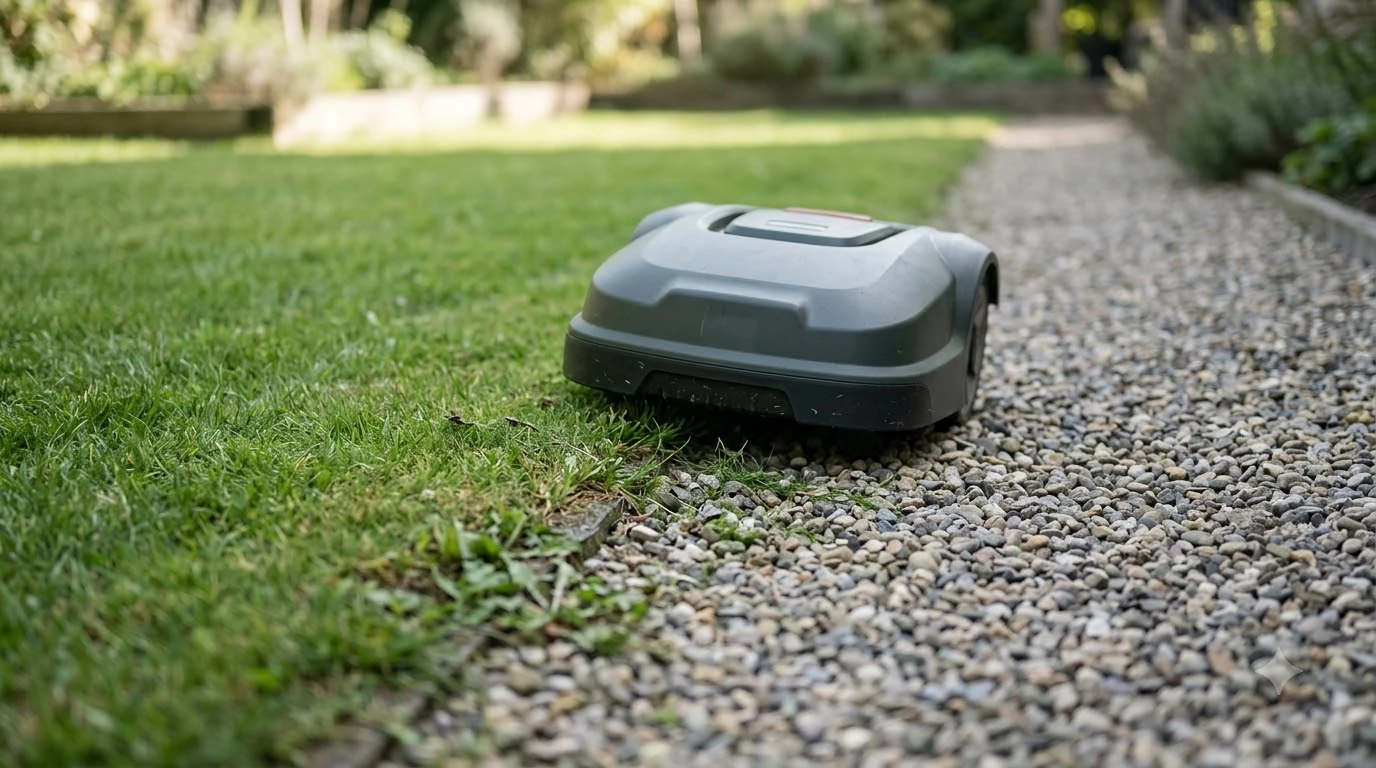

A Husqvarna Automower guide wire problem usually shows up as a flashing yellow light on the charging station, a mower that turns away at a stay-out zone, or a blue flashing “No loop signal” error. Which fix applies depends on the model and on whether your installation uses a physical boundary wire. Husqvarna’s support pages describe each case separately, so start by reading the light or the error on your station.
The short answer
- Flashing yellow light: the charging station has detected a guide wire issue. This applies to models that require a guide wire, such as the Aspire R4 and older Automower models.
- Mower stops at a stay-out zone: on AIM Technology models, a zone that covers the guide wire makes the mower stop and turn. Edit the zone or move the guide wire and remap the lawn.
- Blue flashing light: check the connections, measure resistance, then run the swap and halving tests to find the damaged section.
- Still stuck: if the checks do not clear the fault, Husqvarna directs owners to a local dealer.
Husqvarna Automower guide wire problem: what the guide wire does
In a Husqvarna Automower guide wire problem, the guide wire is the wire that carries the mower from the work area back to the charging station, and it joins the boundary wire at the charging station. Husqvarna’s US support article on AIM models describes the guide wire as the path the mower follows to the station, and it applies only to installations with a physical boundary wire. When that path is blocked or damaged, the mower may not find its way home even though the lawn loop itself is intact.
Because the guide wire and the boundary wire meet at the station, a fault can sit on either side of the junction. That is why Husqvarna’s tests switch the two wires at the charging station before anyone cuts a cable. Our reading is that a short check at the station saves more time than a search along the lawn.
Flashing yellow light: a guide wire issue on older models
A flashing yellow light is the clearest sign of a Husqvarna Automower guide wire problem. The charging station has detected a problem with the guide wire, according to Husqvarna’s UK support article on the “No loop signal” error. The light applies to models that need a guide wire, such as the Aspire R4 and older Automower models. The article does not list further steps for this light.
In practice, start with the connectors at the charging station. Confirm that the guide wire is fully inserted and the contacts are clean and secure. If the light stays yellow, the damage is most likely in the guide wire itself, and the search methods below apply. If your mower is an AIM model, check the stay-out zone first, because it is a more common cause on that line.
Stay-out zones that block the guide wire on AIM models
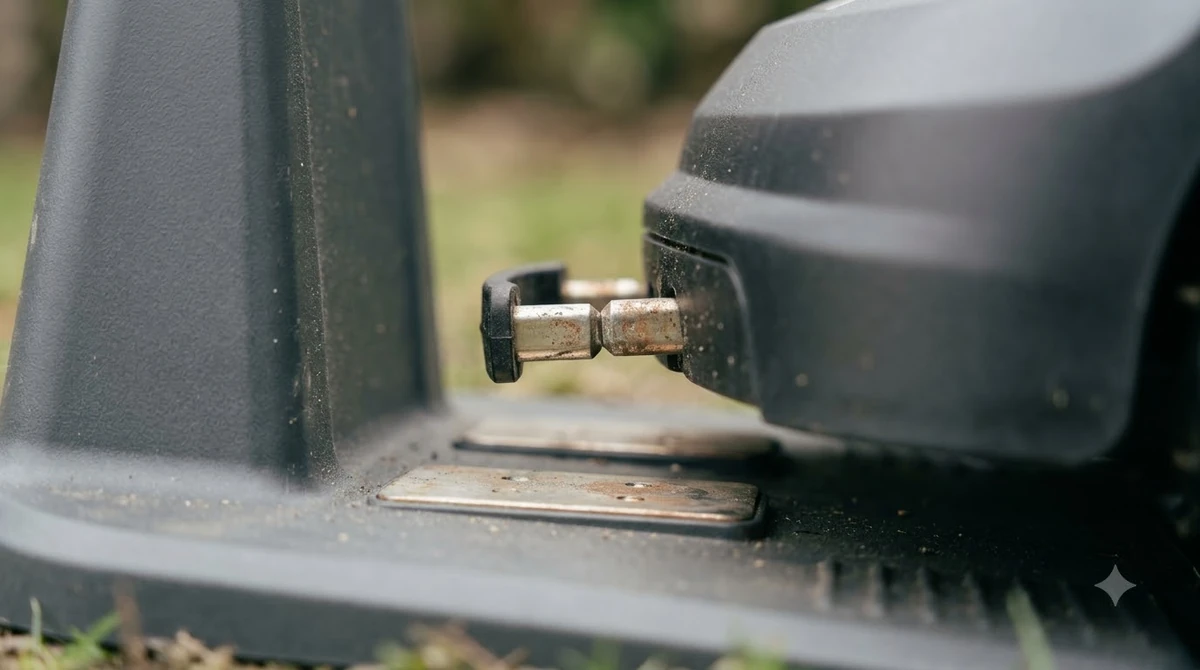
On AIM Technology models, a stay-out zone can cover the guide wire and cause a Husqvarna Automower guide wire problem. The mower then stops and turns at the zone’s edge. Husqvarna’s US support article states that when you create a stay-out zone, you should make sure it does not block the guide wire. The article gives two fixes: edit the zone so it does not cover the guide wire, or move the guide wire and remap the lawn.
Our reading is that the zone fix is the faster one. Open the zone in the app, shrink it or redraw its edge so the guide wire path is clear, then send the mower back to the station and watch the return. If the wire itself has to move, the lawn needs remapping, so plan that as a longer job. The stay-out zone guidance in Husqvarna’s article applies only to AIM models that support it, so check your model list before you change the map.
Check the wire with a multimeter and the swap test
When a Husqvarna Automower guide wire problem shows a blue flashing light, Husqvarna’s UK article on the “No loop signal” error says the wire or a connection is the likely cause. Start by checking that the boundary wire is fully inserted and that the contacts are clean and secure. Then disconnect the boundary wire from the charging station and measure resistance across the two wire ends with a multimeter.
The article gives a guideline of about 0.8 ohm per 100 m of wire. A 200 m installation should therefore read about 1.6 ohm. A reading of several hundred ohm indicates a break or damage. If the resistance is normal and the connections are secure, Husqvarna says the charging station circuit board may be faulty, and you should contact a dealer.
Heads up
Damage is often hidden. Husqvarna notes that a break can affect the loop signal even when the wire and connections look intact, so a resistance check matters more than a visual check.
The swap test helps when the light points to the station side. Switch the connections between the guide wire and the boundary wire, starting with the AL and G1 terminals. Some models also have G2 and G3, so the test can be repeated with them. A solid green lamp means the break is in the boundary wire between AL and the point where the guide wire joins it. The halving test below covers the case where the swap test does not settle the question.
Narrow the break with the halving test
The halving test is the manual search Husqvarna describes when a Husqvarna Automower guide wire problem traces back to a break somewhere along the wire. First, disconnect the suspected wire from the charging station. Connect one end of a new loop wire to a vacant AL or AR slot using a connector. Cut the suspected wire at its midpoint, then connect the other end of the new wire to the cut end still attached to the station.
Check the lamp. A green light means the break is in the section with the disconnected end. If the lamp keeps flashing blue, repeat the cut on the remaining section until only a short piece is left. Husqvarna’s support page says that if the suspect section is short, replacing it may be quicker than locating the exact break. Turn ECO mode off before you start, because the search method does not work while ECO mode is on. Husqvarna’s article gives the menu path as Settings, then ECO mode, then untick the box.
Our reading is that a break detector saves cuts when the break is clean. Husqvarna’s article says such a tool is useful for clean breaks but may be less effective on partial breaks, so the halving test is still the safer fallback when the detector finds nothing.
Repair the wire and bury the joint
Once you find the damaged section behind a Husqvarna Automower guide wire problem, Husqvarna’s repair guidance is to trim about 60 cm (2 ft) from each end of the damaged wire, so that all the damaged strands are removed. Insert both wire ends into the coupler, one end per hole, and check through the transparent side that each wire is fully inserted. If you use PRO wire, strip the outer protective layer first. Press the coupler firmly with pliers.
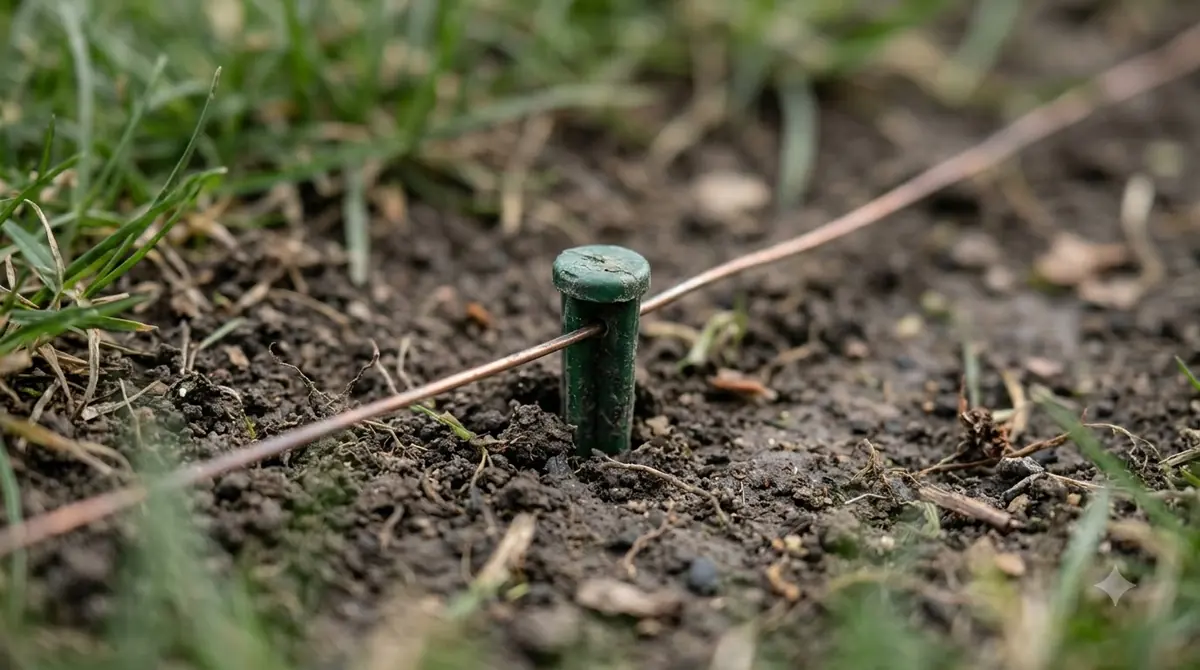
After the repair, bury the exposed boundary wire and coupler, or secure them to the ground with staples. This helps prevent new damage. Husqvarna recommends creating a new loop signal after service or component replacement, and our reading is that a wire repair is a good moment to do the same. In the app, the path is More, then Settings, then Security, then New loop signal, then Create new loop signal.
Other causes that look like a guide wire problem
Several faults can look like a Husqvarna Automower guide wire problem but have other causes. A solid green light on the station points to the signal detection side, and Husqvarna lists distance, layout, metal interference, and wire damage as causes. The mower must stay within 35 m (115 ft) of the wire on most models, or 15 m (50 ft) on the Aspire R4. The total boundary wire must not exceed 800 m (2,625 ft).
A flashing green light means ECO mode is active, and the loop signal is disabled when the mower is not scheduled to mow. Start the mower from the station, or press STOP before lifting it out in the work area. After a thunderstorm, power surges can damage internal parts even when the wire looks intact. If the error persists after these steps, Husqvarna recommends contacting a local dealer for an assessment.
Frequently asked questions
Does every Husqvarna Automower use a guide wire?
No. Husqvarna’s support articles say the guide wire applies to models that require one, such as the Aspire R4 and older Automower models. On AIM Technology models, the guide wire issue applies only to installations with a physical boundary wire.
What does a flashing yellow light on the charging station mean?
It means the station has detected a guide wire issue, according to Husqvarna’s UK support article on the “No loop signal” error. The article does not list further steps for this light, so check the connectors and the guide wire path, then contact a dealer if the light stays on.
Can I repair a broken guide or boundary wire myself?
Husqvarna’s repair guidance describes trimming about 60 cm (2 ft) from each end of the damaged wire and joining the ends with a coupler. Our reading is that a careful DIY repair is possible, but if the resistance is normal and the connections are secure, the station board may be the fault, so call a dealer.
How much boundary wire can one Automower installation use?
Husqvarna’s UK article says the total boundary wire must not exceed 800 m (2,625 ft). The mower must also stay within 35 m (115 ft) of the wire on most models, and within 15 m (50 ft) on the Aspire R4. Reduce the wire length or redo the layout if you go over these limits.
Sources
- No loop signal on Automower causes and solutions (Husqvarna support, UK, read 2026-11-10): LED meanings, the yellow guide wire light, resistance guideline, wire and distance limits, ECO mode.
- Automower with AIM Technology doesn’t follow the guide wire to the charging station (Husqvarna support, US, read 2026-11-10): stay-out zone and guide wire fixes.
- How to find and repair a wire break in your Automower installation (Husqvarna support, UK): swap test, halving test, break detector, repair length, coupler and burial steps.
 Up next7 min readLearnHusqvarna Automower App Problems and FixesUpdated Nov 13, 2026
 7 min readLearnWorx Landroid Stuck? Fix Docking, Power and Path ProblemsUpdated Nov 13, 2026
 6 min readLearnEcovacs GOAT App Problems and How to Fix ThemUpdated Nov 13, 2026
 8 min readLearnHow to Set Up Husqvarna Automower 430XUpdated Nov 10, 2026
 8 min readLearnHusqvarna Automower No Loop Signal: Causes and FixesUpdated Nov 11, 2026
 8 min readLearnHow to Update Husqvarna Automower 430X FirmwareUpdated Nov 11, 2026