
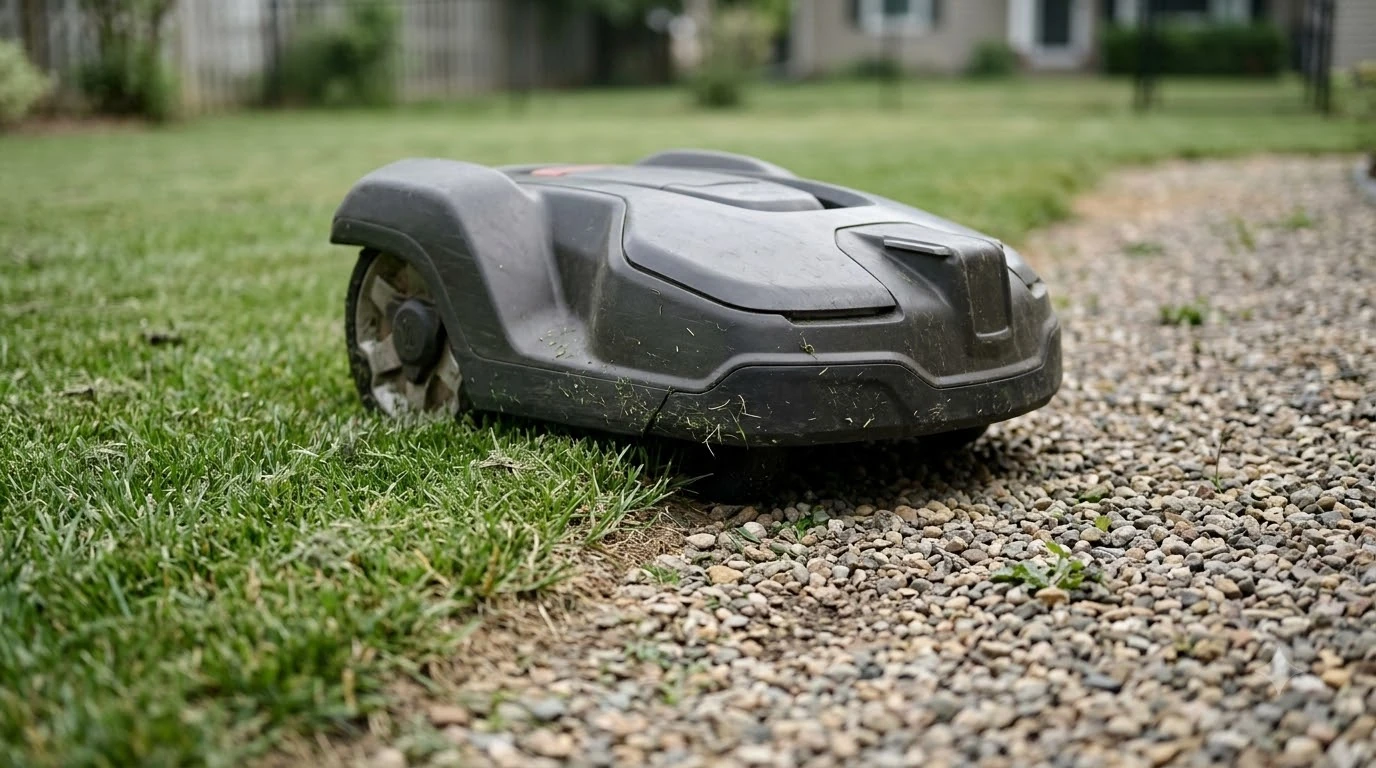

When a robot mower mapping failed message appears, the cause is usually the setup, not the mower itself: a boundary wire that is not connected correctly, a passage the mower cannot clear, or a lawn that changed after the first map. Work through those checks in order, then remap only when the layout is fixed. The vendor guidance we read points to the same checks, although menu names and limits differ by brand.
The short answer
- Check the wire first: on wire-guided models, confirm the boundary wire ends are clamped the right way and reconnected at the charging station.
- Clear the lawn: pick a dry day, remove loose items, and open the gates the mower needs.
- Keep paths open: a passage that is too narrow or blocked stops the mower from moving between areas.
- Turn on GPS-assisted navigation where your model supports it.
- Create a new map after a layout change, because most systems do not edit an old map by hand.
What a robot mower mapping failed message looks like
A mapping failure shows up as an error on the display or app, a boundary that does not match the lawn, or a mower that misses sections or runs outside the edge. Some errors appear even when the mower is inside its area. One Worx support page describes a message that says the mower is outside its working area while the mower is inside it and the wire is connected.
Write down what you see before you change anything. The symptom tells you which check to start with: wire errors point to the charging station connections, while a wrong boundary points to the lawn setup or to a layout change.
Check the boundary wire connections first
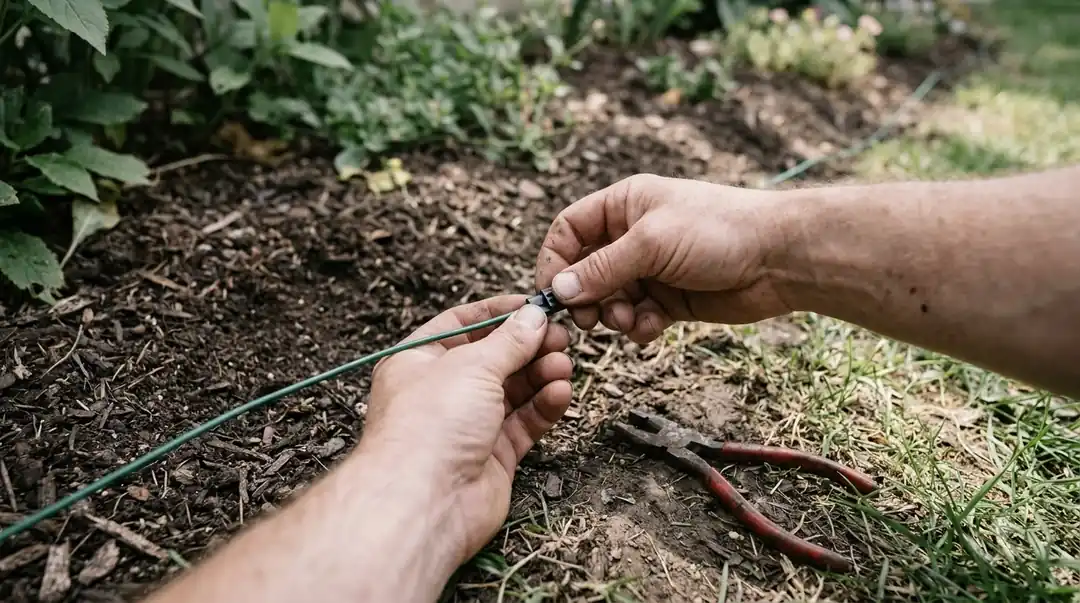
On wire-guided models, a wrong wire connection can cause a false boundary error. Worx says the error can happen when “the boundary wire ends are clamped incorrectly,” and its fix is to “reverse the boundary wire ends and reconnect to the charging station.” Swap the two ends, reconnect them, and then restart the mower as the display instructs.
Look for a clean, tight connection and an intact wire before you remap. A broken wire that the mower cannot follow will produce the same kind of failure, so a visual check of the full loop is worth the time. If you suspect a break, see how to find a break in the boundary wire, and for a new installation, the guide to installing a robot mower boundary wire.
Clear the lawn and open the gates before you map
A robot mower mapping failed result is often a lawn-prep problem, so mapping works best when the lawn is ready. eufy’s setup checklist asks you to “choose a dry period when the lawn is clear,” remove loose items, and “open gates the robot lawn mower will regularly use and close access points it should not cross.” Its guidance also says small or partly hidden objects should be cleared, not left for obstacle detection to handle.
During data collection, Husqvarna’s AIM system mows the whole area inside the boundary wire. Work areas and stay-out zones are disabled in that phase, so anything you want the mower to avoid must be in place before you start, or it will be mowed during the walk.
Check the passages and transition paths
A mower that cannot get from one area to another will fail to finish a map that includes more than one zone. Anker states that a robot mower “can move between zones automatically only if there is a safe route between them,” and it lists a locked gate among barriers that can stop travel between lawns.
Passage width matters too. Husqvarna’s wire guidance uses 60 cm (24 in) between boundary wires when a guide wire runs through the passage, and 2 m (6 ft 6 in) when there is no guide wire. Where a zone transition is involved, anything on the straight line the mower takes can stop it from completing the move. Our reading is that a passage that looks wide enough on paper can still fail if a shrub, a hose, or a step sits on the path. For yards with several zones, see how to map a complex yard.
Turn on GPS-assisted navigation where it applies
Where a model uses satellite positioning, the setting that helps the map is GPS-assisted navigation. Husqvarna’s AIM guide says that for the best results you should turn it on, and gives the path in the app as More, then Settings, then Installation, then Lawn Coverage. The same page lists the display route as Installation, then Lawn Coverage.
The page does not say how strong the signal must be or how much sky view is needed. If the mower’s map drifts only in one corner, our reading is that a blocked view of the sky near that spot is worth checking, but the vendor material we read does not give a clearance figure.
Heads up
Menu names and screens differ between brands and firmware versions. Use the menu path from your own manual or app, not the example above.
When to create a new map instead of fixing the old one
Create a new map after the lawn layout or the boundary wire changes. Husqvarna says the mower does not detect these changes on its own, so you must start the process in the app with Map, then My Lawn, then Create new map. The same article notes that “it is not possible to manually edit the existing virtual map,” and that a new map replaces the old one.
Plan for time. Husqvarna says creating a new map “can take up to 15 days,” and mapping starts at the next scheduled mowing time. That article applies to installations with a physical boundary wire, so check your own manual before following its schedule on a wire-free model.
How to remap without repeating the error
If a robot mower mapping failed message returns, run the checks in a fixed order so you know which fix worked. If you map from an app, the steps in how to map your lawn with a robot mower app show the normal sequence.
- Confirm the wire loop. Check the clamps, reverse the ends if the manual or the error message points to them, and reconnect at the charging station.
- Clear the lawn. Remove loose items, clear small obstacles, and open the gates the mower will use.
- Check each passage. Measure the narrowest point against your manual’s minimum and remove anything on the straight line between zones.
- Confirm stay-out zones. Husqvarna’s EPOS guide sets a minimum stay-out zone of 30 x 30 cm (1 x 1 ft) and asks for 6 m (20 ft) free in front of the charging station.
- Start the remap. If the layout changed, create a new map in the app rather than editing the old one.
- Check the result. Watch the first runs, and fix any work areas or stay-out zones that do not match the new map.
Mistakes that cause repeat failures
Most repeat failures come from a few habits that are easy to fix once you know them. If the error keeps returning after you fix them, read the guide on how to reset a robot mower, and follow your own manual first.
- Remapping without fixing the cause. A new map built on the same blocked gate or loose wire will fail the same way.
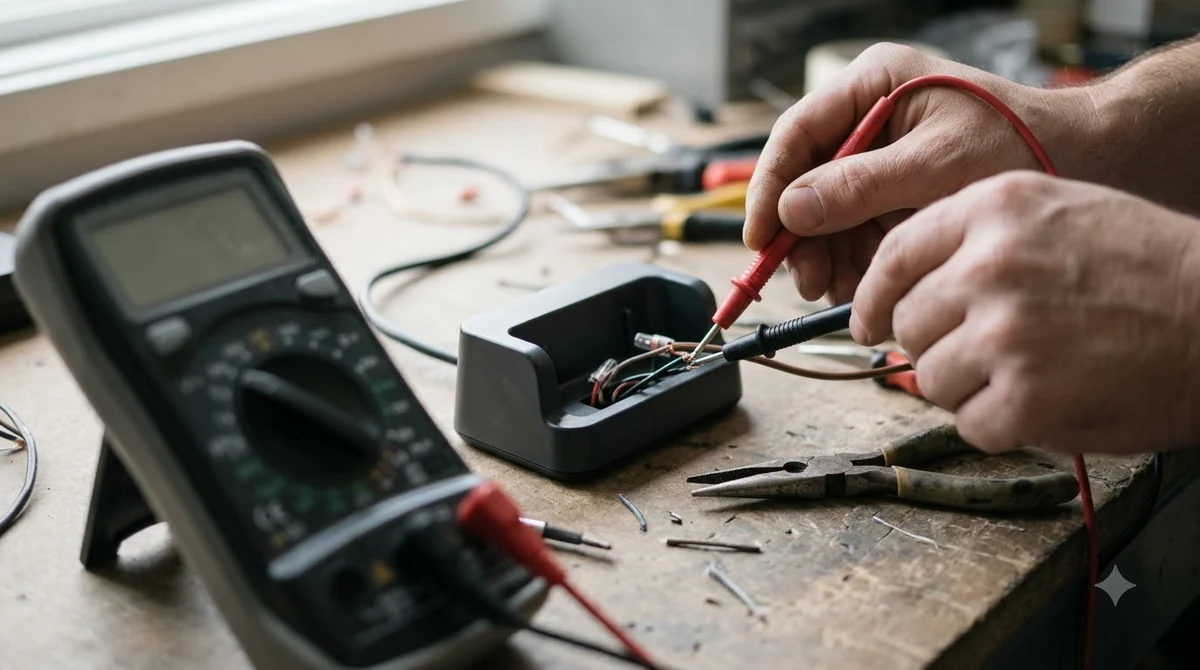
- Skipping the wire check. A reversed clamp can look like a mapping problem.
- Treating a stay-out zone as a fence. Husqvarna says a stay-out zone alone is not enough for pools and streets, which need a physical barrier at least 15 cm (6 in) high.
- Ignoring the schedule. A map that waits for the next scheduled mowing time will look unfinished until that run happens.
Frequently asked questions
Why does my robot mower mapping failed message keep returning?
When a robot mower mapping failed message repeats, the most common reasons are a wire connection that is clamped the wrong way, a blocked gate or passage, or a lawn layout that changed after the old map was made. Fix the cause first, then create a new map. Repeating the same mapping run without changes usually produces the same result.
Do I need to create a new map after I move the charging station?
Check your manual. Husqvarna’s guide asks for a new map after changes to the lawn layout or boundary wire installation, and it says the mower will not detect those changes itself. Our reading is that moving the charging station changes the wire layout, so a new map is the safer choice.
How long does it take to create a new map?
Husqvarna says creating a new map can take up to 15 days, because mapping starts at the next scheduled mowing time and the mower mows the full area inside the boundary during data collection. Times vary by model and lawn size, so check your own manual.
Can I fix a bad map by editing it?
On Husqvarna’s AIM system, the virtual map cannot be edited by hand. You can change work areas and stay-out zones after the new map is built, but the base map is replaced rather than corrected.
Sources
- How to update the virtual map created by AIM Technology (Husqvarna): when to create a new map, the 15-day note, GPS-assisted setting, and the no-manual-edit rule.
- Outside working area error with connected boundary wire (Worx support): wire-end clamping and the reconnect step.
- Robot lawn mower setup checklist (eufy): dry period, clear lawn, gates and access points, hidden objects.
- Multi-zone robot lawn mower (Anker): safe route between zones and locked gates.
- How to create a passage in an Automower boundary wire installation (Husqvarna): passage widths with and without a guide wire.
- Set up and manage work areas, stay-out zones and transport paths with EPOS (Husqvarna): stay-out zone minimum size and charging station clearance.
- Creating stay-out zones with AIM Technology (Husqvarna): pools and streets need a physical barrier.
 Up next7 min readLearnLymow won t connect to wifi: fixes that workUpdated Nov 13, 2026
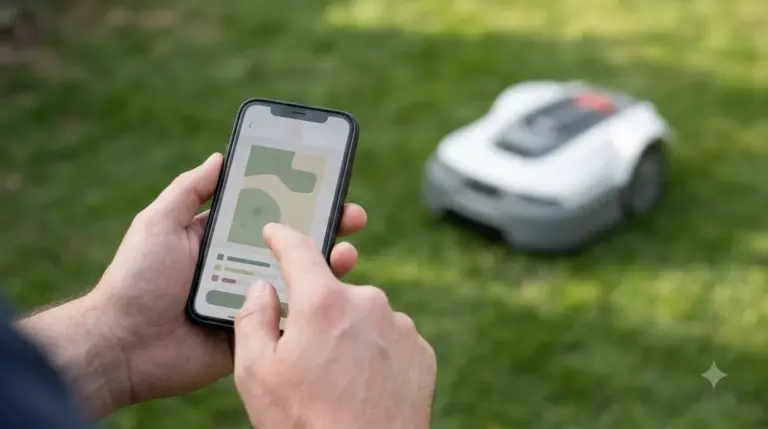 6 min readLearnNavimow App Not Connecting: Fixes That WorkUpdated Nov 13, 2026
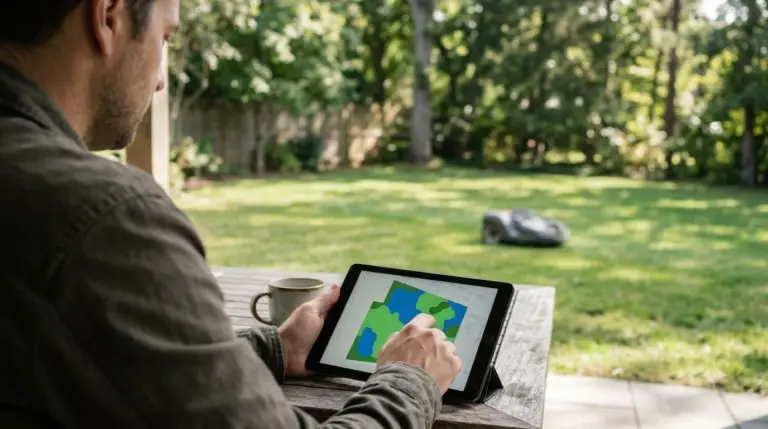 6 min readLearnWorx Landroid App Not Connecting: Fixes That WorkUpdated Nov 13, 2026
 6 min readLearnMammotion App Not Connecting: Luba Fixes That WorkUpdated Nov 13, 2026
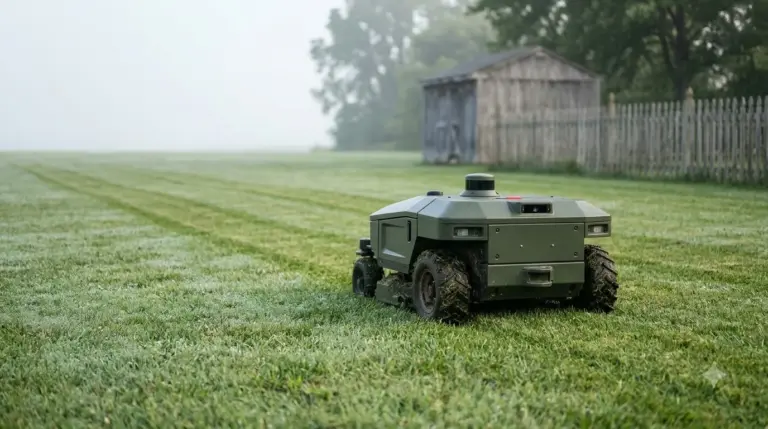 8 min readLearneufy E15 Mapping Problem: Causes and FixesUpdated Nov 11, 2026
 8 min readLearnRobot Mower Keeps Getting Stuck on Edges? Causes and FixesUpdated Nov 11, 2026