


Knowing how to find a break in robot mower wire starts with confirming the “No loop signal” error, then narrowing the fault by testing the charging station, splitting the wire in half, and measuring the loop. Most fixes follow the same order, and the steps below come from manufacturer support pages and one specialist guide, not from our own trials. Start with the basics, because a loose connector can cause the same error as a cut wire.
The short answer
- Confirm the error: a “No loop signal” message means the mower cannot detect the boundary wire loop.
- Check the basics: connectors, splices and couplers come first, and ECO mode must be off for the search.
- Narrow it down: on Husqvarna models, split the suspect wire in half until a short section remains.
- Measure: an intact cable reads about 1 ohm per 100 m, and 1000 ohms or more points to a break.
- Repair: trim about 60 cm (2 feet) from each side of the damage and join the ends with an original coupler.
How to find a break in robot mower wire: check the basics first
A “No loop signal” error means the mower cannot read the boundary wire loop. On Husqvarna Automower models, the charging station may show a blue flashing light with that error, according to Husqvarna’s UK support page. Before you search, check that the boundary and guide wire connectors at the station are connected and undamaged, and that the loop splices and couplers are intact.
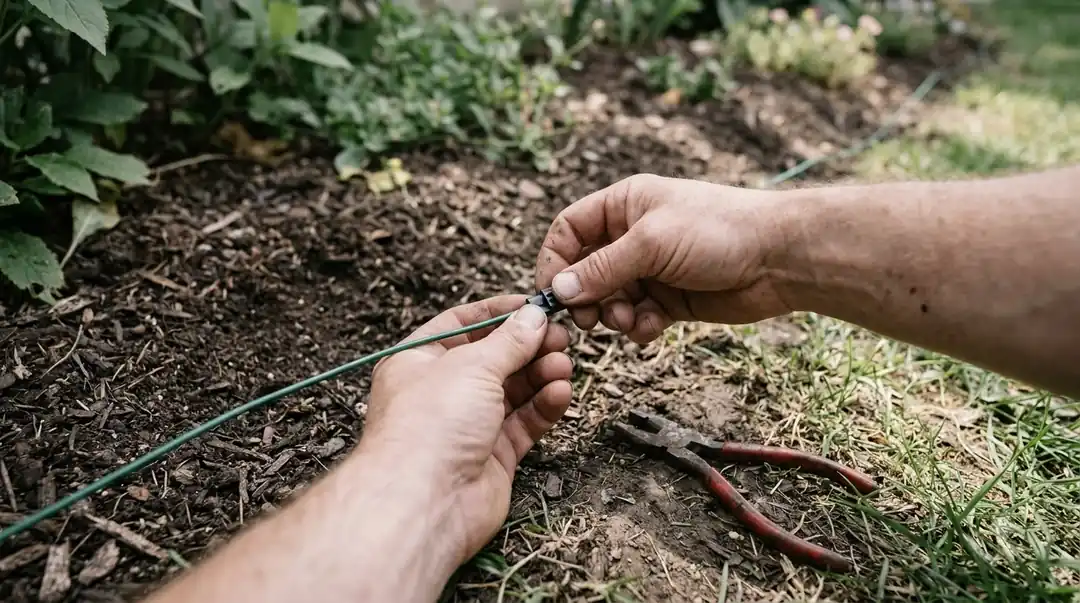
Turn ECO mode off next. Park the mower in the charging station, then go to Settings and ECO mode in the Automower Connect app or on the mower display, and untick the box. Husqvarna says the search does not work while ECO mode is on.
Worx says the boundary wire is often damaged by soil aerators, shovels and rakes. It also explains that a damaged wire can carry a signal too weak for the mower to detect, while a fully cut wire gives no signal at all. Worx advises checking any earlier repair spots first, then looking for scratches or marks in the soil around the perimeter. The way the loop was laid matters too; see installing a robot mower boundary wire.
Use the charging station to tell station faults from wire faults
The charging station’s lamp can show whether the fault sits on the station side or the wire side of one join. On Husqvarna models, the swap test uses this lamp to narrow the search before you touch the wire.
- Park and switch off ECO mode. The search will not run with ECO mode on.
- Swap the connections. Switch the guide wire and boundary wire connections at the station, starting with AL and G1.
- Read the lamp. A solid green lamp means the break lies between AL and the point where the guide wire joins the boundary wire.
- Repeat on other slots. Some models have G2 and G3 connections, which you can test the same way.
This result only tells you which side of that join holds the fault. It does not show where along the wire the cut is, so the next section handles that. These steps are Husqvarna’s. Other brands use different lamp colours and connectors, so check your model’s manual before reading the lamp.
Split the wire in half until only a short section remains
Splitting the suspect wire in half narrows the break to a short section, because each cut shows which half holds the fault. Husqvarna describes this as a halving test for its own systems, and it needs a short piece of new wire and a free slot on the station. When the station checks do not settle the question, this is the core of how to find a break in robot mower wire.
- Disconnect the suspect wire. Take it off the charging station.
- Add a test wire. Connect a new loop wire to a free slot, AL or AR, using a connector.
- Cut at the midpoint. Cut the suspect section halfway along and join the new wire’s free end to the wire end still attached to the station.
- Read the lamp. A solid green lamp means the break is in the section with the disconnected end.
If the lamp keeps flashing blue, repeat the halving on the section that still holds the fault until only a short section remains. That short section contains the break. Husqvarna adds that when the suspect section is short, replacing it can be quicker than locating the exact cut.
Heads up
Each test cut adds a joint, and each joint needs a coupler and burial later. Our reading is that you should use the halving test only when the detector and multimeter checks cannot narrow the fault.
Measure the loop with a multimeter
Among the options for how to find a break in robot mower wire, a multimeter resistance check can point to the fault without cutting the wire. The Robot Mower, a specialist guide with the byline “Designer”, says an intact cable should read about 1 ohm per 100 m, roughly double once joins are included.
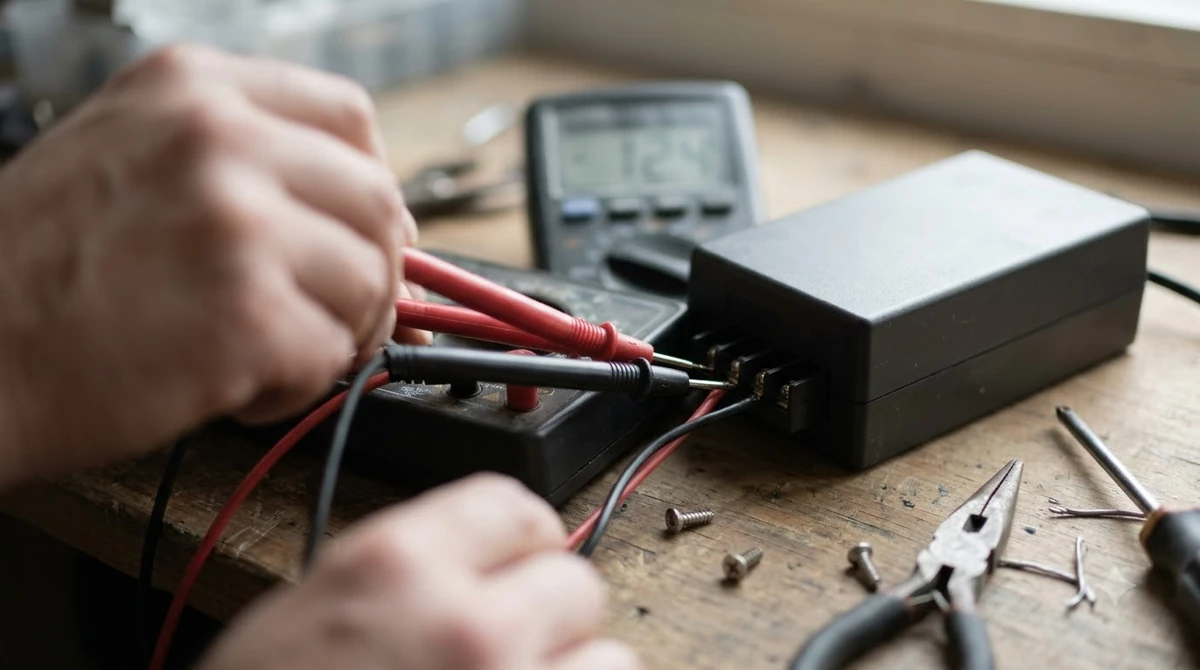
The same guide says readings in kilo-ohms suggest damaged strands, and it gives 1000 ohms or more as the break indicator. It also describes a binary split: join the wire at midpoints, measure resistance from the station to each point, and move toward the section where resistance jumps. This avoids repeated cutting, which is why it is worth trying before the halving test.
These figures come from one article, not from a manufacturer, so treat them as a guide and compare them with your model’s manual. Our reading is that the check is easiest with the wire disconnected from the station, so you read the loop itself rather than the station’s circuit.
Use an AM radio or a break detector
Another answer to how to find a break in robot mower wire is an AM radio: one tuned to about 700 kHz can pick up a sharp drop in noise at the damaged spot, and a break detector works best on clean breaks. Worx describes the radio method in its maintenance wiki, and Husqvarna covers detectors in its repair steps.
For the radio method, tune a portable set to about 700 kHz, avoiding stations. Fully extend the antenna and point it toward the ground. Walk along the wire: the interference noise gets louder as you approach the wire and quieter at the damaged spot.
A loop wire break detector sends a signal through the cable, and a receiver above ground picks it up. Husqvarna says detectors work well for clean breaks but are less reliable for partial ones. Worx notes these tools can be bought from an electrical store or online. Neither method cuts the wire, which makes them a sensible first step.
Heads up
A partial break can be missed by a detector. If the mower still reports no loop after a clean check, move on to the halving test rather than assuming the wire is fine.
Repair the wire at the break
Once you know how to find a break in robot mower wire, the repair is short. Husqvarna’s repair trims about 60 cm (2 feet) from each end of the damaged section and joins the ends with an original coupler. Husqvarna specifies original couplers, so check your manual before choosing a generic splice; the wire splice kit guide covers the options.
- Trim the damage. Cut about 60 cm (2 feet) from each end of the damaged wire.
- Seat both ends. Insert both wire ends into one coupler, one end per hole. The hole assignment does not matter.
- Check the seating. Look through the transparent side of the coupler to confirm each wire is fully inserted.
- Prepare PRO wire. If you use PRO wire, strip the outer protective layer first.
- Press the coupler. Press firmly with pliers.
- Protect the joint. Bury the wire and coupler, or secure them to the ground with staples.
If wire faults keep recurring, wire-free versus boundary wire mowers compares the alternative. If the damaged section was short, Husqvarna says replacing it outright can be simpler than pinpointing the exact break. Either way, the joint is the weakest point of the loop, so bury it or staple it down to prevent future damage. For that choice, see burying or pegging boundary wire.
Frequently asked questions
Can a damaged wire still work?
Worx says a damaged wire can carry a signal too weak for the mower to detect, while a fully cut wire gives no signal at all. Treat a weak loop as a fault to find rather than a wire that still works.
Can you find a break in robot mower wire without cutting it?
In many cases, yes. A multimeter resistance check, an AM radio tuned to about 700 kHz, or a break detector can each locate a break without cutting. Detectors are less reliable on partial breaks, so the halving test may still be needed.
Do I need to bury a repaired joint?
Husqvarna says to bury the exposed wire and coupler, or secure them to the ground with staples, to prevent future damage. Burial also protects the joint from the aerators, shovels and rakes that Worx lists as common causes of damage.
Why does my robot mower say no loop signal?
The error means the mower cannot detect the boundary wire loop. Husqvarna’s checklist starts with the station connectors, the wire splices and couplers, and whether ECO mode is on. A break is one possible cause, so check the station before you cut the wire.
Sources
- Husqvarna support: finding and repairing a wire break (Husqvarna): the error message, ECO mode, swap and halving tests, repair steps.
- Locate a damaged spot in the boundary wire (Worx Landroid maintenance wiki): damage causes, the AM radio method at about 700 kHz.
- How to Find a Robot Mower Wire Break (The Robot Mower): cable resistance figures and the 1000 ohm break indicator.
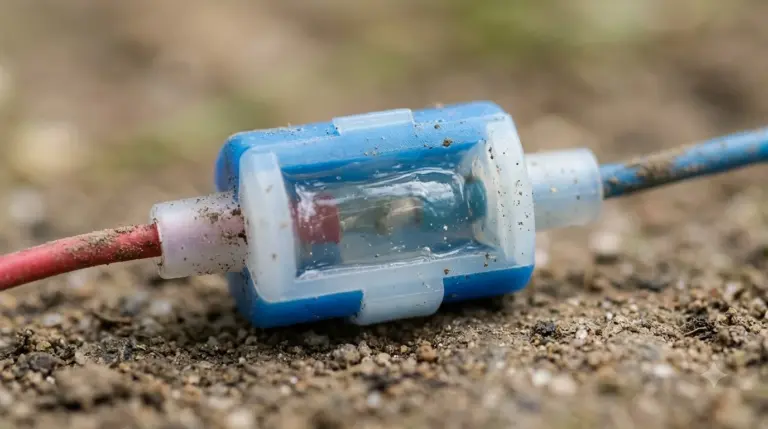 Up next7 min readGearRobot Mower Wire Connectors Waterproof: What the Manufacturer VerifiesUpdated Nov 11, 2026
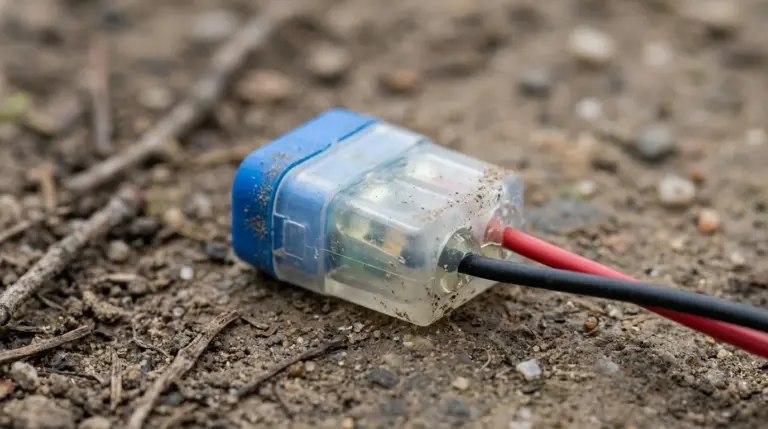 8 min readGearRobot Mower Wire Splice Kit: What It Includes and How to Use ItUpdated Nov 11, 2026
 9 min readGearBest Robot Mower Wire Pegs: 1 Metre Spacing and CountUpdated Nov 11, 2026
 8 min readGearRobot mower traction spikes for slopes: what actually helps gripUpdated Nov 11, 2026
 8 min readGearHow to Clean a Robot Mower Safely, Step by StepUpdated Nov 11, 2026
 8 min readGearWhere to Mount an RTK Base Station for a Robot MowerUpdated Nov 11, 2026