
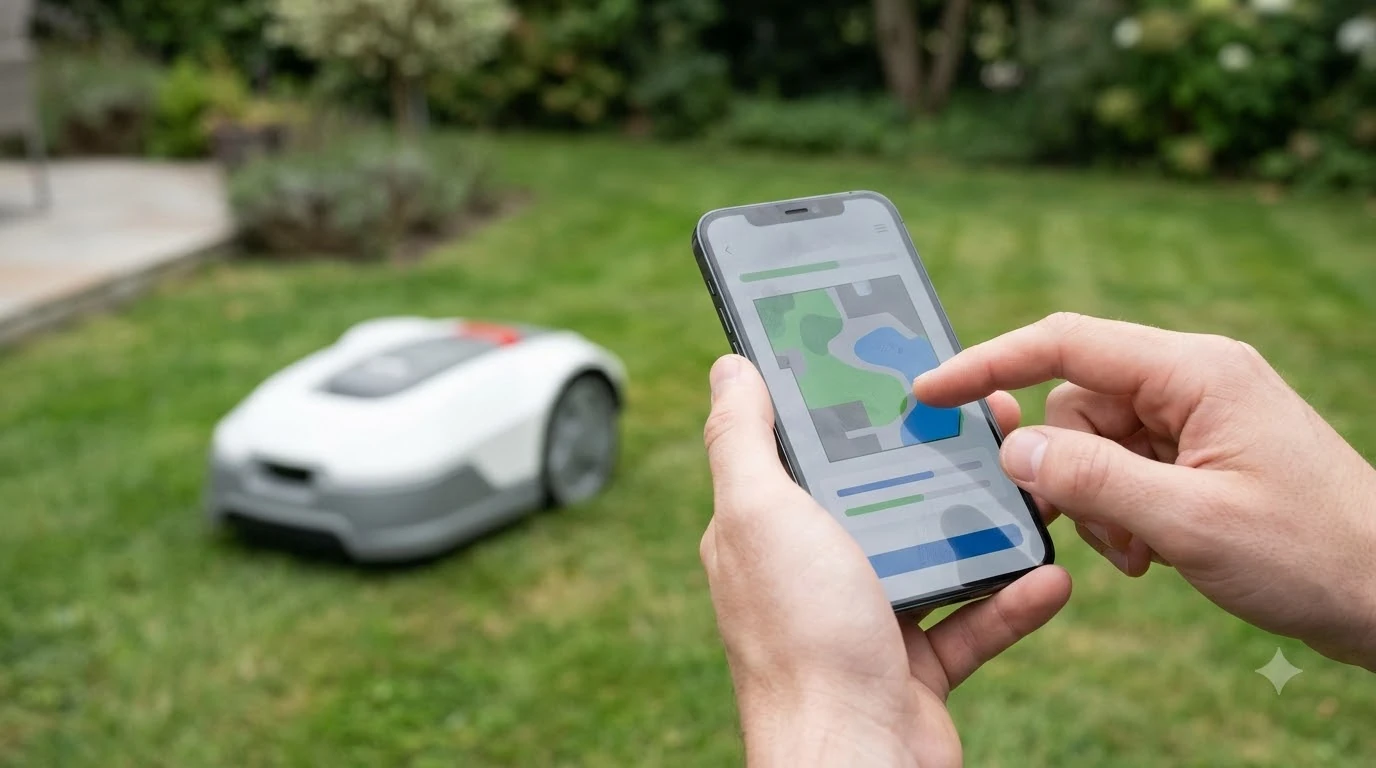

Learning how to calibrate a lidar robot mower starts with one fact: it has no guide-wire calibration step like a boundary-wire model. As of November 12, 2026, the setup that matters is a required firmware update, mapping the lawn in the app, setting no-go zones, and watching the first run. Setup guides we read do not give a separate LiDAR calibration procedure, so this guide shows what to do in that order and where the numbers come from.
The short answer
- How to calibrate a lidar robot mower: there is no wire step, so start with the firmware and mapping. Boundary-wire mowers calibrate their wire loop on first start. LiDAR models map the lawn with onboard sensors instead.
- Update firmware first: one setup guide describes a mandatory firmware update before mapping, which takes 20 to 60 minutes.
- Map with a margin: stay within about 6 m (19.7 ft) of the mower when walking the perimeter, and keep 20 to 30 cm from walls, drop-offs and beds.
- Set no-go zones early: keep at least about 25 cm from ponds and cliffs, per ECOVACS guidance.
- Start high: begin at a cut height of 50 mm or above and lower it over a few weeks.
How to calibrate a lidar robot mower: does it need calibration?
Usually not in the sense people mean, so how to calibrate a lidar robot mower is mostly a setup question. Calibration in the boundary-wire world means the mower learns the loop signal from a buried cable. A LiDAR mower builds its map from laser returns and updates that map while it mows. The Husqvarna support page we read covers only boundary-wire installs and does not say whether its procedure applies to LiDAR or RTK models. Our reading is that if your model’s manual lists a sensor reset or a map reset, follow that page, since it will be specific to your model.
How boundary-wire calibration works, for comparison
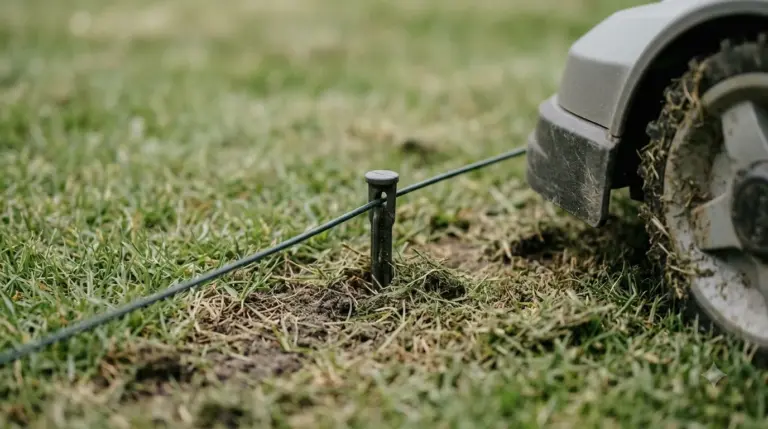
Husqvarna describes a boundary-wire startup in four steps. You can place the mower in its charging station, switch it on, set the language, country, date and time and a PIN, then start it. The mower drives away from the station and pauses while it calibrates the loop signal and other settings. Husqvarna says the process is automatic. If you skip the charging-station step, the mower generates a new loop signal and calibrates the first time it leaves the station.
That startup is a wire-model feature. The setup time for each navigation type is one of the clearest differences between them:
| Navigation | Needs boundary wire | Needs satellite sky view | Setup time quoted by the sources |
|---|---|---|---|
| Boundary wire | Yes | No | 2 to 4 hours for a typical quarter-acre yard |
| RTK (wire-free GPS) | No | Yes, base needs open sky above about 15 degrees | 30 to 60 minutes |
| AI vision | No | No | 15 to 30 minutes |
| LiDAR | No | No | Not stated in the sources we read |
Sources: robotlawnmower.org setup guide and Husqvarna support page. The LiDAR row is blank on purpose, because none of the pages we read gives a time for it. Real time will depend on lawn size, the number of zones and the model.
Step 1: Update the firmware before anything else
The first step in how to calibrate a lidar robot mower is the update. The Mowscout setup guide says initial setup is gated behind a mandatory firmware update, and that the update takes 20 to 60 minutes. The same guide advises a battery at 50 percent or more, and ideally 80 percent, before updating. Do not expect the mower to finish mapping until the update is done.
Step 2: Map the lawn with a clear edge
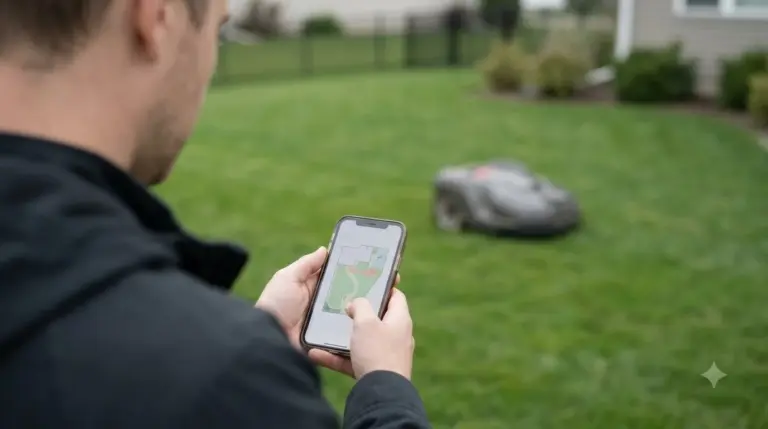
Most LiDAR mowers set virtual boundaries in an app rather than with a wire. Anker’s LiDAR guide explains that the mower scans the lawn, maps edges and fixed features, identifies obstacles, plans a route and keeps updating its map as it works. Our reading is that because the map is built from the lawn itself, the layout is easier to change later than a buried wire. For a walkthrough of the app side, see how to map your lawn with a robot mower app.
If you walk the perimeter yourself, ECOVACS manual mapping asks you to stay within about 6 m of the mower. Mowscout puts the edge buffer at roughly 20 to 30 cm from walls, drop-offs and beds. Map one simple zone first, then add complex areas once the first zone proves reliable. Walk or drive the perimeter steadily, without zigzagging, so the outline is smooth.

Step 3: Set no-go zones and check passages
No-go zones keep the mower away from ponds, beds, cliffs and other hazards. ECOVACS guidance, as quoted by Mowscout, sets at least about 25 cm (10 inches) between the mapped zone and a pond or cliff. Refine the no-go zones a few inches at a time during the first week, rather than drawing them all at once.
If your lawn has several zones, the connecting passage matters. robotlawnmower.org says a passage should be at least 1 to 1.5 meters wide. Measure the gap before you draw the map, so you know whether it meets that width.
Step 4: Start high and watch the first run
The robotlawnmower.org guide says to start at a cut height of 50 mm or above and lower it gradually over a few weeks, and it warns against dropping to 25 mm on the first run. Mowscout adds that grass should be under roughly 10 cm (3.9 inches) before the first run, and that you should watch the first full run instead of leaving the mower alone with it.
Judge the first run by the whole pass, not a single corner. Mowscout describes a slow, cautious first pass and advises against judging cut quality from one pass. Our reading is that a short first session, with you nearby, is the closest practical check a LiDAR mower has to calibration. That is the short version of how to calibrate a lidar robot mower. For model-specific steps, see how to set up the Ecovacs GOAT O1000.
When LiDAR setup struggles
If you are still deciding between sensors, RTK vs LiDAR for a robot mower compares them. LiDAR is not the right answer for every yard. Anker notes that very open lawns with few trees, walls, borders or fixed features give the mower fewer reference points, and that RTK may suit those yards better. Heavy fog, strong rain or water droplets can scatter the laser pulses, and many models return to the charger until conditions improve.
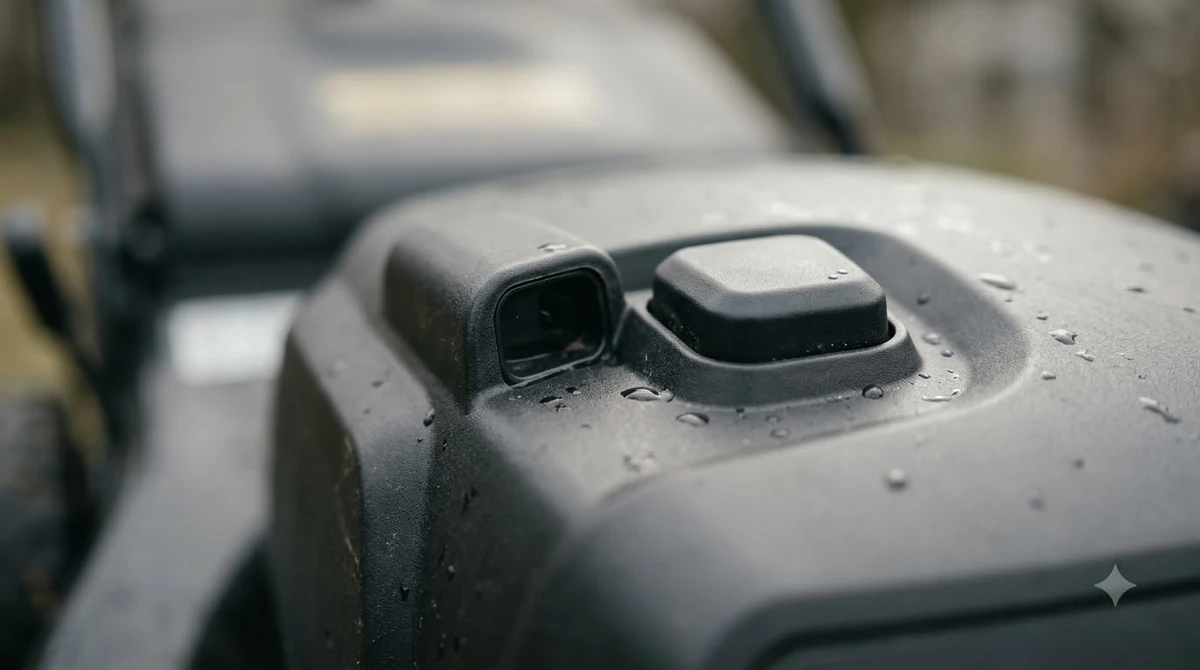
- Clean the sensors: Anker says sensors may need cleaning after rain, mud or dust; our guide to cleaning robot mower sensors covers the steps.
- Check the slope rating: Anker gives about 25 to 35 percent for common models and up to 45 to 80 percent for AWD models. Check the steepest part of your lawn against the spec sheet.
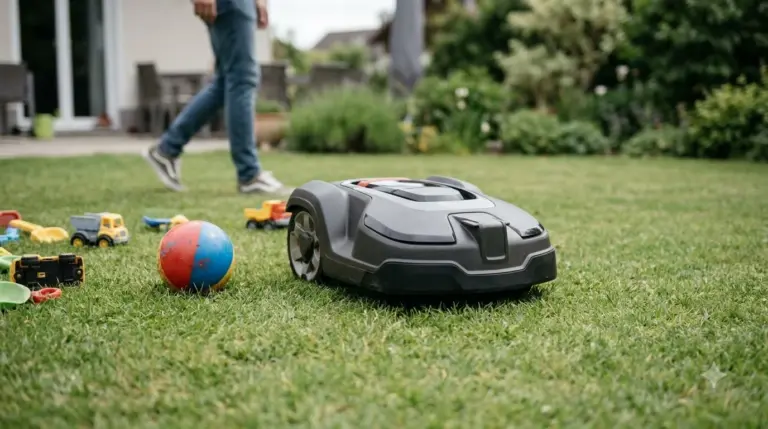
- Expect obstacle work: trees, toys, raised beds and narrow paths need strong obstacle avoidance and no-go zones, and changing layouts mean updating the map.
- Night and dusk: Anker says LiDAR does not rely on ambient light, so it can work in shade, at dusk or at night. Confirm this for your model in its manual.
- If mapping fails: see robot mower mapping failed for causes and fixes.
Frequently asked questions
How do you calibrate a lidar robot mower compared with a boundary-wire mower?
No boundary-wire calibration is needed, because LiDAR models map the lawn with onboard sensors and do not use a buried loop. The sources we read do not describe a separate LiDAR calibration routine, so follow your model’s manual for any sensor or map reset.
Do I have to update the firmware before mapping?
One setup guide describes a mandatory firmware update before initial setup, which takes 20 to 60 minutes. It also recommends a battery of at least 50 percent, ideally 80 percent, before updating.
How far should I stay from the mower when mapping?
For ECOVACS manual mapping, stay within about 6 m (19.7 ft) of the mower. Keep about 20 to 30 cm from walls, drop-offs and beds, and map one simple zone first.
Can a LiDAR robot mower work at night?
Anker says LiDAR relies on laser pulses rather than ambient light, so it can work in shade, at dusk or at night. Heavy rain, fog and water droplets can still interrupt mowing, so check the specific model.
Sources
- How to adjust the basic settings and calibrate your Automower robotic lawn mower (Husqvarna): boundary-wire calibration steps and the skipped-station note.
- Robot Lawn Mower Setup: RTK, Wire-Free and Multi-Zone Guide (2026) (robotlawnmower.org): setup times, starting cut height, passage width, RTK sky view.
- Robot Mower Setup and First Mow (2026) (Mowscout): mandatory firmware update, battery level, grass height, mapping distance, no-go buffer.
- LiDAR Robot Lawn Mower Guide (Anker): how LiDAR mapping works, feature-poor yards, weather and sensor cleaning, slope ranges.
 Up next9 min readBest Robot MowersBest Robot Lawn Mower for New Construction Homes: Setup FirstUpdated Nov 10, 2026
 8 min readBest Robot MowersBest Robot Lawn Mower Easiest to Set Up: What Affects Setup TimeUpdated Nov 10, 2026
 8 min readBest Robot MowersWire-Free vs Boundary Wire Robot Mowers: Which Setup Fits Your YardUpdated Nov 11, 2026
 9 min readBest Robot MowersBest LiDAR Robot Mower Under $1500: What the Spec Sheets ShowUpdated Nov 16, 2026
 8 min readBest Robot MowersWhich 3D LiDAR Robot Mower Is the Most Accurate? What the Numbers ShowUpdated Nov 16, 2026
 8 min readBest Robot MowersBest LiDAR Robot Lawn Mower 2026: What to Check Before You BuyUpdated Nov 13, 2026