
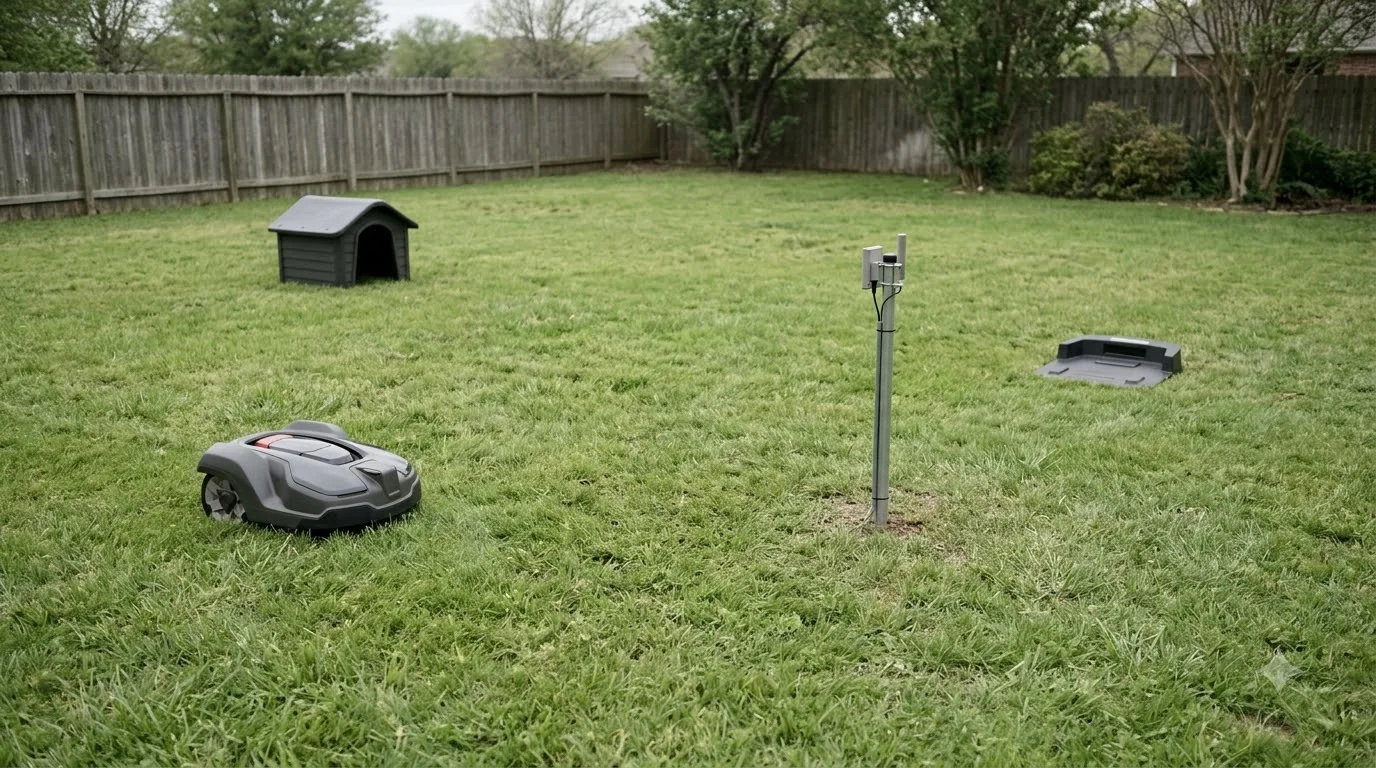

To set up a robot lawn mower, prepare the lawn, place the charging station, define the boundary, then run a supervised first session. Each brand uses slightly different clearances and boundary methods, so check your model’s manual before you dig or fix anything. The two manufacturer guides used for this article give specific figures for grass height, passage width and station clearance, and those figures are the best place to start how to set up a robot lawn mower on your own lawn. As of November 2026, these are the stages that apply to most models.
The short answer
- Lawn: Trim grass below 9 cm, clear debris and keep passages at least 1 m wide.
- Station: Place it on flat ground near a power outlet, with 3 m of free space in front for a physical wire, or 6 m for a wire-free setup.
- First run: Watch the mower’s first pass, then fix any edge or passage it struggles with.
How to set up a robot lawn mower: prepare the lawn first
If you are new to how to set up a robot lawn mower, follow the stages in order. Preparation is the step most people rush, and it decides how well the mower navigates later. Worx’s Landroid Vision installation plan asks you to trim the grass below 9 cm before the initial mowing or after a long break, because tall grass hides the edges the mower needs to follow. It also asks you to clear leaves, branches, stones and wildflowers from the work area, since these can stop the mower or throw it off its route. A longer procedure is in the full step-by-step setup walkthrough, so check it if you want the details behind this point. The kit is listed in tools for installing a mower, which gives more context than this short overview can. DIY options are addressed in installing a robot mower yourself, which is a useful companion to this section.
- Trim the grass. Cut it below 9 cm before the first session, and again after a long break.
- Clear debris. Remove leaves, branches, stones and anything that could sit in the mowing path.
- Open the passages. Make sure each passage between lawn sections is at least 1 meter wide, so the mower can pass through.
- Trim the edges. Cut grass near walls, fences and corners regularly, because the mower follows the lawn edge.
- Mark sensitive areas. Protect flower beds and decorative gardens with the magnetic strips or fences supplied with the mower, or plan a no-go zone for them.
Place the charging station before anything else
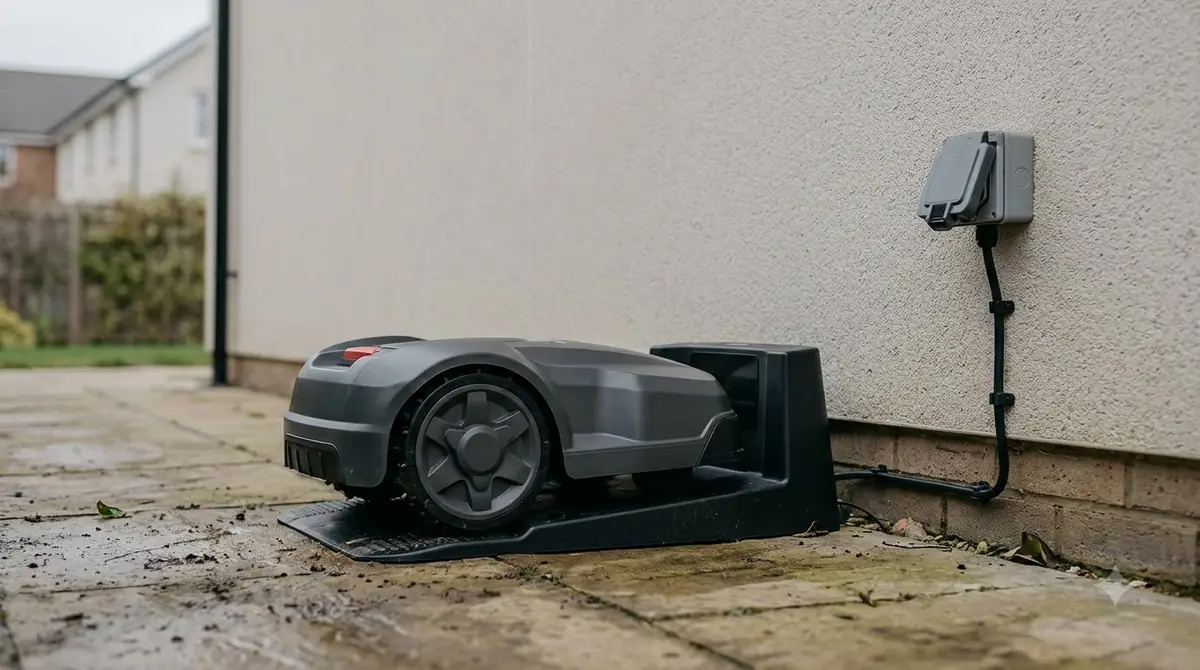
The charging station is the anchor of the whole setup, and getting it right is the first real answer to how to set up a robot lawn mower. Husqvarna’s charging station guide asks for a flat surface with a bent-free baseplate, a power outlet nearby, and clear space in front of the station. The clearance depends on whether the system uses a physical boundary wire or a wire-free setup, so check which one your mower needs before you fix the station to the ground.
| Setup type | Front clearance | Sides and rear |
|---|---|---|
| Physical boundary wire | At least 3 m (10 ft) | At least 150 cm (60 in.) to each side of the station centre, and at least 60 cm (2 ft) at the rear |
| Wire-free (EPOS) | At least 6 m (20 ft) of free space | The guide gives no side or rear figure |
Place the station centrally in the mowing area where you can. Husqvarna advises that, on a lawn split by a steep slope, you should put the station in the lower section. Keep metal objects such as reinforcement bars, metal edging and coils of low-voltage cable away from the station and the wires. Do not secure the station to the ground until every wire is installed and the setup has been checked.
Set the boundary: wire, zones or both
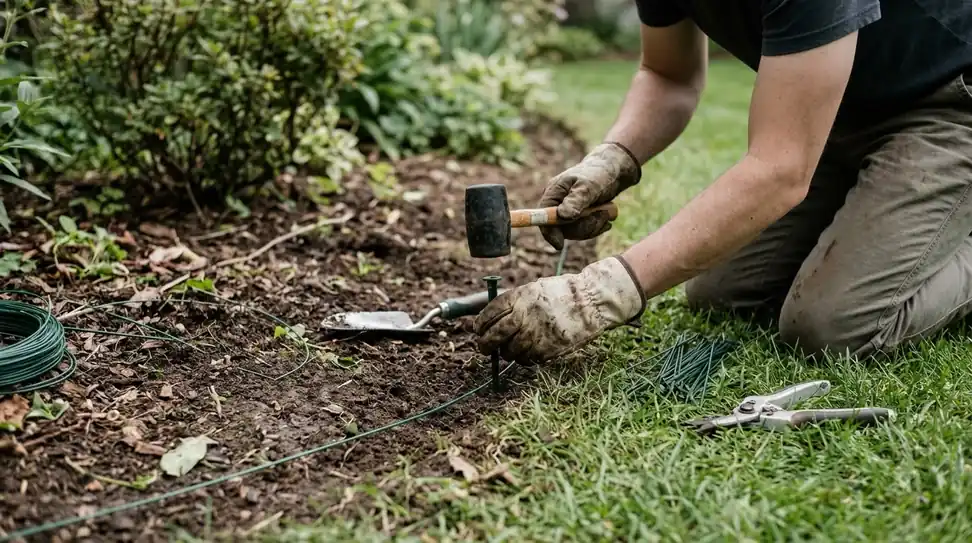
Choosing the boundary method is the second decision in how to set up a robot lawn mower. The boundary tells the mower where the lawn ends. A physical boundary wire is the traditional method and works where satellite positioning is weak, because the wire is a fixed reference. Wire-free systems use a virtual boundary drawn in an app, and they remove the trenching and pegging. Husqvarna notes that a physical wire can still be buried in areas with poor satellite coverage.
Use the same logic for no-go zones. Worx recommends marking flower beds and decorative gardens with the magnetic strips or decorative fences that come with the mower. A no-go zone around a pool, pond or fire pit should be a physical barrier where a fall would be serious, not only a digital line. Plan the boundary on paper first, measure the lawn, and note where the passages and the station will sit.
Connect the app and set the schedule
Connecting the app is the last configuration step in how to set up a robot lawn mower. Once the station and boundary are in place, connect the mower to the app. Worx’s guide asks you to download the app, connect the mower to Wi-Fi, then set the schedules, zones and edge cutting. Automatic software updates improve navigation, so leave them on and keep the firmware current. Use the app to set the mowing days and times around the household, and avoid running the mower during the hours when children or pets are in the garden.
Check that the charging cable reaches the outlet. Worx gives the supplied charging cable as 10 meters long, so plan the outlet within that reach. Keep the QR code on the charging station clean and visible, as Worx’s guide asks.
Run a supervised first session
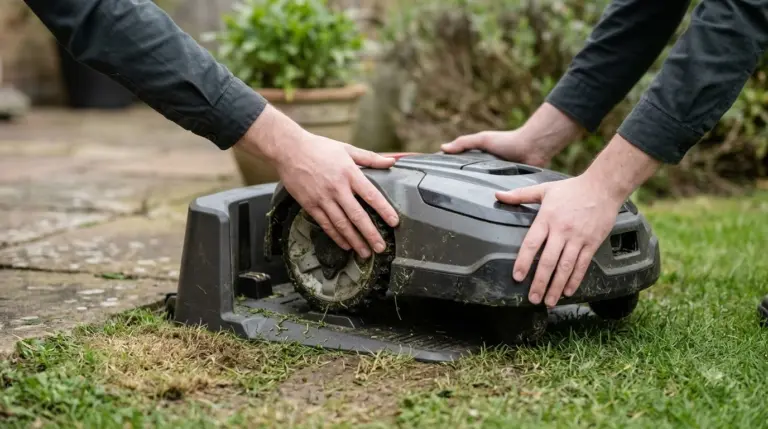
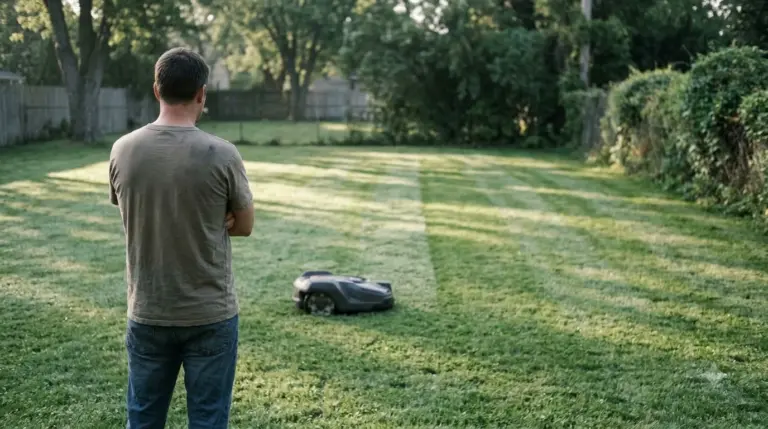
A supervised first session completes how to set up a robot lawn mower properly. Do not leave the first session unattended. Stand where you can see the whole route and watch how the mower follows the edge, turns at corners and reaches the station. Be ready to press the physical STOP button if it heads toward a pool, a hose or a child. A first pass after a remap or software update can behave differently from the old layout, so watch it closely. Time planning is covered in how long setup usually takes, and it explains the reasoning in more depth. A model example is shown in worked example: Automower 430X install, and it explains the reasoning in more depth. If you have just moved, robot mower setup in a new house adds a walk of the whole yard before the supervised first session.
After the first pass, check three things. The mower should follow the lawn edge without wandering into beds. It should return to the station without repeated failed docking. And it should not stop in the same narrow passage twice. If it does, widen the passage, trim the grass or adjust the zone in the app, then run the test again.
Frequently asked questions
How long does it take to learn how to set up a robot lawn mower?
The time depends on the lawn size, the boundary method and how much preparation is needed. Trimming, debris clearing and boundary work usually take most of the effort. The first supervised session is the final check, and it should happen before you leave the mower to run alone.
Does a robot lawn mower need a boundary wire?
Not always. Wire-free systems use a virtual boundary drawn in the app. A physical wire is still used on many models, and Husqvarna notes it can be buried where satellite coverage is poor. Check which method your model supports.
Where should I put the charging station?
Put it on flat ground near a power outlet, centrally in the mowing area where you can. Leave the clearance the manufacturer gives: 3 m in front for a physical wire, or 6 m for a wire-free system. Do not secure it until every wire is in place.
How high should I cut the grass before setting up a robot lawn mower?
Worx’s installation plan asks you to trim the grass below 9 cm before the initial mowing and after long breaks. Shorter grass lets the mower follow the edges more reliably.
Sources
- Husqvarna support: Automower charging station placement (Husqvarna): flat ground, power outlet, clearances for physical wire and wire-free setups, and slope advice.
- Worx Landroid Vision wiki: installation plan (Worx): grass height, passage width, debris, no-go zones, QR code, cable length and app setup steps.
 Up next9 min readLearnHow to Set Up Ecovacs GOAT O1000: Step-by-Step GuideUpdated Nov 10, 2026
 9 min readLearnHow to Set Up the Dreame A1 Pro Robot Mower Step by StepUpdated Nov 10, 2026
 8 min readLearnHow to Set Up Anthbot M5: Step-by-Step GuideUpdated Nov 10, 2026
 9 min readLearnHow to Set Up Segway Navimow i110N: Easy Step-by-Step GuideUpdated Nov 10, 2026
 7 min readLearnHow to Set Up Worx Landroid Vision, Step by StepUpdated Nov 10, 2026
 7 min readLearnHow to Set Up Mammotion Luba 3: Easy Step-by-Step GuideUpdated Nov 10, 2026