
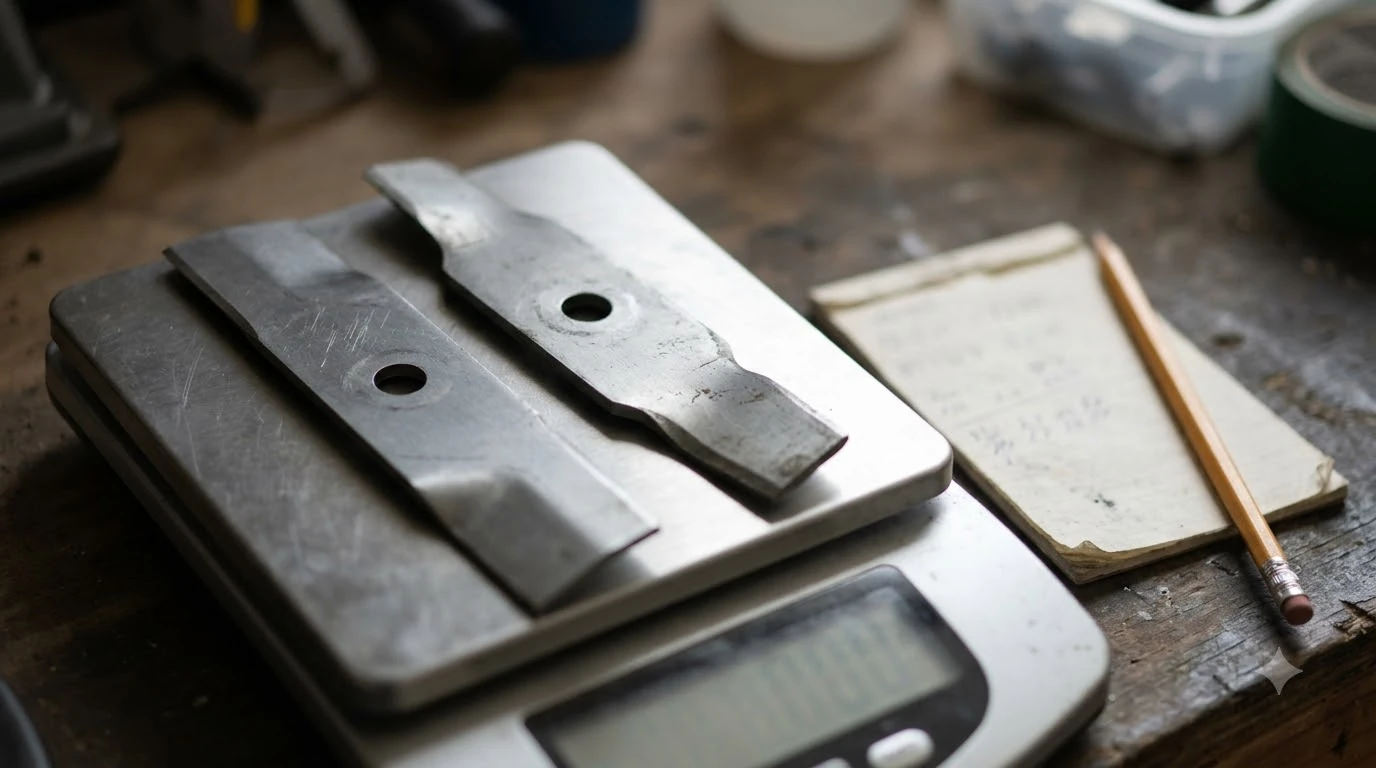

How to change Worx Landroid blades comes down to a few steps: switch the mower off, wear gloves, remove the old blade screws with a Phillips screwdriver, fit the new blades, and check that each one turns freely. Worx says its long-life replacement blades fit all Landroid models, and its Landroid Vision guidance suggests checking blades every one to two months with daily use.
The short answer
- Power: switch the mower off before touching the blade disc.
- Tools: protective gloves and a Phillips screwdriver, according to Worx.
- Interval: check every 1 to 2 months with daily use, or about every 100 to 200 operating hours.
- Fit: Worx lists its long-life pack as compatible with all Landroid models, but confirm against your model manual.
What the blade job involves
Changing blades on a Landroid is a small, hands-on job that takes one screwdriver and a few minutes, but the blades are sharp and the mower’s cutting disc sits underneath the body. Worx’s own maintenance guidance for the Landroid Vision asks owners to wear protective gloves and to use a Phillips screwdriver to remove the old blades. Treat that as the baseline and then follow the model manual for your exact Landroid, because blade count, fastener and disc layout can differ between models.
The job is also a good moment to look over the cutting disc and the blade edges. Worx’s guidance names the grass cut quality as the first sign of wear, so a quick inspection while the mower is open is a sensible habit.
Which replacement blades fit a Landroid
Worx sells a long-life replacement pack that it describes as compatible with all Landroid models. The product page lists 6 blades and 6 screws in the pack. The blades are hardened stainless steel, and Worx says each one has two mounting holes, while the standard blade has one. Worx states that the two-hole design lasts longer, but that is a manufacturer claim, not an independent test result.
Compatibility is the first thing to check. A “compatible with all Landroid models” line is a brand statement on a product page. Before ordering, look up the model number printed on your mower or in its manual, and compare the blade count and screw count with what your mower uses. Buying a pack that matches the count on the mower avoids returns and avoids mixing blade types on one disc.
| Check | What to look for |
|---|---|
| Model | Compare with the model number in your manual |
| Blade count | Worx long-life pack lists 6 blades |
| Screws | Worx long-life pack lists 6 screws |
| Hole design | Long-life blades use two holes (brand claim) |
How often to replace the blades
For Landroid Vision owners, Worx’s maintenance page advises checking the blades every one to two months with daily use, or after about 100 to 200 operating hours, depending on conditions. The same page names frayed or torn grass edges and visible chips or wear on the blade edges as signs that the blades are dull or damaged.
Worx’s product page for the long-life blades recommends replacing them every three to four months for best performance. That figure is a brand recommendation, and it sits alongside the inspection schedule above. In our reading, the inspection schedule is the more useful rule: a blade that looks worn or cuts poorly needs replacing even if the calendar says otherwise.
Other brands use shorter intervals. Husqvarna’s support guidance gives 3 to 6 weeks for its disc blades under normal conditions, which shows that the right interval depends on the mower design, the grass and the yard, not on one universal number.
What you need before you start
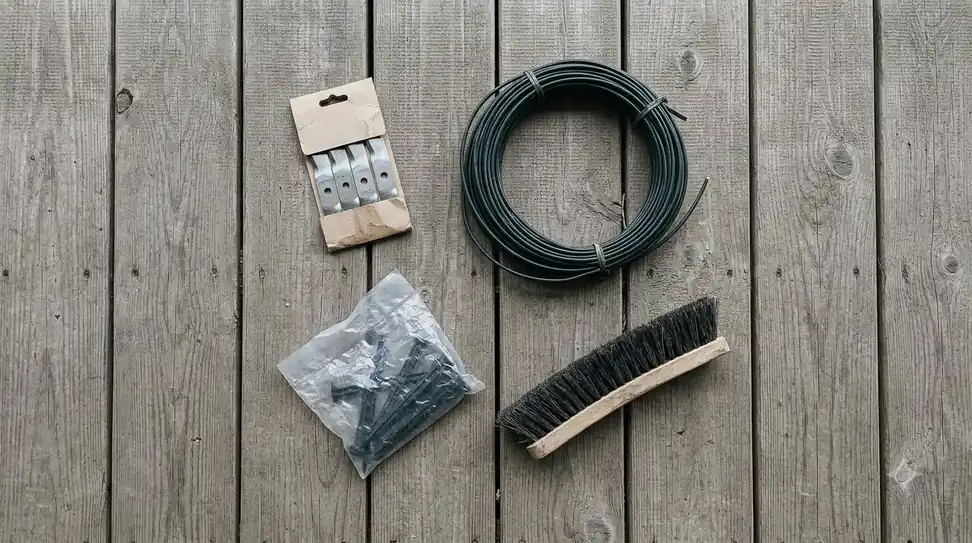
Before you learn how to change Worx Landroid blades, gather the replacement blades and their screws, a Phillips screwdriver, and a pair of protective gloves. A soft brush helps clear grass and debris from the disc area before you start, so you can see the mounting points clearly.
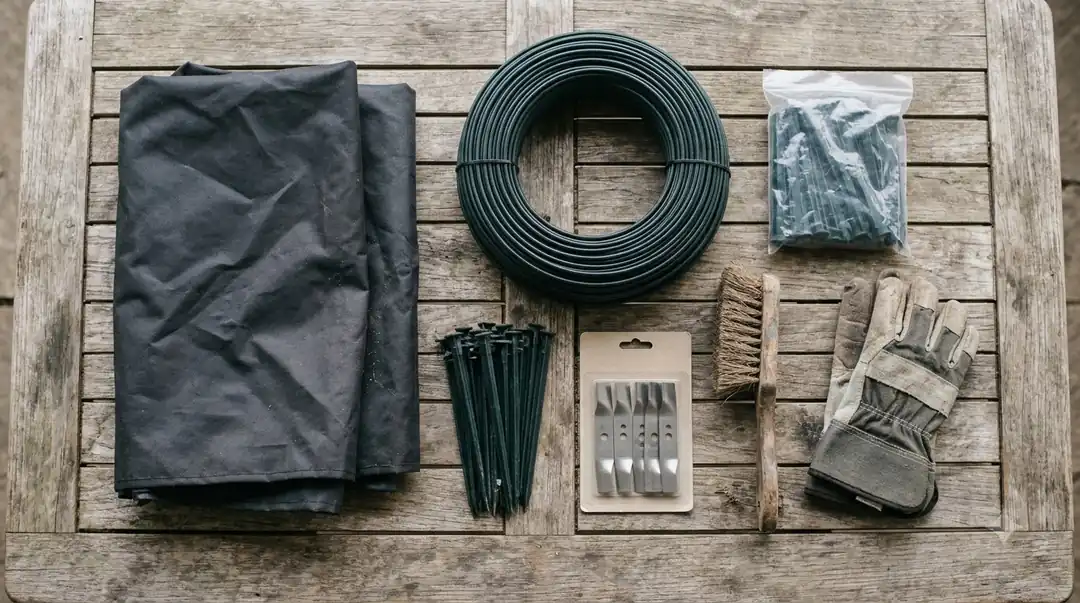
Work on a flat, stable surface where the mower will not roll. Keep the old blades and screws together until the new set is fitted, so none go missing in the grass.
How to change Worx Landroid blades step by step
The sequence below follows the general steps in Husqvarna’s support guide for robot mower blades, adapted for a Landroid. Worx model manuals may add steps, so use yours where they differ.
- Switch the mower off. Use the mower’s main switch or ON/OFF button, and confirm it is not running before you put your hands near the disc.
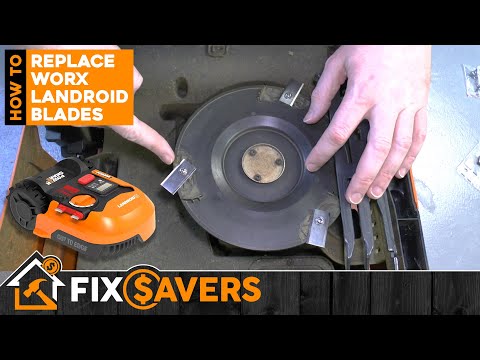
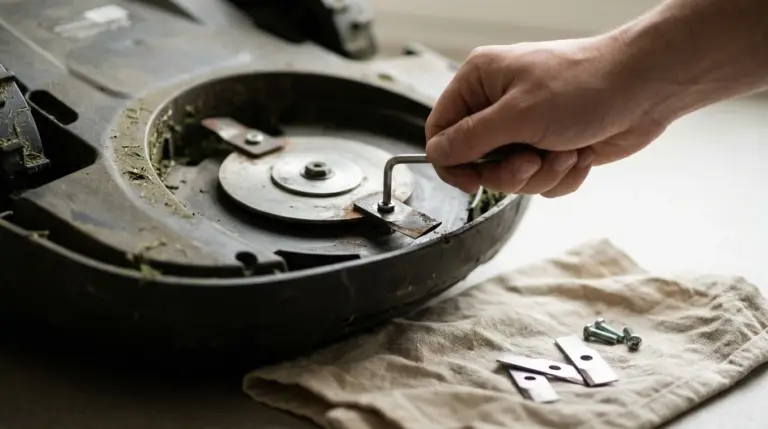
- Put on gloves and turn the mower over. Lay it on a flat surface, with the cutting disc facing up.
- Remove the old blade screws. Use the Phillips screwdriver and keep the screws in one place.
- Fit the new blades. Mount each blade on its own screw, following the orientation shown in the manual.
- Tighten the screws firmly. Use the screws supplied with the pack, and keep one blade per screw, as Husqvarna’s guidance describes.
- Spin each blade by hand. It should turn freely without catching on the disc or the housing.
- Return the mower to its normal position and reconnect or reset it as your model manual describes.
Two points in this sequence are not confirmed on a Worx-owned page we read: whether all blades should be replaced at the same time, and whether battery removal is required on your model. Check your model manual for both before you start.
Common mistakes to avoid
The most common error is working on the disc while the mower is still switched on. The next is skipping the hand-spin check, which is the quickest way to catch a blade that is seated wrongly or rubbing on the housing. Using the wrong blade for the model is the third mistake, and the compatibility check above is the way to avoid it.
Heads up
Blades are sharp even when they look dull. Keep gloves on from the first screw to the last, and never reach under a raised mower.
Signs your blades need changing
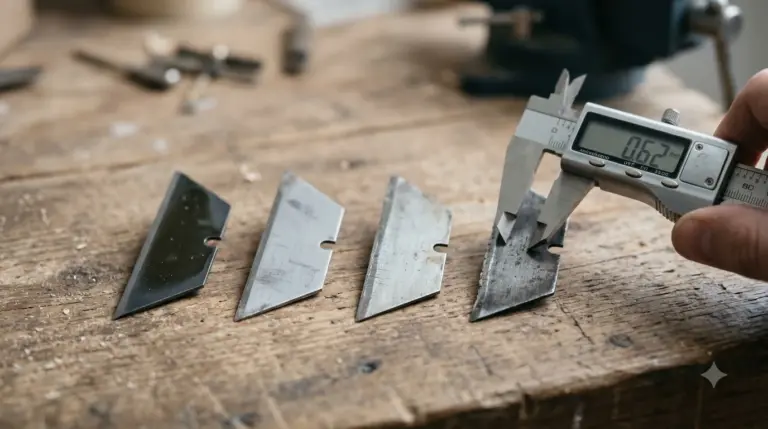
Look for grass tips that look frayed or torn rather than cleanly cut, chips or visible wear on the blade edges, and a lawn that looks ragged after a normal mowing run. Worx ties these signs to dull or damaged blades, so they are a better guide than the calendar alone.
Blades that show these signs should be replaced as a set, using the screws in the same pack, so the disc stays balanced and cuts evenly across the mowing area.
What to check before you buy new blades
Confirm the model number, count the blades and screws in the pack, and check the hole design against your current blades. Look for the Worx long-life pack if you want the brand’s own part, and compare it with generic blades only after you have checked the model fit. In our reading, buying one matched set of parts is safer than mixing brands on one disc.
Frequently asked questions
How often should you change Worx Landroid blades?
Worx’s Landroid Vision guidance says to check the blades every one to two months with daily use, or after about 100 to 200 operating hours. Replace them when the grass looks frayed or the blade edges show wear or damage.
What tools do you need to change Worx Landroid blades?
Worx’s guidance calls for protective gloves and a Phillips screwdriver to remove the old blades. Keep the old screws and blades together until the new set is fitted.
Do Worx long-life blades fit every Landroid?
Worx states that its long-life replacement blades are compatible with all Landroid models. That is a brand statement, so compare the blade and screw count with your model manual before ordering.
Can you check blades without replacing them?
Yes. Inspect the blade edges for chips or wear, look at the grass tips after a mowing run, and spin each blade by hand to check that it moves freely without catching.
Sources
- Worx Landroid Vision wiki: Replace the blades (Worx): replacement interval, wear signs, Phillips screwdriver, gloves.
- Worx long-life replacement blades (Worx): pack contents, compatibility claim, two-hole design, 3-4 month recommendation.
- How and when to change blades on your Automower (Husqvarna): switch-off step, 3 to 6 week interval for its disc blades.
- How to change the cutting blades on your Automower (Husqvarna): one blade per screw, genuine parts.
 Up next7 min readGearWorx Landroid Replacement Blades: Pack, Timing, and FitUpdated Nov 20, 2026
 7 min readGearHow to Change Sunseeker Blades: Steps, Safety and Replacement TimingUpdated Nov 19, 2026
 9 min readGearHow to Change Anthbot Blades: Step-by-Step GuideUpdated Nov 10, 2026
 9 min readGearHow to Change Dreame Blades: Steps, Timing and ToolsUpdated Nov 19, 2026
 7 min readGearHow to Change Segway Navimow Blades: Step-by-Step GuideUpdated Nov 19, 2026
 8 min readGearHow to Change Eufy E15 Blades: Steps, Parts and SafetyUpdated Nov 10, 2026