
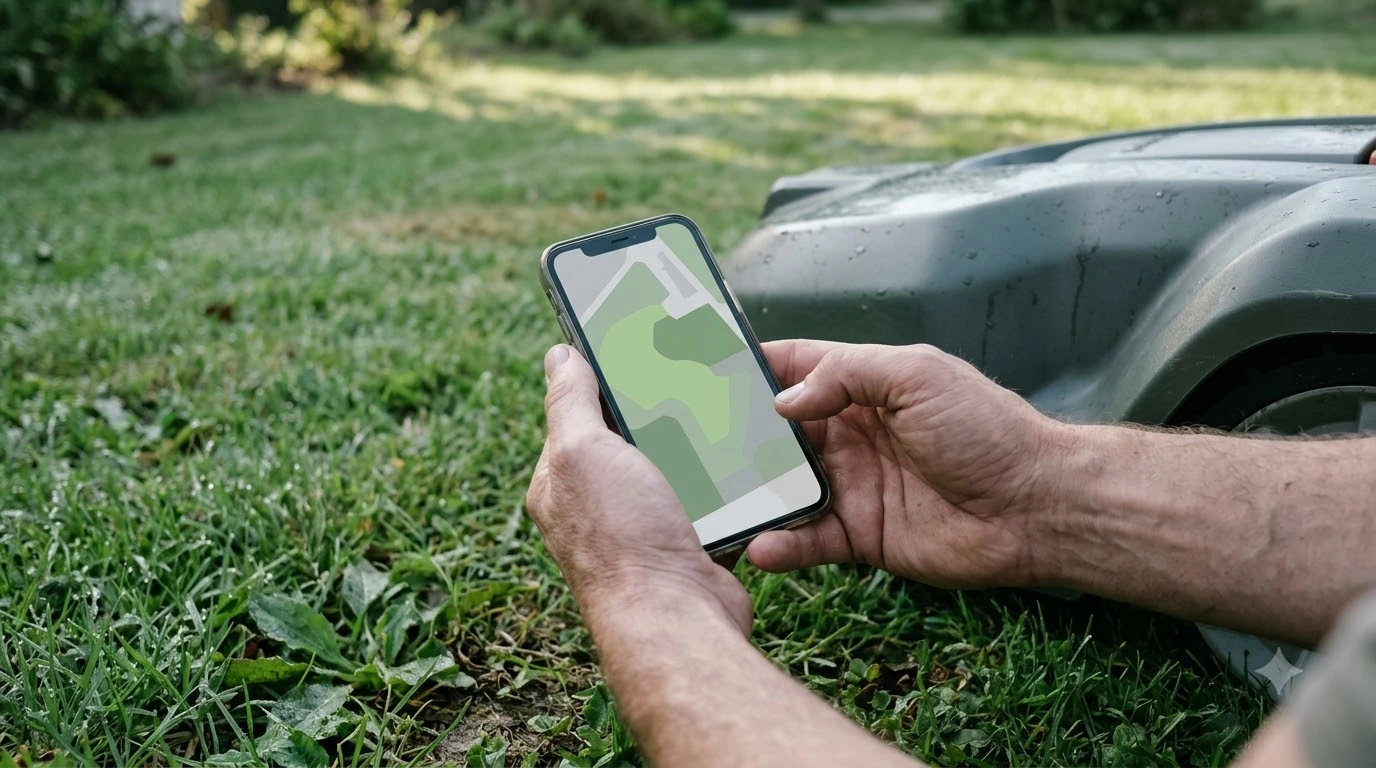

How to set up Segway Navimow i110N: you activate the mower in the Navimow app, place and fix the GNSS antenna and charging station, check the satellite signal, then map the lawn in the app. The i110N is a wire-free model, so there is no perimeter wire to bury. Its setup depends on the antenna and dock location, which the manual says you must settle before you save the map.
The short answer
- Download the app and activate. Register in the Navimow app, power on the mower, pair it over Bluetooth and connect Wi-Fi or a 4G module.
- Place the antenna and dock first. Keep them more than 2 m (6.6 ft) from houses, trees and walls, on flat, non-hardened ground, and never on a slope.
- Check satellites before you mount. The manual asks for at least 5 co-visible satellites, tested with the app’s Satellite Signal Analyzer.
- Confirm the dock lights. The charging station light should turn blue in about 5 minutes, and the mower light green once it is docked.
- Map after everything is fixed. Moving the antenna or dock after mapping makes the map unusable, so you must map again.
How to set up Segway Navimow i110N: what the kit includes
The Navimow system has three physical parts and one app. The manual lists a robotic mower, a charging station, a GNSS antenna and the Navimow app. The charging station also relays the satellite signal from the antenna to the mower, which the manual says improves positioning accuracy.
The i-series manual places the i110N in the 1/4 acre class, which it describes as lawns of less than 1,000 m². Before the first mow, the manual asks you to cut the grass to no more than 6 cm (3.6 in in the US and Canada) and to clear debris, toys, wires, stones and leaves.
Our reading: Learning how to set up Segway Navimow i110N is less about tools and more about location. Most of the time you spend should go into choosing the spot for the antenna and dock, because a bad spot means a new map later.
Step 1: Activate the mower and install the app
Activation starts before any hardware goes in the ground, and it is the first part of how to set up Segway Navimow i110N with the app. The manual says to scan the QR code in the box or search for “Navimow” in the Google Play Store or Apple App Store, then register and log in.
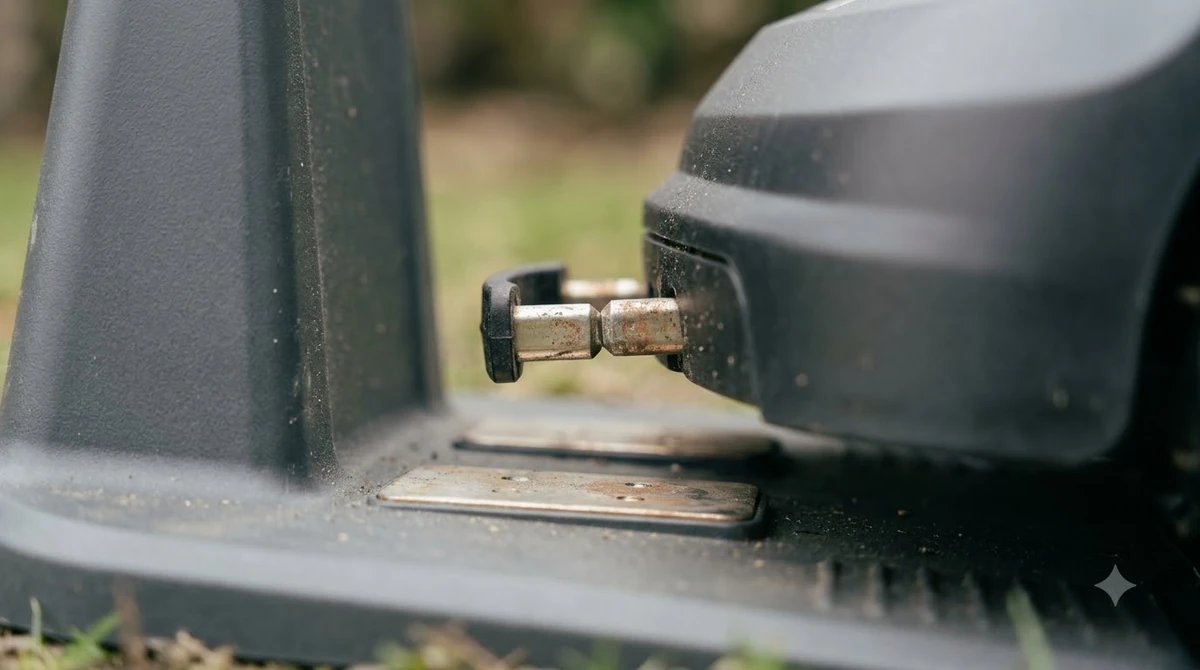
- Charge the mower first. A new mower may be low after storage. Put it on the charging station and make sure the contact strips touch. The manual says to charge it fully before first use.
- Power it on. Press OK on the mower to power it on.
- Pair over Bluetooth. The app pairs with the mower over Bluetooth.
- Connect the network. Connect to Wi-Fi, or to a cellular network if you bought the Navimow Access+ 4G module, which the manual says is sold separately.
The 4G module is optional. The manual ties its anti-theft tracking and out-of-area alarms to the cellular module, so those features need it.
Step 2: Choose the antenna and charging station spot
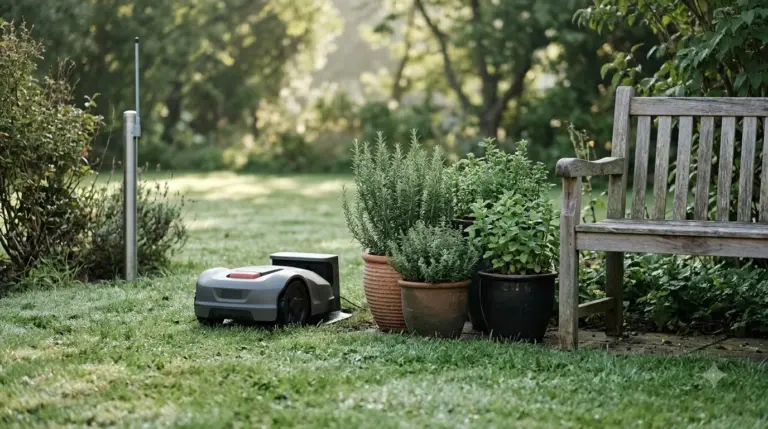
The manual gives three basic rules for placing both the antenna and the charging station. Keep them more than 2 m (6.6 ft) from houses, trees and walls. Put them in an open space with nothing blocking the signal, such as a tree canopy or a sunshade umbrella. Set them on flat, non-hardened ground, upright, and never on a slope.
The manual also asks you to keep the sky above the antenna clear. If you cannot get full openness, keep the southern sky clear in the Northern Hemisphere, or the northern sky in the Southern Hemisphere. Keep the sprinkler heads, fountains, substations, generators, water pump stations and air conditioners away from the dock.
Heads up
The manual says that once a map is saved, moving the charging station or the GNSS antenna means you need to create a new map. Pick the spot carefully before you map.
Step 3: Check the satellite signal before you fix anything
The manual describes a “co-visible satellite” as one that both the antenna and the mower can see at the same time. It says accurate positioning needs at least 5 of them, and more is better. The app’s Satellite Signal Analyzer runs this check. You find it under Settings, then MOWER, then EFLS 2.0, then Satellite Signal Analyzer.
If the analyzer reports enough co-visible satellites, the spot is fine. If not, move the antenna and the charging station to different places and run the check again. The manual also says that a poor signal can stop the mower from starting a mow, so this check saves time later.
Step 4: Assemble the antenna and install the charging station
The antenna mounts on a tube and a base fork, and the charging station connects to it by cable. The manual lists this order: fix the GNSS antenna on the tube, unfold the base fork and push it into the ground, rotate the other extension tube onto the base fork, slide in the tube with the antenna, then connect the antenna cable to the charging station.
- Seat the base fork fully. Push it all the way into the ground so the antenna stays connected once installed.
- Tighten the nuts. Secure them firmly to keep water out of the threads. The manual warns not to put anything on the antenna, since that blocks the signal.
- Connect the power supply. Join the power cable to the adapter, line up the notch, connect the cable to the power interface, turn the nuts until they lock, then plug into a suitable socket.
If the antenna cable is too short, the manual allows up to three extension cables, for a total length of 30 m (98.4 ft). The manual also describes an optional antenna extension pole that lifts the antenna to 1.5 m or 2 m (4.9 or 6.6 ft) for yards with bushes or small trees, and an extension kit for mounting the antenna on a wall or roof. The roof option needs lightning and thunder protection, as the manual warns.
Step 5: Check the dock lights and secure the charging station
Once the power is on, you run two quick checks. First, make sure the mower is not on the charging station, power it on, and wait until the charging station light turns blue. The manual says this takes about 5 minutes. If the light does not turn blue, the antenna needs to be relocated.
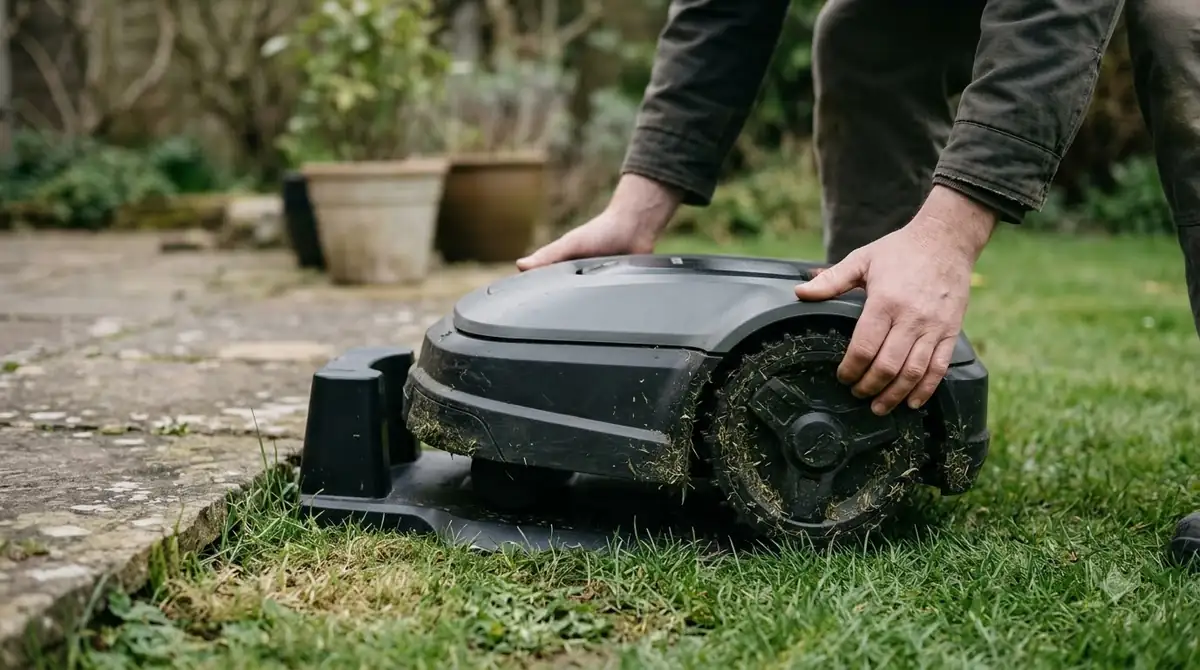
Second, push the mower into the charging station and wait for its light to turn green. If it stays off green, run the Satellite Signal Analyzer from Step 3 again. Only when both checks pass should you fix the charging station to the ground with the supplied screws, and fix the cables on the ground so nobody trips over them.
Step 6: Map the work area in the app
The Navimow app guides you through setup and then through the work area. The manual says the mower uses a virtual boundary instead of a buried wire, and that you define the work area on the phone. The app also lets you view the mower’s status, control it remotely and change settings later.
Take the map seriously, because the manual is clear that the map depends on the antenna and dock position. If either one moves, the existing map cannot be used and you must create a new map for your lawn. For that reason, keep the first map for the final spot only.
Common setup problems and what the manual says
Most setup problems trace back to the antenna or dock position. The table below lists the symptoms the manual describes and the fix it gives.
| Symptom | What the manual points to | What to do |
|---|---|---|
| Charging station light does not turn blue after about 5 minutes | The antenna needs relocating | Move the antenna to a more open spot and check again |
| Mower light does not turn green on the dock | Weak satellite signal or too few co-visible satellites | Run the Satellite Signal Analyzer, then move the antenna and dock if needed |
| Map no longer works after moving the antenna or dock | Map tied to the old position | Create a new map for the lawn |
| Grass is too tall before the first run | Manual asks for 6 cm or less (3.6 in in US and Canada) | Mow the lawn by hand to the correct height before starting |
| Mower is locked and will not respond | Default PIN is 0000 on the control panel | Enter the PIN to unlock before operating |
Key i110N specs to know during setup
The specs below come from the US and Canada column of the i-series manual. They tell you what the setup is for, and they help you decide whether the spot you picked suits the lawn.
| Spec (i110N, US and Canada) | Value in the manual |
|---|---|
| Recommended mowing area | 1/4 acre |
| Cutting height | 50-90 mm (2-3.6 in) |
| Cutting width | 18 cm (7.1 in) |
| Typical mowing time per full charge | About 120 min |
| Charging time | About 180 min |
| Noise (sound power level) | 58 dB(A) |
| IP rating | IP66 for mower, charging station and power supply |
| Weight (battery included) | 10.9 kg (24.03 lb) |
Note that these are the manual’s figures for a typical test setup. The manual adds that the flatter the lawn surface, the larger the working capacity, and that wet or long grass reduces it.
Frequently asked questions
How to set up Segway Navimow i110N without a perimeter wire?
No. The manual says the i-series uses a virtual boundary, so no perimeter wires are laid. Setup centers on the antenna and charging station, plus the app map.
How long does setup take?
The manual gives time markers for the dock: about 5 minutes for the charging station light to turn blue, and a full charge before first use. Total setup time depends on how many spots you test, and the manual does not give an overall figure.
Can I move the antenna after I have mapped the lawn?
You can, but the manual says the existing map can no longer be used after the antenna or charging station moves. You need to create a new map for the lawn.
Do I need the 4G module to set up the i110N?
No. The manual says you connect to Wi-Fi or a cellular network during activation, and the 4G module Navimow Access+ is a separate purchase for cellular connection and extra features such as anti-theft alerts.
Sources
- Navimow i Series User Manual (EN, 240222) (Segway Navimow, official): used for activation, antenna and dock placement, satellite check, dock light checks, specs and the map-change warning.
- Navimow i Series product page (Segway Navimow, official): used for the area ranges across models and the note that Network RTK models need no local antenna, which does not apply to the i110N’s GNSS antenna setup.
 Up next7 min readLearnHow to Set Up Mammotion Luba 3: Easy Step-by-Step GuideUpdated Nov 10, 2026
 7 min readLearnHow to Update Segway Navimow i110n FirmwareUpdated Nov 11, 2026
 7 min readLearnHow Long Does the Segway Navimow i110N Battery LastUpdated Nov 11, 2026
 8 min readLearnHow to Set Up Anthbot M5: Step-by-Step GuideUpdated Nov 10, 2026
 9 min readLearnHow to Set Up the Dreame A1 Pro Robot Mower Step by StepUpdated Nov 10, 2026
 7 min readLearnHow to Set Up Worx Landroid Vision, Step by StepUpdated Nov 10, 2026