
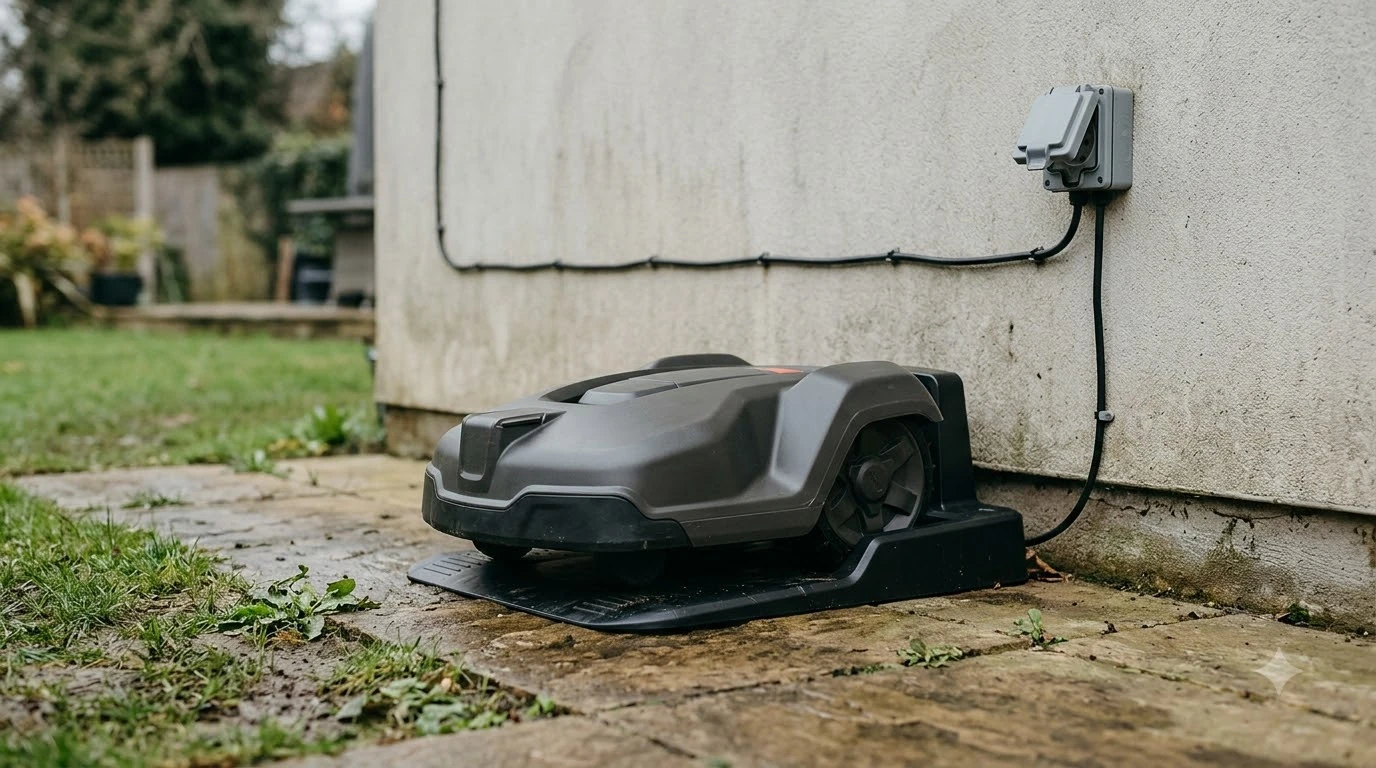

Looking for the best robot mower wall mount bracket? The manufacturer guides we read do not describe one for the charging station, so there is no standard part to buy. The manufacturer guides we read describe a free-standing station with open space on the sides, in front and behind it. A station can sit near a wall or fence only if that space, ventilation, drainage and the power supply rules still hold. Anything you bolt to a wall has to respect the same limits.
The short answer
- Brand bracket: we did not find a wall mount bracket in the Husqvarna help pages we read. Check your own model’s manual before you assume one exists.
- Clearance: Husqvarna’s boundary-wire guide asks for 3 m (10 ft) in front, 150 cm (60 in) on each side and 60 cm (2 ft) behind the station. EPOS installs ask for 6 m (20 ft) in front.
- Power: keep the power supply out of an enclosed box, on a ground-fault protected outlet, and out of direct sun and splashing water.
- Our reading: a bracket is only worth using if it keeps all of the above and does not block the mower’s path into the station.
Is there a best robot mower wall mount bracket to buy?
Not in the pages we read. The Husqvarna placement guide for the Automower charging station covers site choice, free space, sun protection, ventilation and drainage. It does not describe mounting the station to a wall or fence, and it does not name a bracket accessory. Worx’s installation wiki returned a 404 when we tried to open it, so we could not check its guidance for the same question. Treat that gap as a limit of this research, not as proof that no bracket exists.
That matters for shopping. A best robot mower wall mount bracket sold as a generic part may not hold the station level, may not leave the required space, or may trap heat. Ask the seller or the maker for the station’s footprint and clearance diagram before you buy any mount.
The clearance the mower needs to dock
The mower has to line up and drive into the station straight. Husqvarna’s guide sets minimum free space around the station, and the numbers depend on how the mower finds the station.
| Setup | Space in front | Space each side | Space behind |
|---|---|---|---|
| EPOS (wire-free) | At least 6 m (20 ft) | Not stated in the guide | Not stated in the guide |
| Boundary wire | At least 3 m (10 ft) | At least 150 cm (60 in) to the right and left of the center | At least 60 cm (2 ft) |
Source: Husqvarna US charging station placement guide. The side and rear figures are for boundary-wire installs. The guide gives no side or rear figure for EPOS installs, so do not invent one.
Wall placement is the main risk here. Our reading is that a station pushed against a wall gives up the space behind it, so the 60 cm rear figure is hard to meet. A bracket that forces the station forward into the lawn can also cut the 3 m space in front. Measure both before you mount anything. Any best robot mower wall mount bracket you consider has to leave this space intact, and where to put a robot mower charging station covers the wider siting question.
Ventilation, drainage and sun
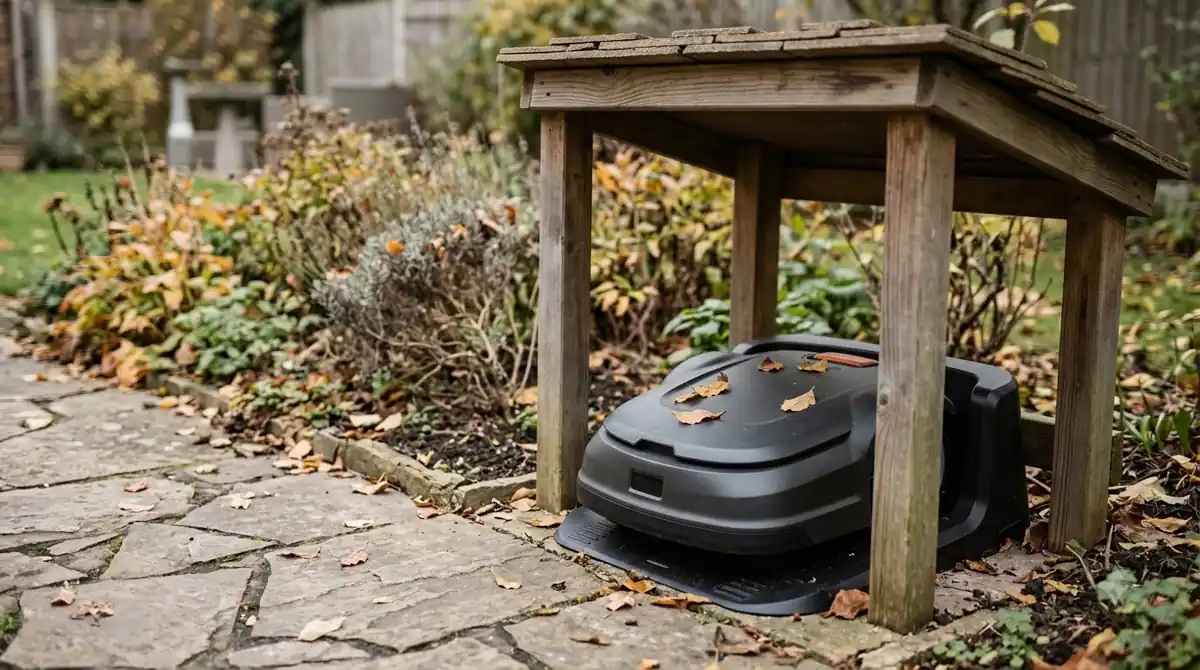
A sealed or cramped spot is a poor place for the station. Husqvarna asks for open sides and good ventilation so heat does not build up. It also asks for a spot with protection from the sun, or an Automower house. Its guide also says to let water drain away properly from the station.
Other makers say the same thing in different words. Mammotion’s garage guide recommends ventilation slots and warns against placing a mower shelter in a low spot where water collects. The same guide notes that rain itself is usually not the problem, but repeated wet and dry cycles can corrode the charging contacts. That is the reason to keep the contacts out of standing water rather than sealing them tight.
Robomow’s installation guide goes further and asks that the station be protected from full sunlight and from splashing water. A best robot mower wall mount bracket that holds the station open to the rain on one side and in full sun on the other may be worse than a plain stake-mounted base in a shaded spot. A cover for a robot mower charging station that leaves the sides open is one way to add shade, and whether a robot mower needs a garage is the bigger question if you want full shelter.
- Shade. Choose a side of the house or fence that gets some shade in the afternoon, or add a shelter that does not close the sides.
- Drainage. Keep the base above the soil level around it, with no low spot that holds water after rain.
- Sides. Leave the sides open. A box or hood that traps heat conflicts with the ventilation guidance.
Power supply and outlet rules
A wall mount is often picked because the power supply has to sit near an outlet. The rules for that outlet are the part that matters most. Husqvarna says to place the station near a power outlet and not to put the power supply in an enclosed box. Toro’s Turf Pro manual warns against plugging the station into a power strip or an extension cord, and it asks that installation be done by a qualified person. The guide to charging station power requirements goes deeper on the electrical side.
For outdoor outlets, the US Consumer Product Safety Commission explains that ground-fault circuit interrupters (GFCIs) protect outdoor receptacles and that portable GFCIs are used for garden equipment. The CPSC asks that they be tested on a regular schedule. Our reading is that a wall mount should only be used where a GFCI outlet already sits within reach of the cord, and never where the only fix is a long extension cord. If the outlet itself is the weak point, see the guide to a GFCI outlet cover for a robot mower.
Heads up
Do not bury the power supply behind a wall mount bracket with no air gap. Keep it reachable so you can test the GFCI and check the supply without taking the bracket apart.
Checks before you mount the station
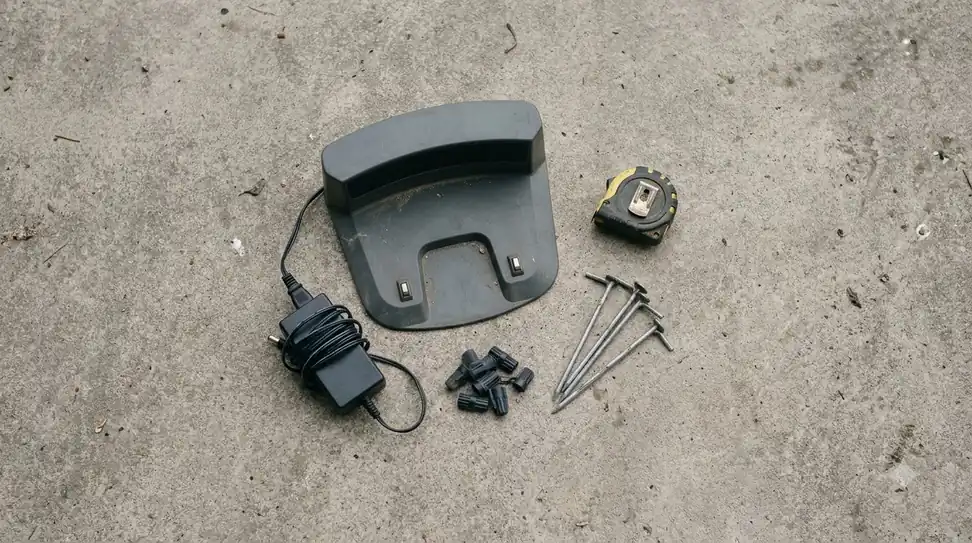
Use this list before you drill into a wall or fence, and before you shop for the best robot mower wall mount bracket. Each step ties back to a number or rule from the sources above.
- Measure the free space. Confirm 3 m in front and 60 cm behind for a boundary-wire install, or 6 m in front for EPOS. Check the 150 cm each side too.
- Check the mower’s entry path. The mower must enter, align and reverse into the station without obstructions. Walk the path with a tape measure.
- Look for shade and drainage. Note where water pools after rain and where the afternoon sun falls.
- Confirm the outlet. It should be outdoor-rated and GFCI-protected, with no extension cord or power strip in the chain.
- Check the mounting surface. Make sure the base stays level and is not bent by framing under a deck or fence post.
- Read your model’s manual. Clearance figures differ between brands and models, so use the numbers in your own manual over any figure here.
Frequently asked questions
Is there an official best robot mower wall mount bracket?
We did not find one in the manufacturer pages we read. Husqvarna’s placement guide describes a free-standing station with open space on each side and in front. Check the manual for your exact model, because the pages we read do not cover every brand.
Can I put the charging station right against a wall?
Husqvarna’s boundary-wire guide asks for 60 cm (2 ft) of free space behind the station and 150 cm (60 in) on each side. A station against a wall usually cannot keep the rear space, so measure before you place it.
How much space does a station need in front?
Husqvarna gives 3 m (10 ft) in front for boundary-wire installs and 6 m (20 ft) for EPOS installs. These are minimums from the manufacturer’s guide, so keep at least that much clear.
Should the power supply be inside a box near the station?
No, according to Husqvarna’s guide: do not put the power supply in an enclosed box. Use an outdoor-rated, GFCI-protected outlet, and avoid extension cords and power strips as Toro’s manual advises.
Sources
- Automower charging station: optimal placement and mower house guide (Husqvarna): free-space distances, ventilation, drainage, sun protection, power supply placement.
- Complete winter storage guide for your Automower (Husqvarna): keep the charging station and power supply in a dry place above freezing.
- Protect your Automower during thunderstorms (Husqvarna): close the charging station cover to protect the connections from rain.
- Robot lawn mower garage guide (Mammotion): ventilation, low-spot drainage, corrosion from wet and dry cycles.
- How to install the charging station (Robomow): protect the station from full sunlight and splashing water.
- Turf Pro charging station manual (Toro): no power strip or extension cord; professional installation.
- GFCI guidance (U.S. Consumer Product Safety Commission): GFCI protection for outdoor receptacles and garden equipment.
 Up next9 min readGearRTK Antenna Wall Mount Bracket: What to Check Before You BuyUpdated Nov 19, 2026
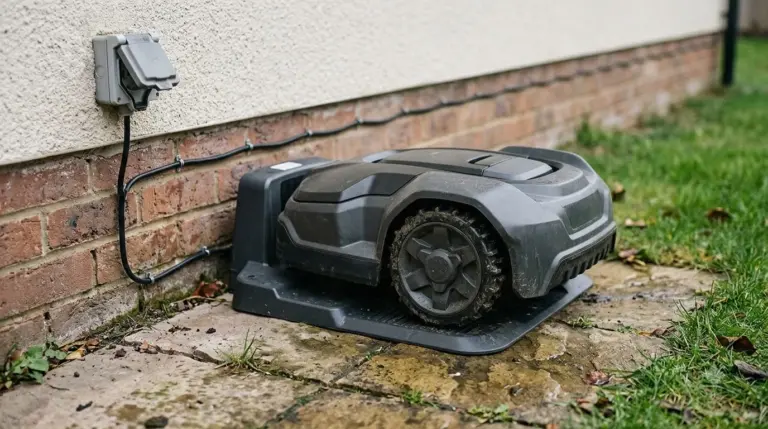 8 min readGearRobot Mower Charging Station Wall Mount Bracket GuideUpdated Nov 20, 2026
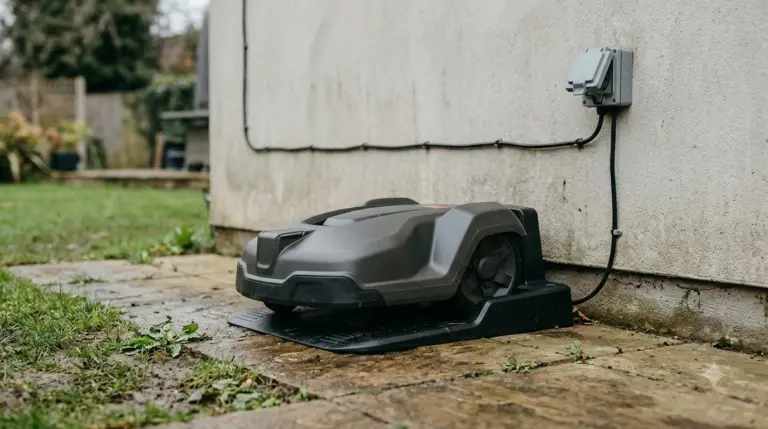 6 min readGearRobot Mower Wall Mount for Winter Storage: What to Check FirstUpdated Nov 20, 2026
 6 min readGearMammotion Wall Mount Kit: Placement, Model Match and ChecksUpdated Nov 13, 2026
 8 min readGearRobot Mower Camera Lens Cleaning Kit: Do You Need One?Updated Nov 19, 2026
 7 min readGearRobot Mower Ultrasonic Sensor Cleaning Kit: Do You Need One?Updated Nov 13, 2026