
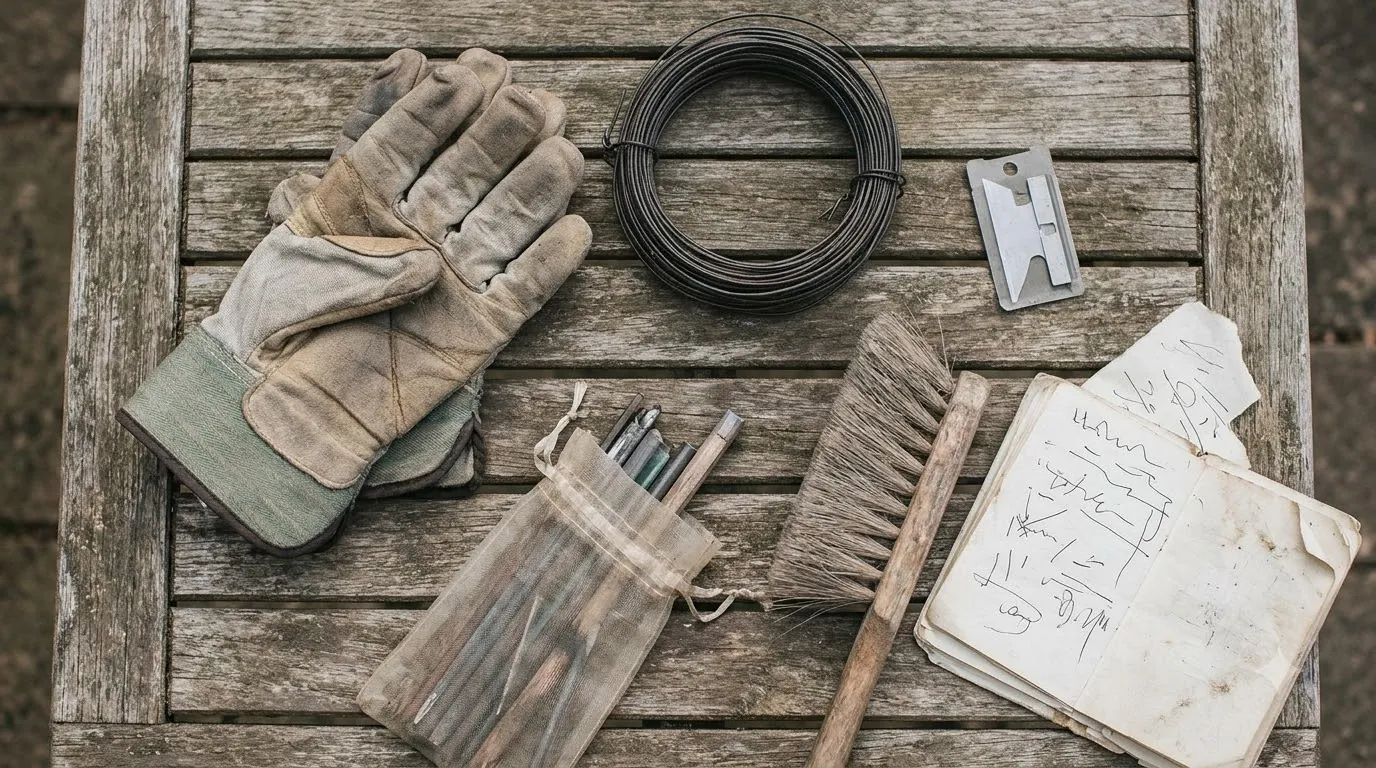

A robot mower guide wire installation tool is not a separate product in the manufacturer guidance we read. For a Husqvarna Automower, the job uses a connector, a coupler, a pair of wire cutters and stakes, with the connection made at the charging station. A guide wire is the extra run that leads the mower from the boundary wire back to its charging station, so setup comes down to parts, pin choice and distances more than a special gadget. The robot mower guide wire installation work is mostly planning, not buying.
The short answer
- No dedicated tool. A robot mower guide wire installation tool is not named in the guidance we read. Husqvarna’s steps name an Automower Connector, an Automower coupler, wire cutters and stakes.
- Pin matters. The connector plugs into the G1 pin on the charging station, with G2 or G3 for extra wires, and the usable count depends on the model.
- Distance rules. Keep the guide wire at least 30 cm (12 in) from the boundary wire and run at least 2 m (6.5 ft) straight from the station.
- Loop limit. Husqvarna says navigation may become difficult when a guide wire loop exceeds 400 m (1,300 ft).
- Our reading: pin the wire first, test the route, then bury or stake it.
Robot mower guide wire installation tool and parts
Husqvarna’s guide wire how-to names a short parts list. The Automower Connector attaches to the end of the guide wire and plugs into the G1, G2 or G3 pin on the charging station. The Automower coupler joins the guide wire to the boundary wire. Wire cutters cut the boundary wire at the connection point, and stakes hold the wire to the ground along the whole path. Husqvarna also suggests labelling each wire, which helps if the charging station is stored indoors in winter. Stakes are covered in our robot mower wire pegs guide, and joins in the robot mower wire splice kit guide.
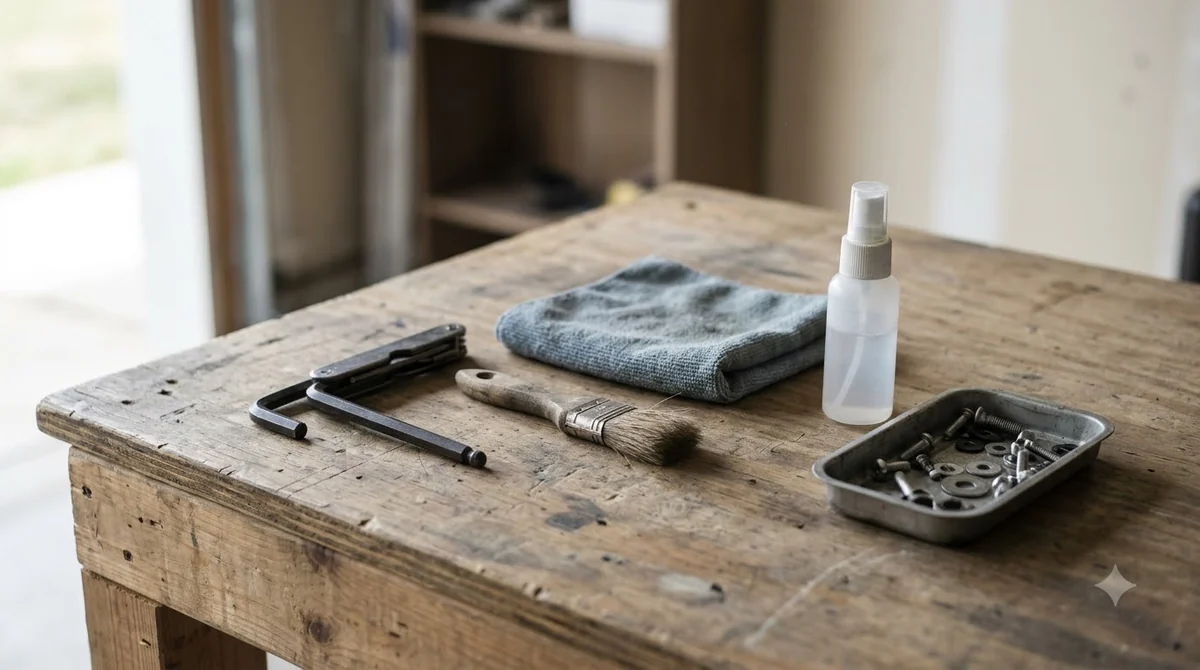
| Part | Role | Note |
|---|---|---|
| Automower Connector | Attaches to the guide wire end | Plugs into G1, G2 or G3 on the station |
| Automower coupler | Joins guide wire to boundary wire | Husqvarna links a separate how-to for it |
| Wire cutters | Cut the boundary wire at the join | Husqvarna specifies a pair of wire cutters |
| Stakes | Hold the wire to the ground | Used along the whole path; burial is an alternative |
| Labels | Identify each wire | Useful for indoor winter storage of the station |
Connecting the guide wire to the charging station
The connection point depends on the model, and the station’s position matters too (see where to put a robot mower charging station). Husqvarna’s guidance says the connector goes on the G1 pin, with G2 or G3 used for extra guide wires. Support differs by model: the 305E, 310E and 320 NERA support two guide wires (G1 and G2), and Husqvarna says G3 will not work on them. The 405XE, 410XE, 430X and 450X NERA support all three pins.
Our reading is to check the model’s manual before cutting any wire, because the pin count decides how many guide wires the layout can use. Cutting wire first and finding out later that a pin is unsupported is the costly mistake. Whatever robot mower guide wire installation tool you use, the pin and distance plan decides whether it works.

Spacing and distance rules
Husqvarna gives a few hard figures for guide wire layout. Keep the guide wire at least 30 cm (12 in) away from the boundary wire, and run at least 2 m (6.5 ft) straight from the charging station before the wire turns. Where a passage is narrow, the guidance says it can be as narrow as 60 cm (2 ft), and a guide wire is strongly recommended for passages narrower than 2 m (6.5 ft).
| Rule | Husqvarna figure | Model note |
|---|---|---|
| Clearance from boundary wire | At least 30 cm (12 in) | Applies to the guide wire layout |
| Straight run from station | At least 2 m (6.5 ft) | 1 m (3.3 ft) for the Aspire R4 |
| Narrow passage | As narrow as 60 cm (2 ft) | Guide wire strongly recommended under 2 m |
| Loop length | Navigation may get difficult above 400 m (1,300 ft) | 150 m (490 ft) for the Aspire R4 |
| Sharp angles | Avoid angles above 45 degrees | Plan gentle curves in the route |
Measure the total guide wire run on your lawn plan before you buy wire, because the loop limit applies to the whole run, not one section. These are manufacturer figures for Husqvarna models. Other brands publish different limits, so treat the table as a starting point and check your own manual.
Staking or burying the guide wire
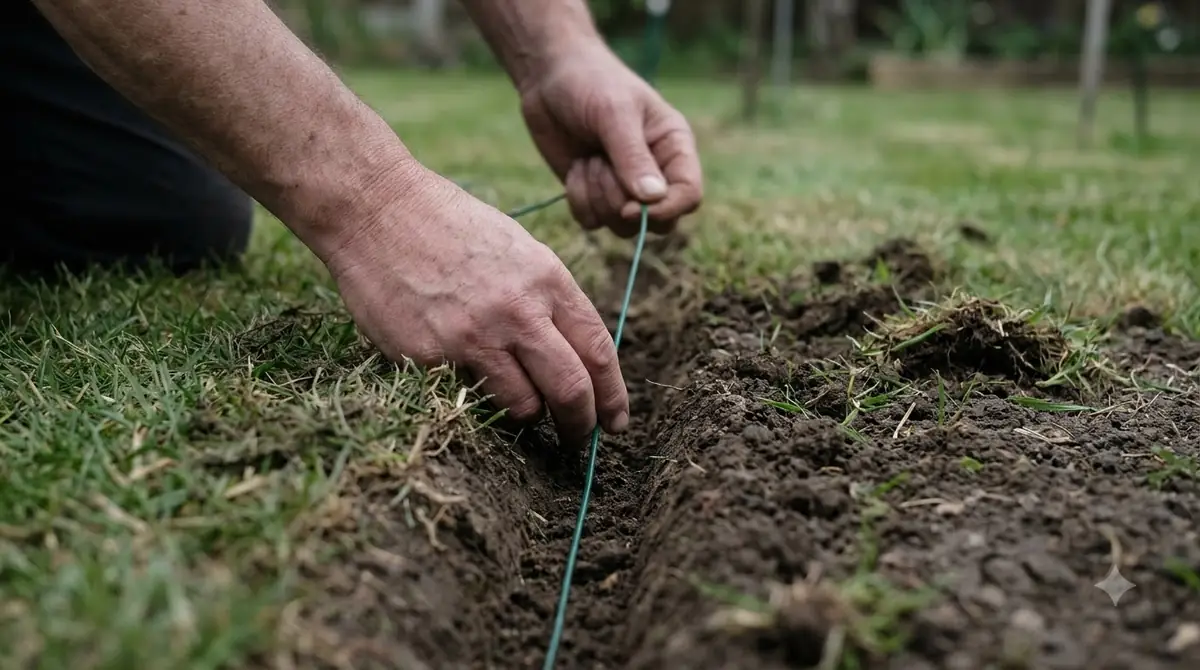
Staking is the default for a guide wire, and burial is an option once the route is settled. Husqvarna lists burial as an alternative to staking, and our bury or peg boundary wire guide compares the two. The depth figures below come from Robomow’s guidance on perimeter wire, not from a guide wire page. Robomow gives a general laying depth of 3 to 7 cm, with about 4 to 5 cm as the usual target, and warns that a channel that is too deep can cause signal interference. A wire at only 1 to 2 cm can resurface. Robomow’s depth guide is the reference for those ranges.
Our reading: the same depth logic is a sensible starting point for a robot mower guide wire installation tool job, but bury only the sections you have confirmed you want permanently, because a buried route is harder to change later.
Test the layout before you bury it
A short test with the wire pinned to the surface lets you fix routing before anything goes underground. Anker’s installation guide recommends running the mower on surface-laid wire for 2 to 3 weeks before burying it, and suggests pegs or lawn hooks about every 1 metre to hold the wire in place. Doing the work in stages like this keeps the guide wire installation easy to correct. Those are perimeter wire figures, but the same logic fits a guide wire, since its route is the part most likely to need a change. If the mower still fails to follow the route, see Husqvarna Automower guide wire problem.
Robot mower guide wire installation tool checklist
Before cutting any wire, confirm the model, the pin, the distances and the route. A robot mower guide wire installation check takes a few minutes and avoids most rework. The steps below put the manufacturer figures into an order you can check on the lawn.
- Confirm the model. Check whether it supports two guide wires (G1 and G2) or three.
- Plan the route. Keep 30 cm (12 in) from the boundary wire and a 2 m (6.5 ft) straight run from the station.
- Measure the loop. Stay under 400 m (1,300 ft) and avoid turns sharper than 45 degrees.
- Mark the wires. Label each wire, especially if the station is stored indoors in winter.
- Pin, test, then bury. Hold the wire with stakes, run the test, and bury only the sections that work.
Frequently asked questions
Is there a special robot mower guide wire installation tool?
Not in the guidance we read. Husqvarna’s steps use an Automower Connector, an Automower coupler, a pair of wire cutters and stakes. Check your brand’s manual or dealer, since a kit may be offered separately.
Do I need a robot mower guide wire installation tool at all?
A guide wire is only needed if the layout requires it. Husqvarna strongly recommends one for passages narrower than 2 m (6.5 ft), and the robot mower guide wire installation tool list above covers the parts for that job. In a wider yard a guide wire may not be needed, so the decision depends on your layout.
How far should a guide wire sit from the boundary wire?
Husqvarna says to keep at least 30 cm (12 in) between the guide wire and the boundary wire.
Can I bury a guide wire?
Husqvarna lists burial as an alternative to staking. Robomow’s perimeter wire guidance puts the usual target at about 4 to 5 cm, so use that as a starting point and check your model’s manual.
Sources
- How to lay a guide wire in an Automower installation (Husqvarna): parts, pin connection, clearance, loop and angle limits.
- How deep must the boundary wire be laid (Robomow): depth range and signal and resurfacing risks for perimeter wire.
- Robot lawn mower boundary wire installation (Anker): 2 to 3 week surface test and peg spacing.
- Landroid 100 pegs (Worx): pegs pushed into the ground with the wire inserted in slots.
 Up next9 min readGearRobot Mower Wire Break Finder Tool: Options ComparedUpdated Nov 19, 2026
 7 min readGearRobot Mower Wire Stapler Tool: Pegs, Tension and Staple DepthUpdated Nov 20, 2026
 6 min readGearRobot Mower Lawn Edge Trimmer Companion Tool: How to ChooseUpdated Nov 20, 2026
 9 min readGearHow to Change Dreame Blades: Steps, Timing and ToolsUpdated Nov 19, 2026
 8 min readGearRobot Mower Wall Mount Bracket: Do You Need One?Updated Nov 11, 2026
 7 min readGearRobot Mower Ultrasonic Sensor Cleaning Kit: Do You Need One?Updated Nov 13, 2026