
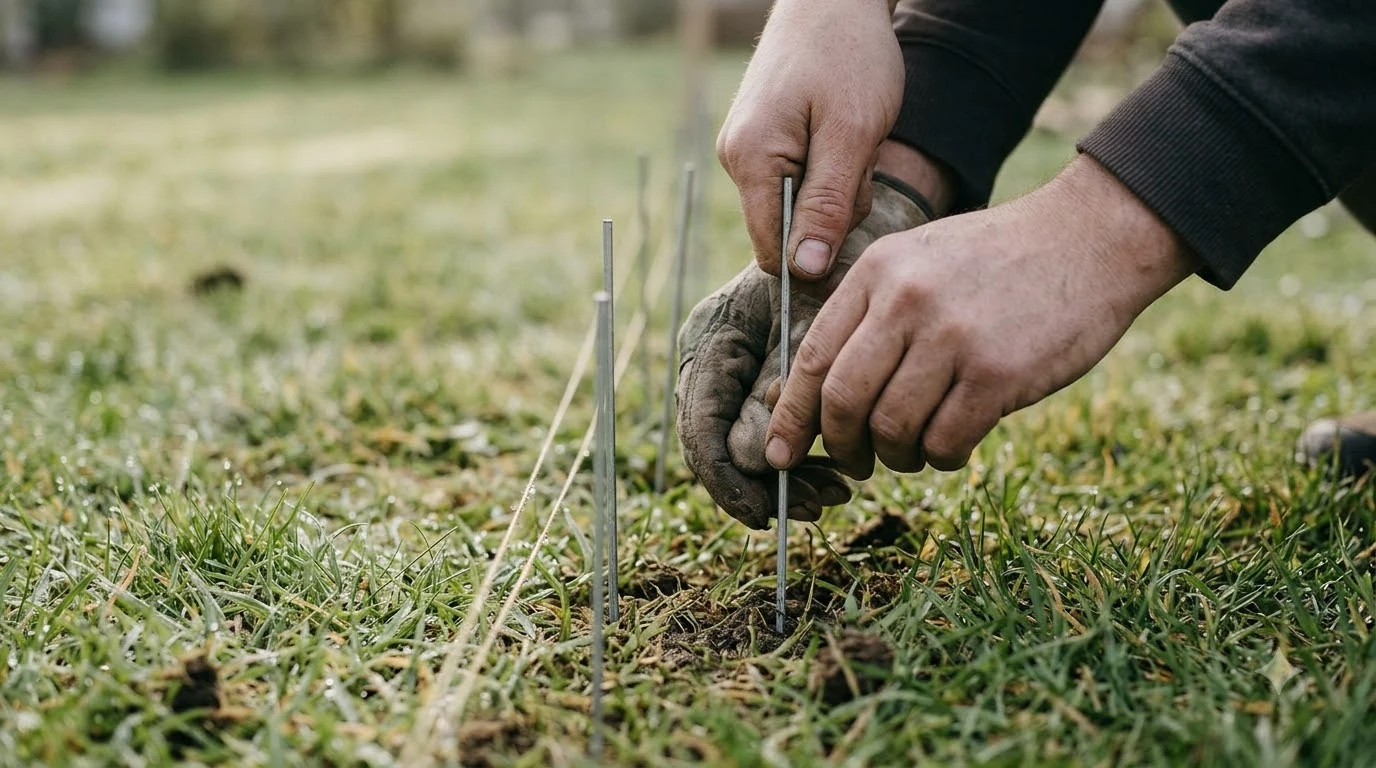

Robot mower boundary flags for setup are temporary markers you place on the lawn to test the wire route before you peg anything down. Manufacturer guides agree on the main point: sketch the layout, check distances from walls and beds, and test the route above ground for a few weeks before you bury the wire. The sources we read do not name a flag product, so the flag method below is our reading of that advice.
The short answer
- Use flags to mark the planned route before you lay or bury any wire.
- Keep the route about 35 cm from walls and tall stones, about 10 cm from beds and hedges, and about 35 cm from a pond.
- Test above ground for 2 to 3 weeks so you can see how the mower handles the route.
- Never let the wire cross itself, and keep passages wider than 70 cm where possible.
Why set up flags before the wire
The boundary wire is hard to move once it is staked, and a poor route means digging it up again. Robomow advises sketching the layout first, so you can spot slopes, narrow passages, and places where the wire might cross. Flags turn that sketch into something you can see on the grass, which is the main use of a boundary flag in setup. Temporary markers are the cheapest way to test a layout, and the roundup of flags that mark the boundary route shows what is available.
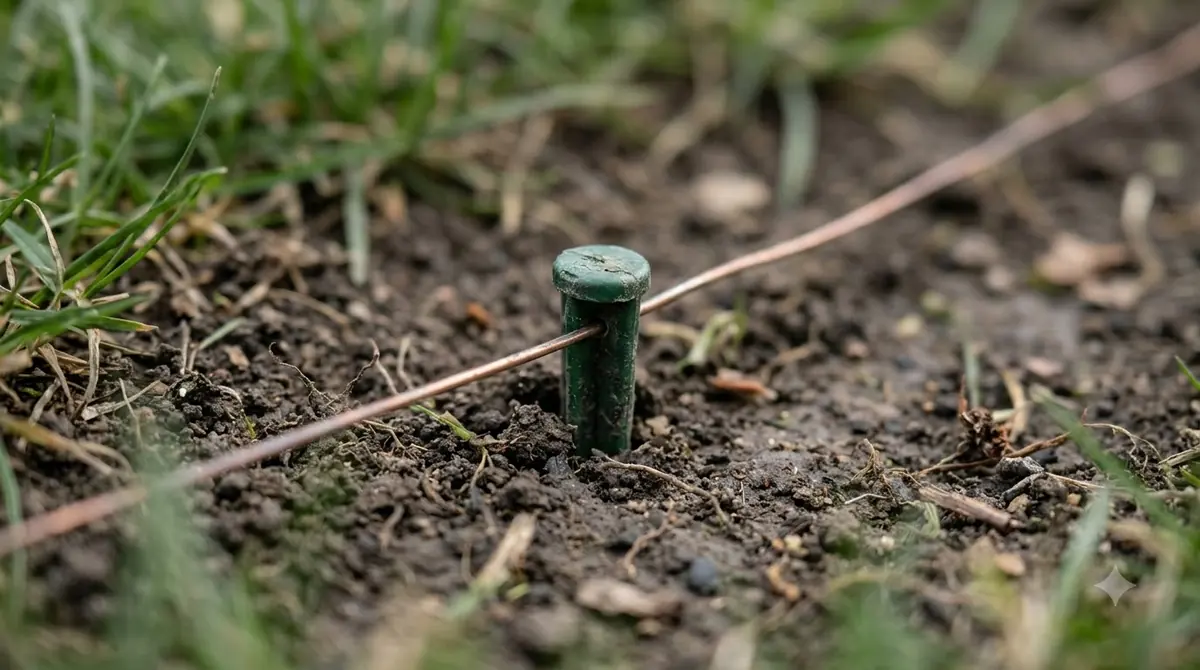
Robot mower boundary flags for setup are a way to rehearse the route, not a replacement for the wire. They help you check the path around beds, trees, and the charging station before the robot ever runs on it. Our reading is that a flag line is most useful where the lawn has several obstacles, because a route that looks fine on paper can cut close to a bed edge once the lawn is measured.
Distances to build into the flag layout
Robomow gives approximate guide values for how far to keep the wire from obstacles. These are the numbers to mark with flags: Offsets from walls, beds and trees are easier to repeat when you measure them with a measuring wheel for layout distances.
| Obstacle | Guide distance |
|---|---|
| Walls and tall stones | About 35 cm |
| Beds or hedges | About 10 cm |
| Slabs and paths at or below lawn level | About 10 cm |
| Ponds | About 35 cm, plus extra obstacles to stop the mower falling in |
These are guide values, not fixed rules. Check your own model’s manual, because the figures differ between robots.
Heads up
Robomow recommends a passage wider than 70 cm for remote start points, to reduce signal interference between wires. A flag line that squeezes a passage narrower than that is a warning sign for the layout.
How to place robot mower boundary flags for setup
Mow the lawn short first, and trim the edges, so the distances are easier to measure and the flags sit on the grass rather than in long growth. Husqvarna says long grass can lift the wire and let the mower damage it, so the same logic applies when you set the flag line. Once the flags are in place and the route looks right, stapling the wire along flagged lines turns the plan into a working loop. Flags help you test the layout before the wire goes down, and a wire laying machine for robot mowers speeds up the burial step on larger lawns.
- Draw the perimeter. Walk the edge and note walls, beds, paths, and the pond, then sketch the route on paper.
- Place flags at each obstacle. Set a flag at the guide distance from each one, following the table above.
- Connect the flags. Run a line of flags around each obstacle and back along a parallel path, so the route never crosses itself.
- Check the passages. Measure any narrow gap and confirm it is wider than 70 cm where you can.
- Walk the route. Confirm each flag still sits on the planned line after a few days of rain or mowing.
What the test period should show
Robomow suggests testing the layout above ground for 2 to 3 weeks before burying the wire. That period lets you see whether the route works in practice, including how the lawn grows and how the mower handles the edges. Husqvarna adds that you should start at the highest cutting height and lower it one step each week for the first 6 to 8 weeks. During the test period, tension and slack in the test loop show up quickly as the mower follows the perimeter.
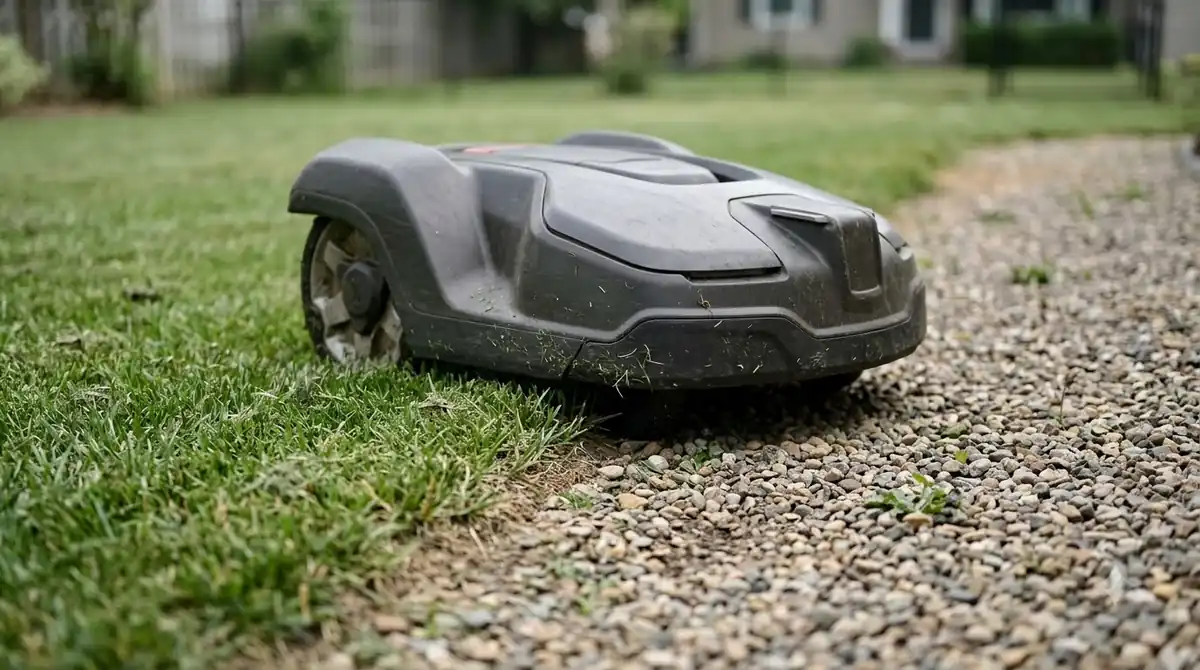
If a flag line keeps falling near a bed or a path, move it before you stake the wire. Changing a route on paper is cheap. Changing it after the wire is buried is not.
Staking and burial after the test
Once the route is settled, fasten the wire with stakes at regular intervals and pull it taut so it does not stick out. Husqvarna advises extra stakes where the lawn is uneven, and says soft, mossy, dry, or compact soil can lift stakes over time. Push them back down periodically, and check after winter.
Burial depth is covered in the manufacturer guides. Husqvarna gives a range of 1 to 20 cm, while Robomow says about 4 to 5 cm is optimal for a clean edge cut. Pick the depth from your model’s manual, and keep it uniform along the route.
What to check before you buy flags or wire
Count how many obstacles and narrow passages the lawn has, because that sets how many flags you need. Check that the route gives the mower clear room around the charging station, and that the guide wire path is straight. Robomow describes the parallel return lead as the way to keep a route clean around an obstacle, so leave room for it in the layout. Total cable needed follows from the flagged route, which is covered in the guide to boundary wire to match the flagged loop. Bigger gardens may require long cable rolls for big loops, so measure the flagged route before you commit to a reel size.
Use the same robot mower boundary flags for setup at each step of the test, and measure again after the test period. A layout that looked right on the first day may need one or two flags moved once you have seen the mower work.
Frequently asked questions
Do I need flags to set up a robot mower?
Flags are not required by any source we read, but they make it easier to check the route before you bury wire. Our reading is that they save time on lawns with several obstacles.
How far should flags be from a wall?
Robomow gives about 35 cm from walls and tall stones. Use your model’s manual for the final figure.
How long should I test the flag layout?
Robomow suggests 2 to 3 weeks of testing above ground before burying the wire. Use that period to see how the route works through the growing season.
Should the wire cross itself?
No. Robomow says crossings cause interference, so each obstacle should be circled once and returned along a parallel path.
Sources
- Robomow, Laying the lawn boundary wire (manufacturer): used for the obstacle distances, the 70 cm passage advice, the 2 to 3 week test, and the no-crossing rule.
- Husqvarna, Tips to prevent wire break in an Automower installation (manufacturer): used for mowing before laying wire, extra stakes on uneven lawns, the burial range, and the cutting height step-down.
 Up next8 min readGearBest Lawn Flags for Marking Robot Mower BoundaryUpdated Nov 12, 2026
 6 min readGearRobot Mower Outdoor WiFi Extender: 3 Simple TestsUpdated Nov 20, 2026
 6 min readGearRobot Mower Lawn Edging Strips: 3 Simple Setup StepsUpdated Nov 14, 2026
 7 min readGearMammotion Extension Cable: Length, Safety and SetupUpdated Nov 13, 2026
 7 min readGearNavimow Extension Cable: Antenna Limits and SetupUpdated Nov 13, 2026
 9 min readGearBest Solar-Powered Security Light for a Robot Mower Dock: Fit and Setup GuideUpdated Nov 19, 2026