
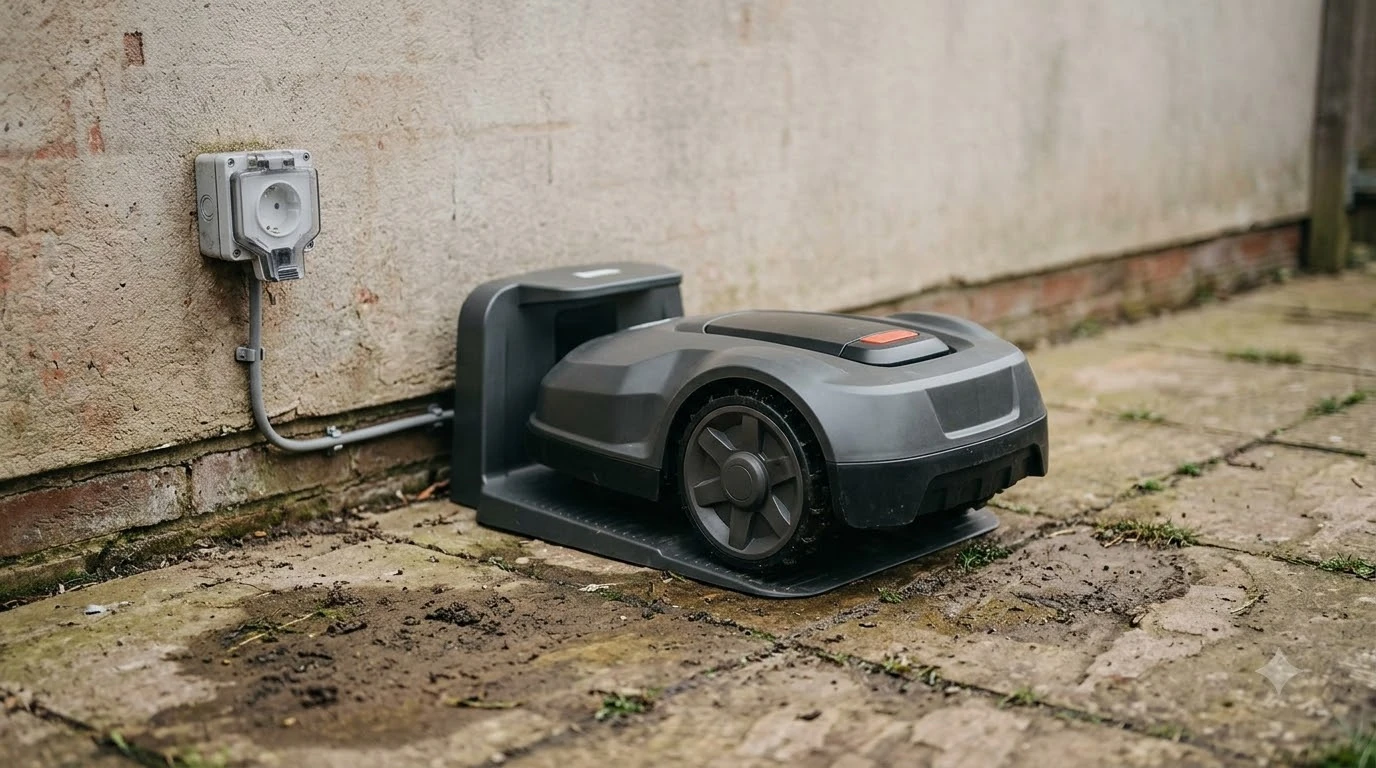

For most setups, the best outdoor timer for robot mower charger is no timer at all. A robot mower returns to its station on its own when the battery runs low, and the station charges it. Before you add a timer on the outlet, check your model’s manual, because a timed power cut can interrupt that charging.
The short answer
- Timer role. An outlet timer switches power to the charging station on a set schedule. It does not control when the mower cuts or where it goes.
- Power rule. Toro’s charger manual says not to plug the charging station into a power strip or an extension cord. A timer is also a plug-in device, so our reading is that the same caution applies.
- Mower schedule first. Set the mower’s own clock and cutting times before you add any hardware.
- If you still use one. Confirm the manual allows it, choose a unit rated for outdoor use, and keep the power supply plugged straight into it.
Why most robot mowers do not need a charger timer
A robot mower docks itself when its battery is low, so the best outdoor timer for robot mower charger setups rarely add a useful control. According to Toro’s operator manual, the mower stays in the charging station until it is fully charged or until the next scheduled mowing task. It also docks automatically when the battery is too low, which means the station works on demand rather than on a clock.
Our reading is that a second clock on the outlet duplicates a job the mower and station already handle. Scheduling belongs in the mower’s own settings, where the mower knows its battery level and its program. If you have not set one yet, start with setting a robot mower schedule.
What a timed power cut can interrupt
The best outdoor timer for robot mower charger setups still has one built-in risk: a timed cut stops the station from charging for as long as the outlet is off, which can leave the mower short of charge on a day it was due to cut.
The manuals we read describe charging as an automatic process: the mower docks, charges, and charging ends when the battery is full. None of them describes an outlet timer, so we cannot say how a timed cut is handled inside any model. That gap is the point. Unless your manual says otherwise, leaving the station powered and letting the mower manage its own charge is the simpler setup. For winter, follow the storage section of your own manual.
Why a power strip rule covers a timer too
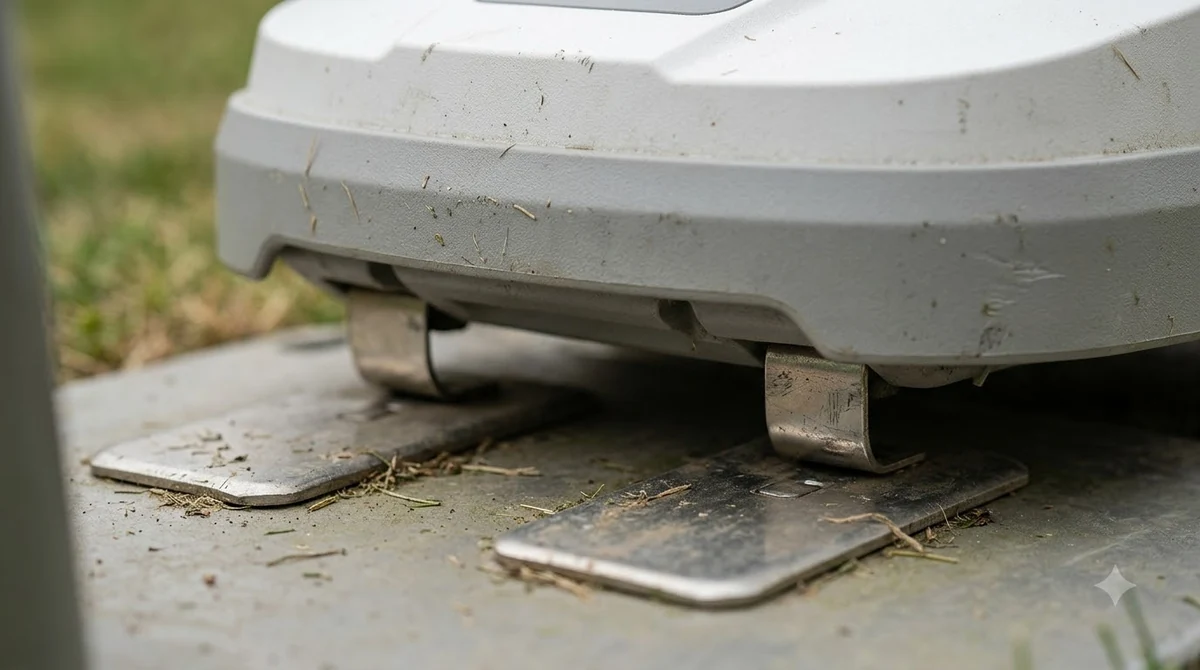
Toro’s charger manual lists this rule under operation safety: “Do not plug the charging station into a power strip or an extension cord.” The same list warns against operating a damaged charging station and connecting a damaged power supply cord. An outlet timer sits in the same chain as a power strip, with the power supply plugged into a device that is itself plugged into the wall. So the best outdoor timer for robot mower charger plan, in our reading, keeps the power supply plugged straight into the wall unless the manual says otherwise. For protection that does not break that rule, see the outdoor surge protector for a robot mower and the GFCI outlet cover for a robot mower.
Where the outlet and power supply should sit
Husqvarna’s placement guide says to place the charging station near a power outlet, and not to put the power supply in an enclosed box. It asks for open sides and good ventilation to avoid heat build-up. Those points matter more than the timer itself, because the outlet and the adapter are fixed in place outdoors for the whole season.
Robomow’s installation guide adds that an outdoor socket should be suitable and weather proof, that the cable should not be too long or extended, and that the transformer needs the same sun and water protection as the station. It also advises keeping a lawn sprinkler away from the station, since water getting in could damage the electronics, and notes that permanent heat leads to faster battery aging. Our guide to charging station power requirements covers the electrical side in more detail.
The same guide sets clearances for physical boundary wire: at least 3 m (10 ft) in front of the station, 150 cm (60 in) to each side of its center, and 60 cm (2 ft) behind. Check these before you choose a spot for the outlet, so the plug does not end up where the cable has to stretch. For siting the station itself, see where to put the robot mower charging station.
Weather and schedule settings you can change instead
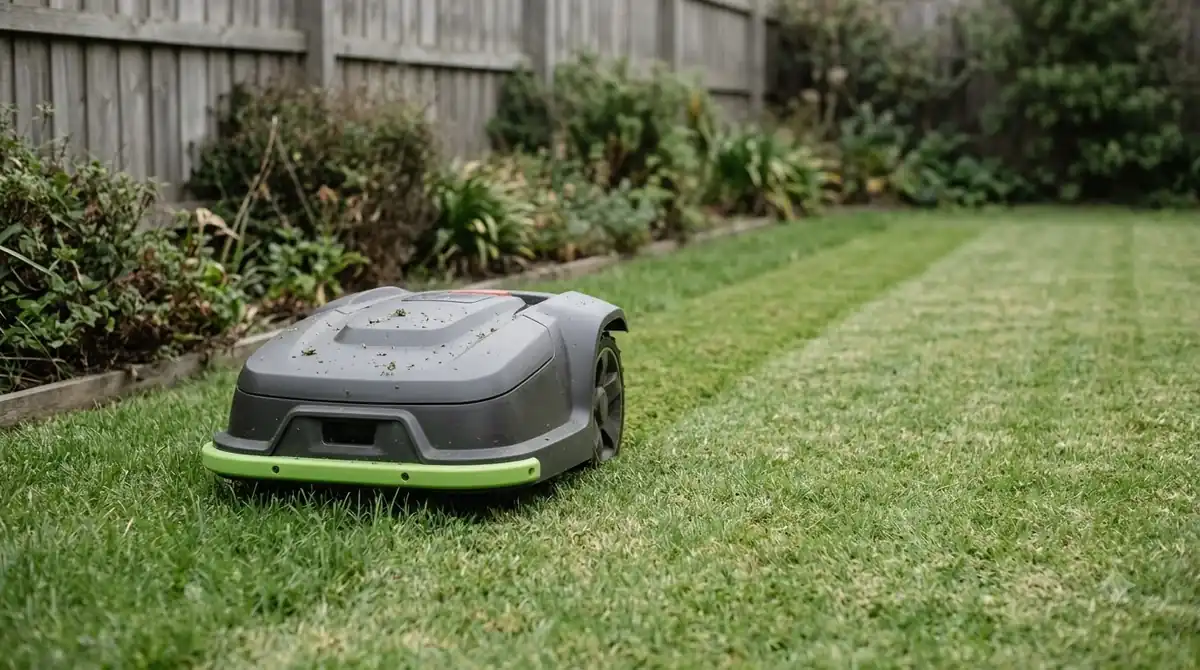
Husqvarna’s Weather Timer is a mower setting, not an outlet timer, and it can be switched off or made less sensitive. Husqvarna’s support page for a mower that is not cutting on schedule says the Weather Timer adapts cutting intervals to grass growth. Its suggested fix is to disable the Weather Timer or change its sensitivity.
The same page says the programmed schedule also responds to battery levels, weather conditions and safety features. It notes that Frost Guard can block starts below 5 °C (41 °F). If a mower starts at the wrong time, check these settings in the app or on the keypad before you add any hardware to the outlet.
The same support page lists more causes than the Weather Timer: a daily operating limit that has been reached, a wrong clock or schedule, a manual park or start that overrides the schedule, Smart Routines that park the mower, and a battery that is too hot or too cold to operate. On that last point it says shading the station helps. Rule these out before you suspect the outlet.
What to check if you still want the best outdoor timer for robot mower charger
If the manual allows a timer after your check, these four points keep the setup predictable. Each one comes from the manual rules above, plus our reading of how plug-in devices behave outdoors.
- Manual first. Confirm your model’s manual allows an outlet timer or an in-line plug device. If it is silent, our reading is to skip one.
- Outdoor rating. Choose a unit listed for outdoor use, and keep it in a spot that stays dry.
- Load headroom. Check the station’s input rating on its label, then compare it with the timer’s listed maximum load. The timer’s limit should sit well above the station’s draw.
- Direct connection. Plug the station’s power supply straight into the timer, with no splitter or second extension cord behind it.
Frequently asked questions
Can I plug a robot mower charging station into an outdoor timer?
The best outdoor timer for robot mower charger is still bound by the Toro rule: the manual says not to plug the charging station into a power strip or an extension cord, and an outlet timer sits in the same position. Check your model’s manual before you use one. We did not find a manual that approves an outlet timer for the station.
Does a robot mower need a timer to charge on a schedule?
Usually not. The mower docks itself when its battery is low, and its own schedule controls when it cuts. According to Toro’s operator manual, the mower stays in the station until it is fully charged or until the next scheduled mowing task.
Will an outlet timer damage the mower battery?
We did not find a source that says a timer damages the battery, and we cannot confirm that it does. The risk we can point to from the manuals is an interrupted charge. Follow your model’s manual, and check that the mower charges as expected after any change.
What is the Weather Timer on a Husqvarna mower?
It is a mower setting that adapts cutting intervals to grass growth. Husqvarna’s support page says you can disable it or change its sensitivity in the mower’s settings. It has nothing to do with the power outlet.
Sources
- Toro Turf Pro and Range Pro battery charger manual (Toro): no power strip or extension cord; charging ends when the required charge is complete.
- Toro operator manual: Docking and Charging the Mower (Toro): mower stays docked until fully charged or next scheduled task; automatic docking on low battery.
- Husqvarna support: robotic lawn mower is not cutting according to the schedule (Husqvarna): Weather Timer, schedule and Frost Guard settings.
- Husqvarna: Automower charging station optimal placement and mower house guide (Husqvarna): outlet placement, power supply enclosure, ventilation, boundary wire clearances.
 Up next8 min readGearRobot Mower Camera Lens Cleaning Kit: Do You Need One?Updated Nov 11, 2026
 10 min readGearRobot Mower Charger Not Working? Check These Causes FirstUpdated Nov 11, 2026
 10 min readGearRTK Base Station Power Cable Outdoor: What to Check FirstUpdated Nov 11, 2026
 7 min readGearBest Outdoor Mesh Wi-Fi for a Backyard Robot Mower: What to CheckUpdated Nov 11, 2026
 9 min readGearBest Outdoor Security Camera to Watch a Robot Mower: What to CheckUpdated Nov 11, 2026
 7 min readGearBest Outdoor Surge Protector for Robot Mower: What to Check Before You BuyUpdated Nov 11, 2026