
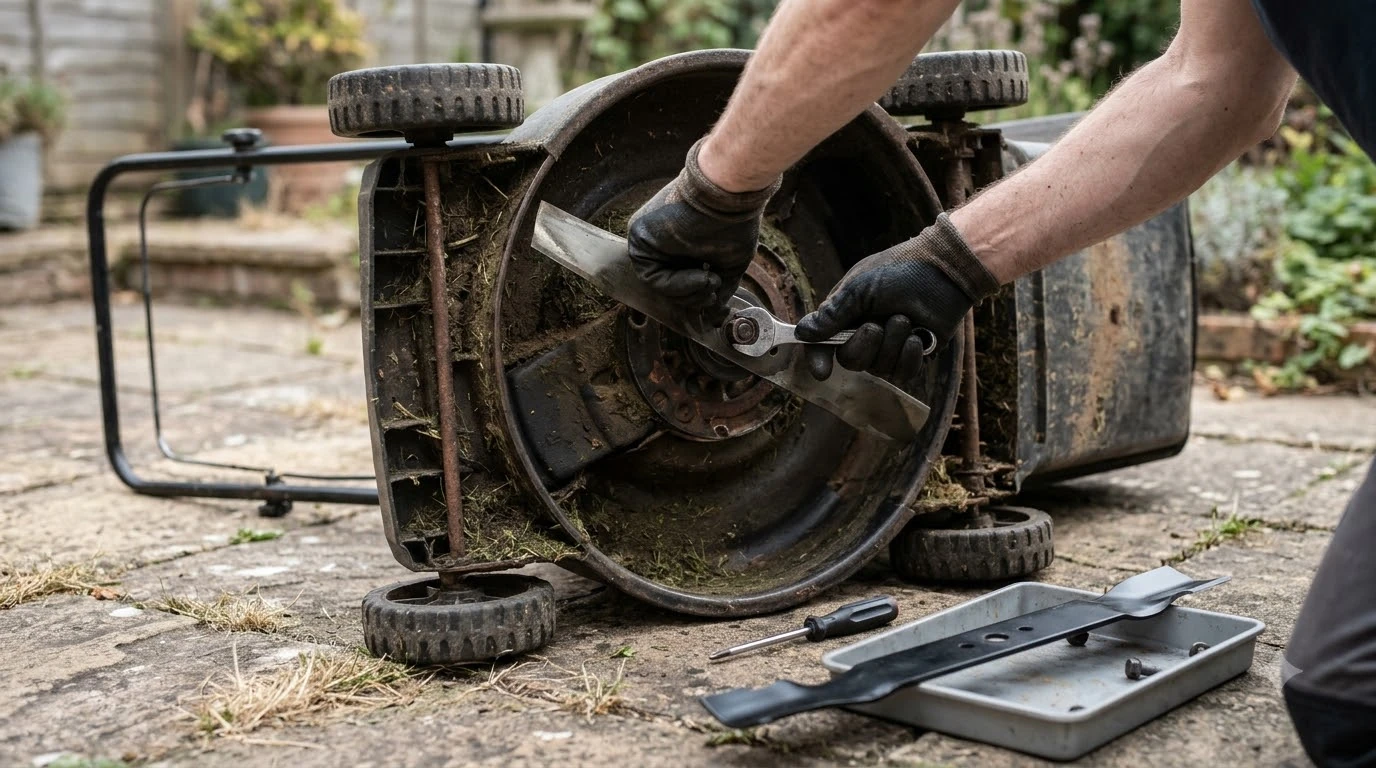

The best magnetic parts tray for robot mower blade changes is a compact, collapsible silicone dish with an enclosed base magnet and a non-marring exterior, paired with a separate pocket or bowl for non-magnetic stainless steel screws. Swapping razor-style pivot blades on a robotic mower takes only a few minutes, yet losing a single tiny screw in the grass or mixing up used and fresh hardware can throw off cutting-disc balance. Choosing the right tray keeps sharp blades contained, protects your mower’s plastic shell from scratches, and speeds up routine maintenance.
The short answer
- Top tray style: A 4-to-6-inch collapsible silicone magnetic tray offers high walls for razor blades, a soft non-scratch base, and easy cleanup after outdoor grass-and-sap contact.
- Critical material catch: Many replacement mower blades are magnetic carbon or stainless steel, while certain aftermarket and OEM screws use non-magnetic 304 or 316 stainless steel that requires a raised rim rather than relying on magnetism alone.
- Surface protection: Always choose a tray with a rubber-coated or full silicone base so setting it near an upside-down mower hood will not scuff painted or glossy ABS housings.
- Electronics safety: Keep strong neodymium-base trays several inches away from a mower’s onboard compass, boundary-wire sensors, and charging contacts during service.
- Hardware discipline: According to Husqvarna Automower support guidelines, you must replace screws every time you change blades and never mix old and new hardware on the same cutting disc.
Why a magnetic parts tray matters for robotic mower maintenance
Unlike traditional walk-behind rotary mowers that use a single heavy bar blade and a large hex bolt, most robotic lawn mowers rely on three to six small, razor-thin pivoting blades held in place by tiny machine screws.
Because blade swaps happen frequently—often every one to two months or roughly every 100 to 200 operating hours depending on lawn conditions, as noted in Worx Landroid maintenance documentation—most owners perform the job outdoors on a patio table, tailgate, or patch of lawn. A gust of wind, an accidental elbow bump, or grass clippings clinging to your gloves can easily send a loose screw or spent razor blade disappearing into the turf.
A dedicated magnetic tray solves two problems at once during outdoor service. First, it pins sharp old blades flat against the bottom of the dish so your fingers do not brush against an exposed cutting edge when reaching for the next fastener. Second, it creates a clear physical boundary between fresh replacement hardware and worn parts destined for safe disposal.
Types of magnetic parts trays compared
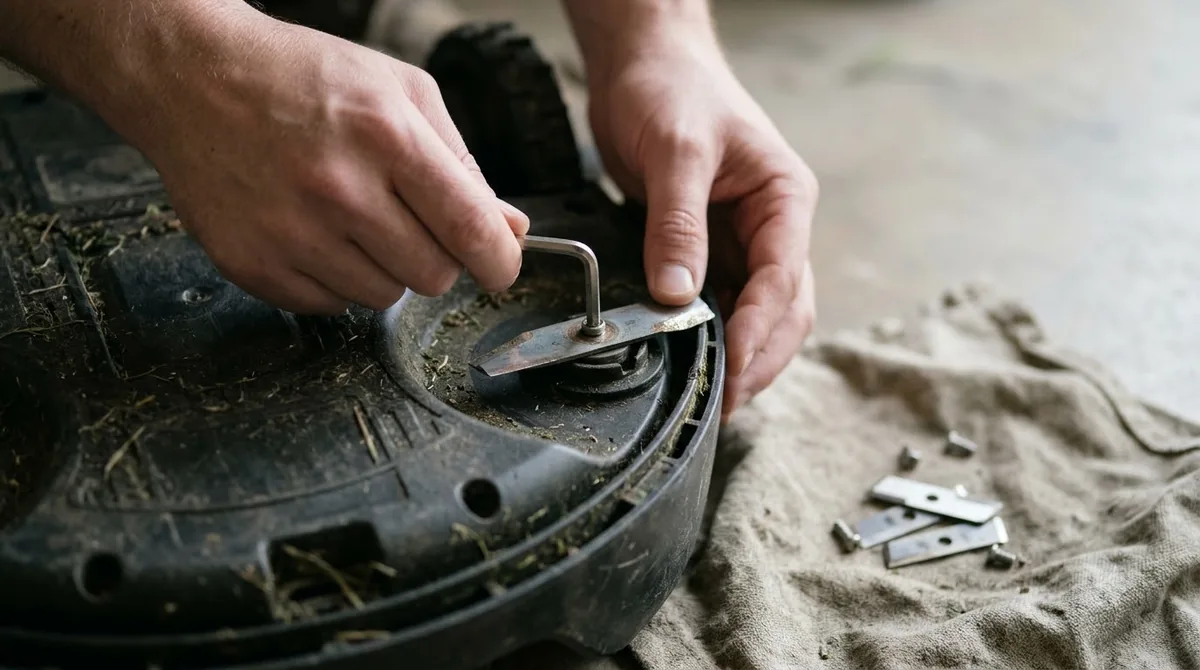
Workshop magnetic trays fall into four main categories, and each handles small robotic mower hardware and outdoor dirt differently.
| Tray type | Base protection | Wall height and containment | Outdoor cleanup | Best use case |
|---|---|---|---|---|
| Collapsible silicone magnetic dish | Full soft silicone exterior; zero scratch risk | Deep flexible walls (often around 1 to 2 inches expanded) catch non-magnetic screws | Wipes clean easily; resists sap and moisture | All-around patio, lawn, and workbench blade changes |
| Round stainless steel magnetic bowl | Usually features a rubber-covered magnetic base | Shallow curved lip; relies heavily on magnetism | Very easy to wipe down; fully rust-resistant | Holding magnetic carbon-steel blades on a metal workbench |
| Flexible magnetic tool mat | Soft PVC or vinyl backing | Flat profile with no raised edges | Traps fine grass dust in textured surfaces | Sticking directly onto a steel garage cabinet or tailgate |
| Multi-compartment plastic organizer | Smooth molded polymer base | High rigid dividers keep old and new screws separate | Requires brushing out corners where grass collects | Batch-servicing multiple mowers or storing spare screw sets |
For most homeowners, a collapsible silicone tray with an embedded bottom magnet strikes the most practical balance. When expanded, its tall walls act as a catch-all bowl even if a screw lacks strong magnetic pull, and when collapsed, it slips flat into a shed drawer alongside spare blade packs and a dedicated screwdriver.
What to look for when choosing a tray for mower blades
Evaluating a magnetic tray for tiny mower fasteners requires looking past heavy automotive marketing claims and focusing on four practical details.
- Non-marring base coverage: Robotic mowers feature glossy, textured, or painted top shells that sit face-down on the ground or workbench during blade swaps. Look for full silicone encapsulation or a thick rubber-covered magnet ring so bare steel never touches your mower housing or patio furniture.
- High rim walls for low-magnetism fasteners: Austenitic stainless steel screws used on many outdoor lawn appliances exhibit very weak or zero magnetic attraction. A tray with at least a one-inch vertical lip ensures non-magnetic screws stay put even if the magnet beneath only grips the blades.
- Compact 4-to-6-inch footprint: Massive automotive trays take up unnecessary bench space and encourage clutter. A compact four-inch round or five-inch rectangular dish holds a full set of three to six blades and screws comfortably right next to the mower’s cutting disc.
- Sealed magnet housing: Grass sap, morning dew, and damp soil are unavoidable when flipping a mower over. Choose a tray whose magnet is fully sealed inside silicone or bonded beneath a rust-resistant stainless steel cup so moisture cannot corrode the magnetic core.
How to set up and use your tray during a blade swap
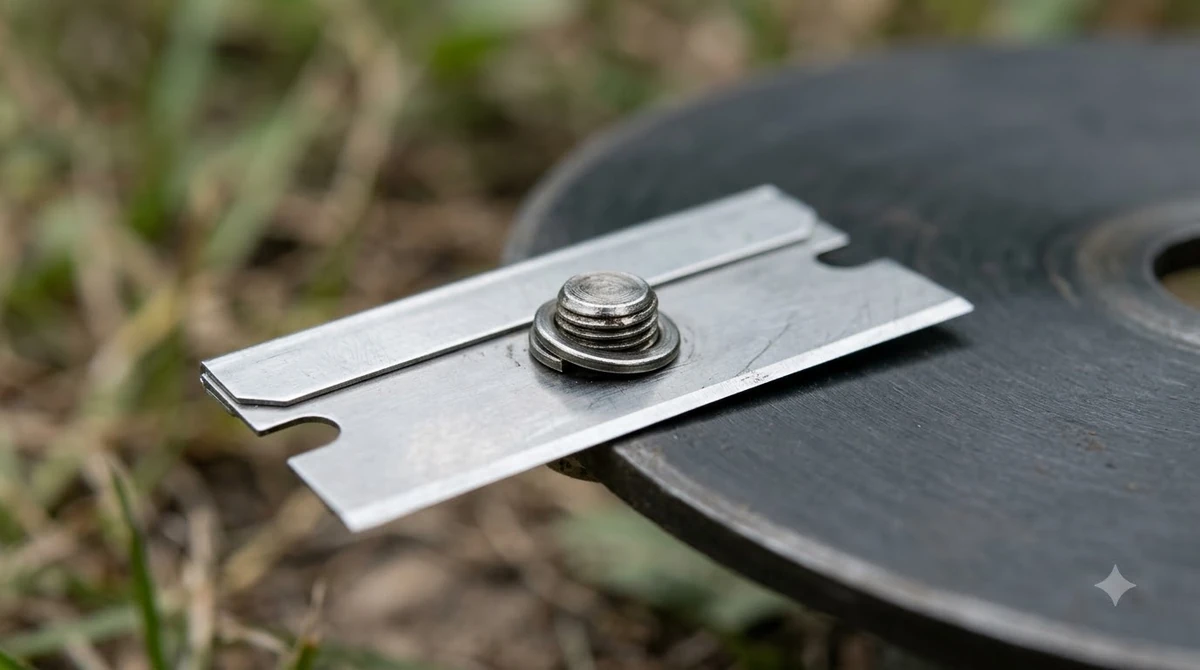
Organizing your workspace before turning the mower over prevents hardware mix-ups and protects both your hands and the machine’s sensors.
Heads up
Never rest a strong magnetic parts tray directly on top of your robotic mower’s body shell or near the front bumper. Many models house internal Hall-effect sensors, boundary-wire receivers, or electronic compasses just beneath the plastic cover, and strong magnets can temporarily interfere with sensor calibration.
- Power down and prep your surface. Switch off the mower completely at the main power button or jog wheel, put on cut-resistant gloves, and place the robot upside down on a clean towel, foam pad, or soft grass patch at least a foot away from your magnetic tray.
- Stage fresh hardware first. Open your replacement blade pack and place the new blades and new screws on one side of the tray—or inside a small secondary cup if the screws are non-magnetic stainless steel—before loosening any old fasteners.
- Drop spent blades straight into the magnetic zone. As you remove each worn blade and old screw with a magnetic-tip screwdriver, transfer them immediately onto the magnetized center of the tray so sharp edges stay pinned flat and away from your fingers.
- Clean the cutting disc and install new parts. Brush dried grass clippings away from the blade disc and skid plate, then install one new blade and one new screw per mounting point, confirming every blade pivots freely once tightened.
- Dispose of old blades safely. Wrap the used blades from the tray in heavy painter’s tape or place them inside the empty replacement blade blister pack before discarding them in household trash.
Cleaning and maintaining your magnetic tray
Routine upkeep keeps a magnetic parts tray from turning into a magnet for metal shavings and dried grass resin.
After each blade change, wipe the inside of the tray with a dry microfiber cloth or soft brush to clear away dried clippings and soil. If sticky plant sap builds up on a silicone or stainless steel dish, wash it with warm water and mild dish soap, then dry it thoroughly before collapsing or storing it. Periodically inspect the rubber or silicone base for embedded grit or tiny steel splinters that could scratch surfaces the next time you set the tray down.
Frequently asked questions
Will a magnetic parts tray damage my robot mower’s electronics?
Setting a magnetic parts tray a foot or two away on your workbench or patio will not harm your mower, but placing a strong magnet directly against the mower’s shell can interfere with internal Hall-effect lift sensors, wheel encoders, or magnetic compasses. Always keep the tray on the work surface beside the mower rather than resting it on the chassis.
Why do some robot mower blade screws not stick to a magnetic tray?
Many replacement blade kits use austenitic 304 or 316 stainless steel screws to resist rust in wet grass, and those grades of stainless steel are non-magnetic or only weakly magnetic. Choosing a tray with tall silicone or metal walls keeps non-magnetic screws from rolling away even when the magnet only holds the blades.
Should I keep old blade screws in my magnetic tray as spares?
No. Official manufacturer manuals from brands like Husqvarna and Worx instruct owners to install fresh screws every time they replace blades because worn screw shoulders or stretched threads can allow a spinning blade to loosen during operation. Use the magnetic tray to contain old screws until you throw them away.
What size magnetic parts tray works best for robot mower maintenance?
A compact 4-to-6-inch round or rectangular tray is ideal because most robotic mowers use only three to six small blades per service interval. Smaller trays fit easily in a garden tool drawer, stay out of the way while you flip the mower, and still leave enough room to separate new hardware from removed blades.
Sources
- Automower blades replacement (Husqvarna UK Support, updated July 2026): official procedure for powering off the mower, using a magnetic screwdriver, replacing screws with every blade swap, and verifying free blade rotation.
- How to replace the blades? | Landroid Vision Maintenance (Worx Support Wiki): recommended blade replacement intervals (1 to 2 months or 100 to 200 operating hours) and protective glove requirements.
- Titan Stainless Steel Magnetic Parts Tray Specifications (Walmart / Titan Tools): reference specifications for non-marring rubber-covered magnetic bases and 1-inch tray wall depth.
- Sealey Collapsible Magnetic Parts Tray Set APCMTS (ToolForce / Sealey): design specifications for collapsible silicone magnetic trays with soft non-scratch exteriors and internal magnetic bases.
 Up next8 min readGearHow to Change Eufy E15 Blades: Steps, Parts and SafetyUpdated Nov 10, 2026
 7 min readGearSegway Navimow Replacement Blades: How to Choose and When to ChangeUpdated Nov 20, 2026
 8 min readGearHow to Change Mammotion YUKA Blades SafelyUpdated Nov 19, 2026
 9 min readGearRobot Mower Blade Screws Replacement: When to Change ThemUpdated Nov 19, 2026
 7 min readGearHow to Change Segway Navimow Blades: Step-by-Step GuideUpdated Nov 19, 2026
 9 min readGearHow to Change Dreame Blades: Steps, Timing and ToolsUpdated Nov 19, 2026