
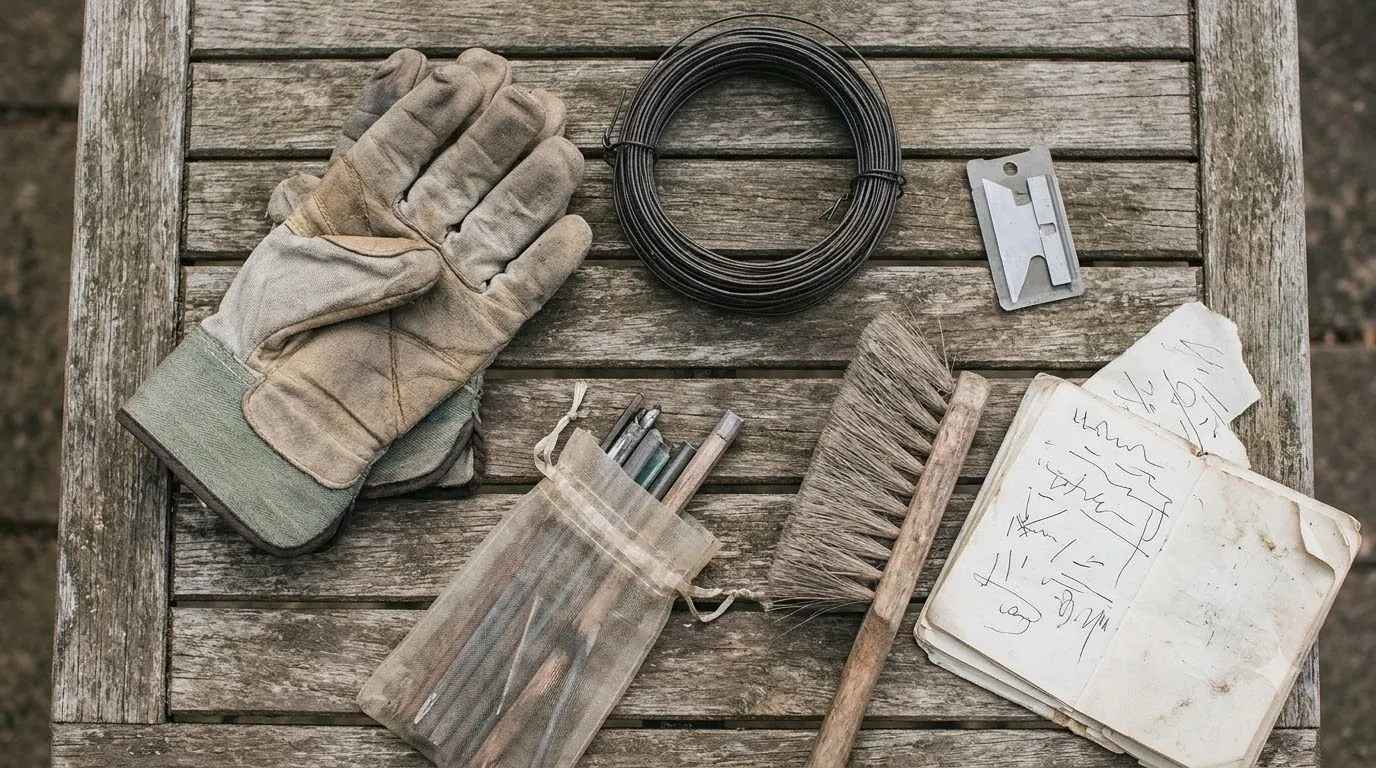

The short answer to what tools do you need to install a robot mower is pliers, a mallet or hammer, a small shovel and a wire stripper. Husqvarna and STIHL both list tools close to this set. Your mower box usually supplies the boundary wire, staples and splicing connectors, so the list you actually need to buy is short. Wire-free models need even fewer tools, and if you are weighing a DIY job at all, our guide to installing a robot mower yourself covers what the work involves.
The short answer
- Pliers squeeze splicing connectors closed and grip the wire.
- A mallet or hammer drives staples and docking nails into the ground.
- A wire stripper prepares the ends of the boundary wire.
- A small shovel is only needed if you choose to bury the wire.
What tools do you need to install a robot mower: the core kit
Most manufacturer guides name the same core kit. Husqvarna’s installation page lists a pair of pliers, a mallet and a small garden shovel. STIHL’s iMOW guide adds a hammer, combination pliers, a wire stripper, and a pencil and paper for marking the layout. Those two lists overlap almost completely, so a mallet or hammer, pliers and a wire stripper cover the core job.
The question of what tools do you need to install a robot mower has a short answer, and our reading is that a tape measure is worth adding even though neither guide names one. It helps you check the distance from the boundary before you drive in the docking nails, and it helps you keep staples evenly spaced along the loop.
What usually comes in the box
The installation kit is the main reason the tool list stays short. Husqvarna says its installation kit includes the boundary wire and the staples, and that the kit may need to be bought separately if the mower did not come with one. It also names a splicing kit for adding an island later. This Old House also lists splicing connectors with dielectric grease for waterproofing, and says the wire should be secured every 3 feet.
| Item | Usually supplied | Still needed from you |
|---|---|---|
| Boundary wire | Yes, in the installation kit | Check that the kit fits your lawn size |
| Staples | Yes, in the installation kit | A mallet or hammer to drive them |
| Splicing connectors | Yes, per This Old House | Pliers to close them |
| Charging station power supply | Yes, with the mower | An outdoor outlet and low voltage cable routing |
Check the contents against your model’s manual before you buy anything, since kit sizes differ by brand. STIHL offers a size S or size L installation kit depending on how large your lawn is, so the lawn size decides which kit fits. Our reading is that the simplest way to avoid buying duplicates is to compare the box contents with the tool list above and buy only the items that are missing. If you are still choosing between systems, see wire-free versus boundary wire robot mowers for how the setup work differs.
Pegs and spacing
STIHL sets the fixing nails for its docking station about one metre apart. It places them 28 cm from the boundary of the mowing area, or 33 cm for the iMOW RMI 632 model. Those nails are the first thing a mallet or hammer drives, so the spacing matters before the wire goes down.
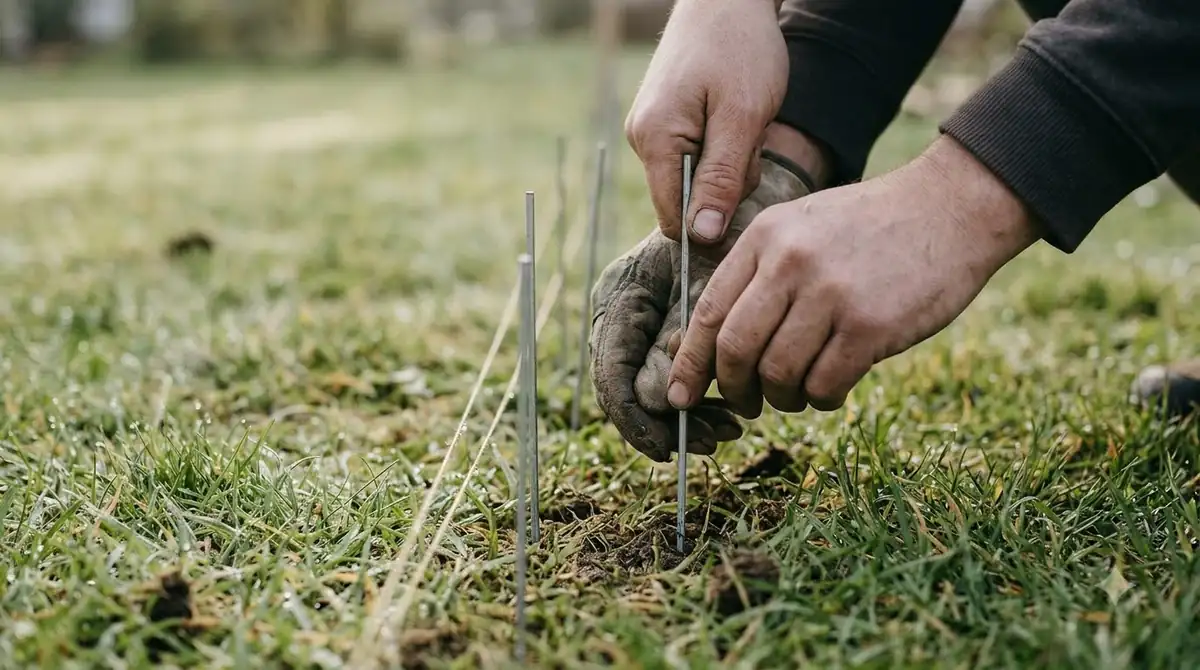
For the boundary wire, This Old House advises securing it every 3 feet. Use the staples that came in your kit. Because STIHL’s nails sit about one metre apart, a long straight edge of the lawn needs a steady run of them, so plan the count before you start driving anything in, and see how to install a robot mower boundary wire for the full layout steps. Our reading is that marking the route with a pencil on paper first, as STIHL suggests, makes the staple count easier to estimate.
Power and the charging station
The charging station needs a power supply that plugs into a standard outdoor outlet. Husqvarna’s page describes a power supply and low voltage cable that run from the station to a 110V outlet, and Eufy says the station needs an outdoor power point.
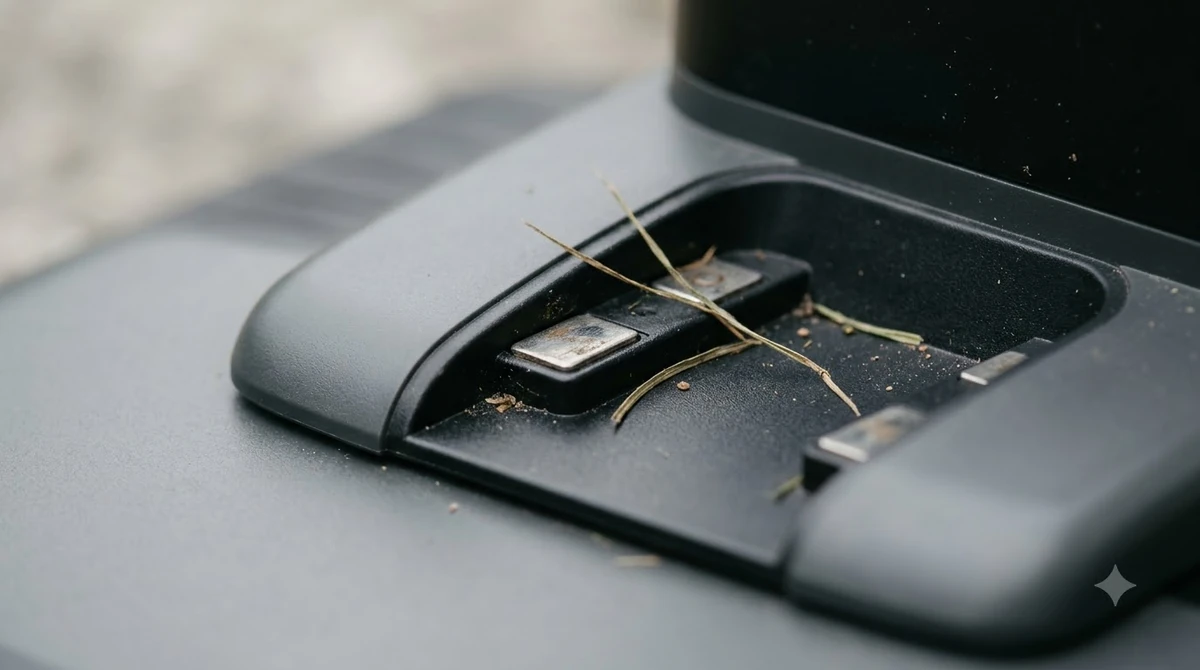
Eufy also warns against leaving the power lead loose across a driveway or a regular walking route. Our reading is that a weatherproof cover on the outlet and a cable path along the edge of a bed are safer than an open run across the lawn.
Prep the lawn first
Preparation takes less time than the install itself, and it prevents problems later. Knowing what tools do you need to install a robot mower is only half the job, because a clear lawn matters as much as the kit. STIHL recommends cutting the grass to 4 to 5 cm before you lay the wire, then setting the mower to 5 cm for the first few weeks after installation. Eufy adds a clearing list for the mowing area.
- Cut the grass. Bring it to 4 to 5 cm so the wire sits on the surface where you can see it.
- Remove loose items. Pick up pegs, loose wire, garden tools and balls before you start.
- Move hoses and irrigation lines. Eufy lists garden hoses and temporary irrigation lines as hazards in the mowing area.
- Clear netting and fabric. Loose landscape fabric or netting can catch the mower.
Do you need to bury the wire?
No, Husqvarna’s installation page says the boundary wire does not need to be buried. Staples hold it in place on the surface, which is why a shovel is optional rather than required. Our note on burying or pegging boundary wire compares the two approaches.
Our reading is that a small shovel is useful if you want a cleaner look or if the wire crosses a path. A wire-free model uses no boundary wire, so it removes the burying decision altogether.
How long it takes
Husqvarna puts total installation time at 2 to 5 hours, depending on lawn size and complexity. Our reading is that a yard with several islands or beds will land toward the longer end of that range, since the loop has more sections to lay. For a broader look, see how long it takes to set up a robot mower.
Block out a full afternoon rather than an hour, so you have time to lay the loop, check it and fix any staples before the first run. Gather the tools before you start, so you are not walking back to the garage with the wire half laid. Preparing the grass and clearing the mowing area are also part of the total time, so count them in when you plan the day.
After the install
The mower handles most of the lawn, but Eufy notes that some edges beside fences, walls and garden beds may still need a whipper snipper now and then. Its checklist also recommends a physical barrier where leaving the mowing area could be hazardous, such as near steps or drop-offs.
Keep the installation tools stored somewhere dry after the job, so they are ready if you need to move a staple or repair a wire later. Our reading is that a small labeled box for the spare staples and splicing connectors saves time the first time a section of wire needs fixing.
Once the loop is working, the same tool list covers most repairs to the boundary wire, so the answer to what tools do you need to install a robot mower also covers later fixes.
Frequently asked questions
Can I install a robot mower with no special tools?
Mostly yes. The kit usually includes the wire and staples, and a pair of pliers covers the splicing step. Husqvarna and This Old House both point to pliers as the main extra tool you need to buy.
Do I need a hammer or a mallet?
Yes, for driving in staples and docking nails. Husqvarna lists a mallet and STIHL lists a hammer, so either one works for the job.
Do I need to bury the boundary wire?
No. Husqvarna’s installation page says the wire does not need to be buried, and staples hold it on the surface. Burying is an optional choice that needs a small shovel.
How long does robot mower installation take?
Husqvarna gives a range of 2 to 5 hours, depending on lawn size and complexity. Yards with several islands or beds usually land at the longer end of that range. Our reading is that the tool list matters less than the layout, so plan the afternoon around the yard, not the tools.
If you are wondering what tools do you need to install a robot mower on your own, start with the box, not the hardware store. The kit usually covers the wire and staples, so most people only need pliers, a mallet or hammer, a small shovel and a wire stripper. Check the mower manual first, since brand guides differ on details.
Sources
- Husqvarna Automower installation guide (Husqvarna): tools, kit contents, wire burial and install time.
- STIHL iMOW installation guide (STIHL): hammer, pliers, wire stripper, nail spacing and grass height.
- How to install a robotic lawnmower (This Old House): splicing connectors and staple spacing.
- Robot lawn mower setup checklist (Eufy): power point, clearing list and edge trimming.
 Up next7 min readLearnHow Much Does It Cost to Install a Robot Mower?Updated Nov 14, 2026
 6 min readLearnHusqvarna 415X Firmware Update: How to Install ItUpdated Nov 13, 2026
 8 min readLearnCan You Install a Robot Mower Yourself?Updated Nov 11, 2026
 9 min readLearnHow to Install a Robot Mower Boundary WireUpdated Nov 11, 2026
 7 min readLearnDo Robot Lawn Mowers Need a Permit?Updated Nov 12, 2026
 7 min readLearnDoes a Robot Mower Charger Need Its Own Circuit Breaker?Updated Nov 12, 2026