
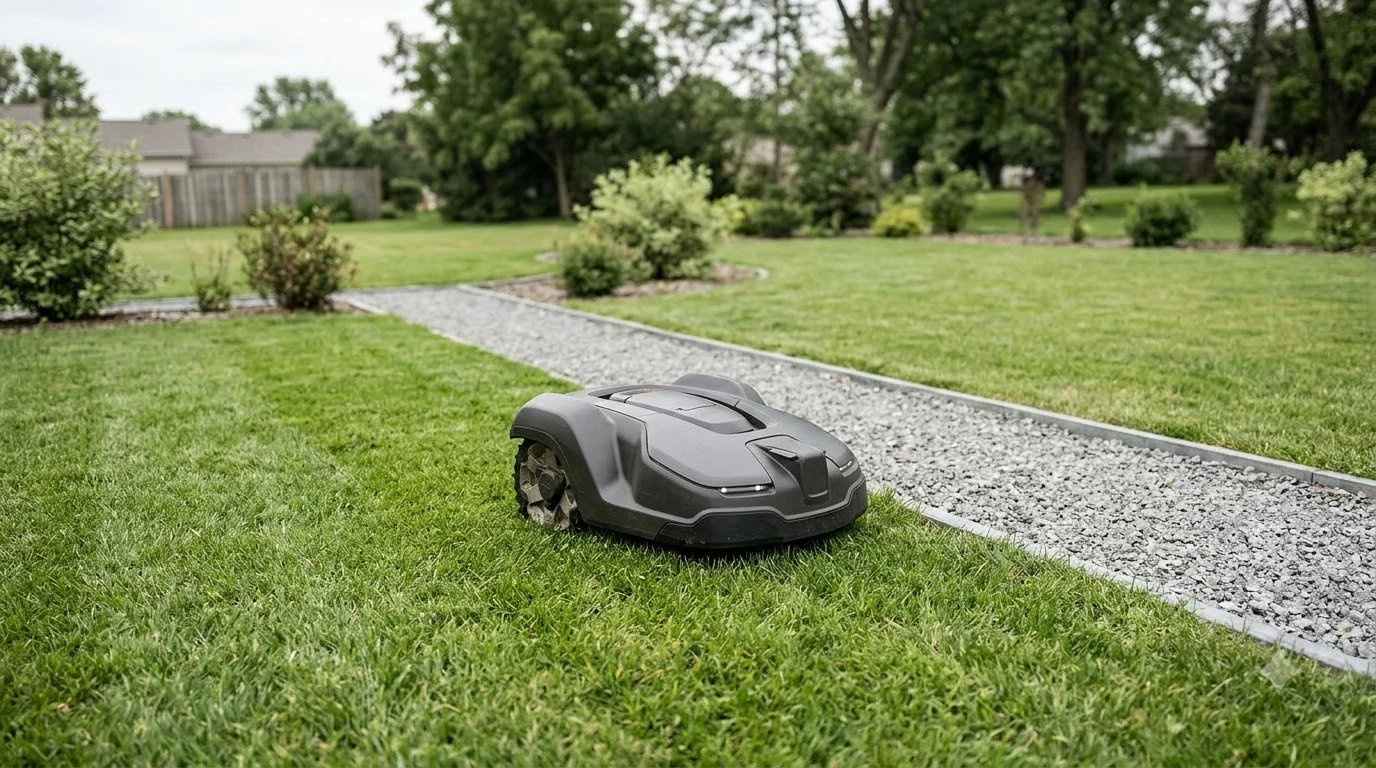

How to clear a robot mower map and start over comes down to creating a new map in the manufacturer’s app rather than editing the old one. On a Husqvarna Automower, the path is Map, then My Lawn, then Create new map, and the mower rebuilds the map on its next scheduled run, which can take up to 15 days. Mammotion robots work differently: you start a new mapping session and use the discard option to drop unsaved data. Either way, you should drive the mower out of the old area first and check the work areas afterward.
The short answer
- Husqvarna Automower: open Map, then My Lawn, then Create new map, and confirm. The mower builds the new map during its scheduled runs.
- Mammotion: tap Create a Map, use Manual or Auto Mapping, and tap Discard and Exit to clear unsaved data and start again.
- Before you start: clear the lawn of toys, wires, stones, and debris, and drive the mower out of the existing area.
- After a new map: check and edit the work areas and stay-out zones so they fit the new layout.
When a fresh map is the right fix
Most owners start over after the lawn changes. A new fence, a moved flower bed, a removed tree, or a new patio can leave the saved map wrong, and the mower then turns at the wrong places or tries to cut where it should not. A fresh map also helps when a mapping run failed or when a zone that used to work keeps causing stops. If you only need to adjust one area, remapping after yard changes is the lighter option. Before wiping everything, why a mapping attempt fails lists issues that may not need a reset.
Clearing the map is a bigger step than restarting the mower, so it is worth checking the simpler fixes first. Our reading is that a map problem usually shows up as repeated stops at the same spot or cutting in the wrong area, while a one-off stop is more often an obstacle or a setting. Start over only when the same pattern keeps returning.
How to clear a robot mower map and start over on a Husqvarna
Husqvarna’s support article on the virtual map created by AIM Technology describes the process for the Automower Connect app. The steps are short, but the timing matters, so plan the rebuild around the mowing schedule. Husqvarna owners may prefer Automower 430X setup steps for the wider install.
- Open the app. Go to Map, then My Lawn, then Create new map.
- Confirm. Tap Create new map to confirm the choice.
- Wait for the schedule. The mower starts the new map when it is next scheduled to operate. The article says it can take up to 15 days depending on the mowing schedule, and if there is no schedule, you must create one.
- Expect a full-boundary run. During mapping, all work areas and stay-out zones are disabled so the mower can cover the whole area inside the boundary wire.
- Rebuild the zones. When the map is finished, check and edit the work areas and stay-out zones so they match the new map.
The mower needs its boundary wire to be working during this time, because the map is built inside the wire. If the loop signal is faulty, the rebuild will not finish. Our reading is that you should confirm the loop signal before you start, so the map is not built on a broken installation.
Start a new map on a Mammotion robot
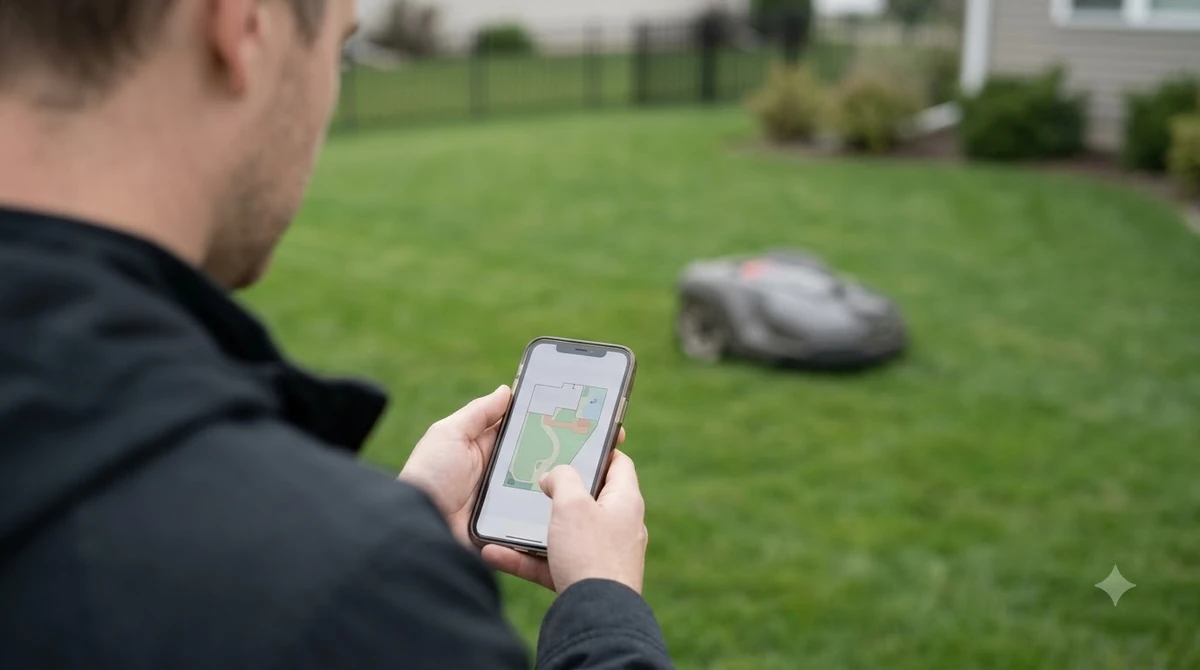
Mammotion’s support article describes creating a map rather than clearing an existing one. The workflow is the same in principle: power on the robot, turn on Bluetooth on the phone, tap Create a Map, and choose Manual Mapping or Auto Mapping. Another brand handles a rebuild differently, as Anthbot map rebuild guidance shows. If a second mower will cover part of the yard, read how two robot mowers on one lawn are split into separate work areas before you wipe the map.
Manual mapping uses the on-screen joystick to drive the robot to a starting point on the perimeter. Mammotion asks you to stay within 1.5 metres of the robot to keep the Bluetooth link stable, and to keep at least 15 cm from walls, fences, ditches, or uneven ground. Tapping Discard and Exit clears all unsaved data and lets you start the mapping again. When you finish, drive back to the starting point and tap Save.
Auto mapping uses the robot’s camera to detect the lawn’s physical edge. Remove obstacles first, keep the phone active in the app, and follow the robot. Mammotion advises against using it near steps, cliffs, or ponds, and says to tap Stop and drive the robot manually if it malfunctions.
Clear the old area before you remap
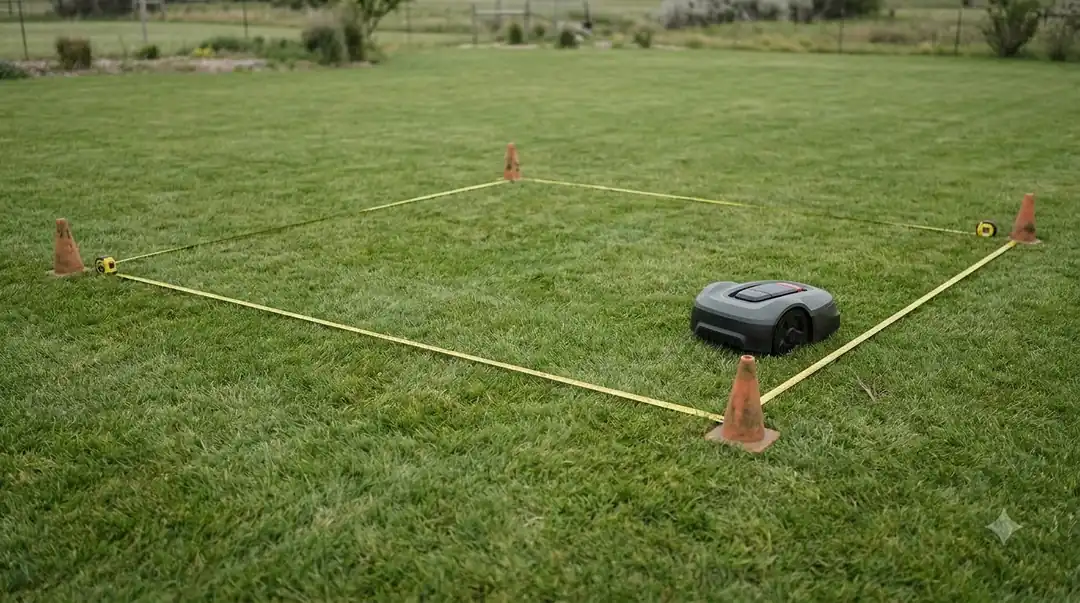
Whichever brand you own, the old area has to be left behind before mapping. Mammotion’s article says to drive the robot out of the existing task area before you create a new one. This avoids the new map being drawn over the old one with the robot already inside a zone. Connected zones lose their links when a map is cleared, so rebuilding channels between zones belongs on the checklist.
Size limits matter too. Mammotion says mapping fails if the estimated area is above the upper limit in the technical specifications, so a very large yard may need to be split into smaller areas.
What to check after the new map is ready
A new map is only the base. The zones on top of it decide where the mower cuts, so review them before the next full mow. Once the old map is gone, starting a lawn map in the app covers the new session. Expect to spend some time, and mapping time to plan for gives typical ranges.
- Work areas: confirm each one still covers the lawn you want cut, and that none reach into a bed or a path.
- Stay-out zones: re-add zones around a pond, a pool, a play area, or a garden bed, because they may have been disabled during mapping.
- Charging station position: check that the dock is still where the mapping assumed, since a moved station can make the return path fail.
- A short test run: watch the first few runs in the app and note any new stops, so you can fix a zone before it causes repeated errors.
Frequently asked questions
Can I edit an old map instead of clearing it?
Often you can adjust the work areas and stay-out zones, which is usually enough for small changes. A full clear and rebuild is for when the layout has changed enough that the old map is wrong throughout.
Why is my new map taking so long on a Husqvarna?
Husqvarna says the map is built during the mower’s scheduled runs, and this can take up to 15 days. If the mower is not on a schedule, create one first so it can start building the map.
What does Discard and Exit do on a Mammotion?
It clears all unsaved mapping data in the current session so you can start the mapping again. It applies to the session you are in, so save a finished map before you exit.
Do I need to remove obstacles before mapping?
Yes. Mammotion advises clearing the lawn of debris, toys, wires, and stones, and keeping people and animals off it, before mapping. Obstacles can confuse the boundary and the camera during auto mapping.
Sources
- Husqvarna support: how to update the virtual map created by AIM Technology (manufacturer): the Map, My Lawn, Create new map steps, the up-to-15-day timing, and the disabled zones during mapping.
- Mammotion support: how to create a task area (manufacturer): the manual and auto mapping steps, Discard and Exit, and the advice to leave the existing area first.
 Up next7 min readLearnWhy Does My Robot Mower Start Mowing at the Wrong Time?Updated Nov 13, 2026
 7 min readLearnWhen to Start Using a Robot Mower in SpringUpdated Nov 13, 2026
 6 min readLearnHow Long Does It Take a Robot Mower to Map a Yard?Updated Nov 14, 2026
 6 min readLearnWhat Is a Passage on a Robot Mower Map?Updated Nov 13, 2026
 7 min readLearnAnthbot Mapping: How to Map Your Lawn Step by StepUpdated Nov 13, 2026
 10 min readLearnHow to Map Your Lawn with a Robot Mower AppUpdated Nov 11, 2026