
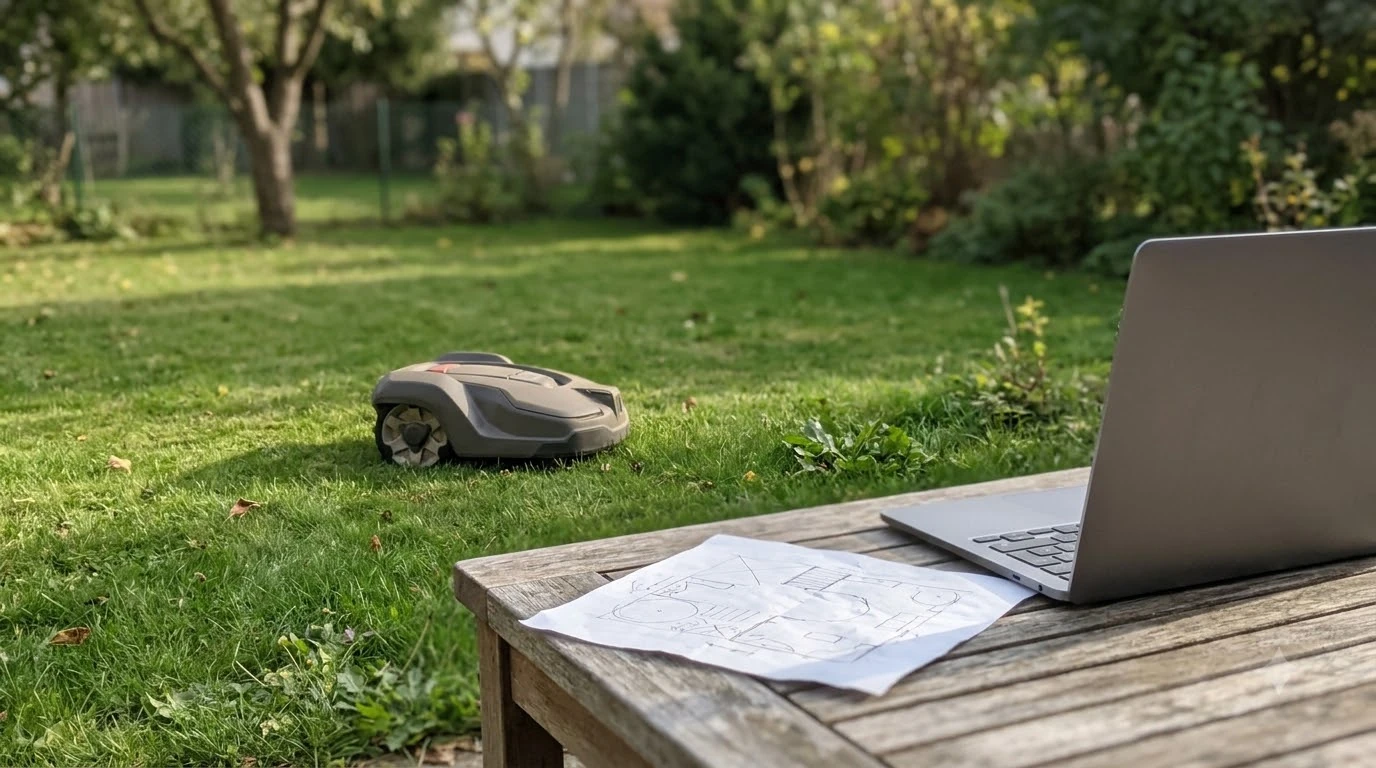

How to set up no-go zones on a robot mower starts with the map in its app. Open the map, create a new zone, and draw its outline. The exact menu names differ by brand, but most apps ask you to trace the area or steer the mower around it. As of 2026-11-10, the Husqvarna and Mammotion support pages both describe this map-based method, so the steps below follow their published workflows.
The short answer
- Open the map in the manufacturer’s app and choose to add a zone.
- Draw the outline by moving waypoints, or by steering the mower around the area.
- Keep it clear of the charging station, the guide wire, and any route the mower needs.
- Check the first runs and adjust any zone that blocks a useful path.
How to set up no-go zones on a robot mower, step by step
Every brand builds no-go zones on top of the lawn map, so the mower must already know your yard before you add one. That is the first thing to check when you learn how to set up no-go zones on a robot mower. On Husqvarna’s boundary-wire models using AIM Technology, you open the Map, tap the plus sign, and choose “Add stay-out zone.” You then move the waypoints so they cover the area to exclude, rename the zone, and use the slider to turn it on or off. Husqvarna’s guidance says these zones can be activated or deactivated but not scheduled.
Mammotion works in a similar way. On its Map page you tap Create, then No-go zone. You guide the robot to the edge of the area, tap the play icon to start mapping, drive the robot around the zone, and return to the starting point. Tap the save icon to store it. The Mammotion page does not list minimum sizes or a maximum number of zones, so check your app for those limits.
Draw the zone on wire-free and wire-based mowers
Wire-free systems use a different drawing method. On Husqvarna’s EPOS wire-free models, you select Add, then Stay-out zone, and use appDrive to steer the mower anti-clockwise around the area. appDrive must be active first, so enable Remote Control on the mower and start appDrive from the app. When the mower has circled the area, press Done to close the shape by joining the last point to the first.
The two methods differ in what the zone must respect. The table below compares the main rules that Husqvarna publishes for each system.
| Rule | Boundary-wire AIM zones | Wire-free EPOS zones |
|---|---|---|
| How you draw it | Move waypoints on the map | Steer the mower with appDrive, then press Done |
| Minimum size | Not stated on the page | 30 x 30 cm (1 x 1 ft) |
| Boundary wire inside the zone | Include as long a section as possible | Not applicable |
| Space in front of the charging station | Zone must not cover the station | At least 6 m (20 ft) free |
| Point adjustment after drawing | Drag waypoints or the whole shape | Up to 5 m (16 ft 4 in) per change in each direction |
Our reading, for anyone working out how to set up no-go zones on a robot mower with a wire-free system, is that the 6 m clearance rule is the one most often missed, because a zone drawn near the station can leave the mower with too little room to line up for docking.
Where a no-go zone cannot go
When you learn how to set up no-go zones on a robot mower, the first rule is that a zone must never cover the charging station or the guide wire. Husqvarna says a zone over the guide wire stops the mower from returning to charge, and a zone over the station stops it from operating at all. Zones can go almost anywhere else in the yard, with a few limits on passages and routes. The docking point is set during installation and stays fixed, so a zone must work around it rather than move it.
- Charging station: keep the zone off it, and check that the mower has open space in front of the dock.
- Guide wire: do not let a zone cover any part of it, or the mower may not reach the dock. Wire layout itself is covered in installing a robot mower boundary wire.
- Passages: do not block a gap you want the mower to pass through, such as a gate between two lawn sections (see working with a gate between zones).
- Transport paths: on wire-free systems, a zone must not cross a transport path, because the mower will not pass through it. Husqvarna says a transport path is needed only when the docking point sits outside a work area, and it advises starting the path at least 1 m (3.3 ft) inside that work area and making it as wide as possible.
A zone is also not a safety fence. Husqvarna advises fencing pools and streets with boundary wire and a barrier at least 15 cm (6 in) high, rather than relying on a zone to keep the mower out. For pool yards, see mowing around a pool safely.
Which obstacles and slopes to exclude
The next part of how to set up no-go zones on a robot mower is choosing what to exclude. Trees, tree roots, and stones are the obstacles Husqvarna names, and it recommends stay-out zones around all of them. Drawing the zone wide enough to include the root flare or the full base of a stone is our recommendation, since the page does not give a clearance distance.
Slopes are the second common case. Husqvarna says a stay-out zone can exclude a slope that is too steep for the mower, but you must check your model’s maximum slope before drawing one. Keep the check on the model’s own specification rather than on a rule of thumb.
Avoid zones that leave narrow gaps the mower cannot reach. Husqvarna also warns not to cut off part of a work area so that it becomes unreachable. If a zone splits the lawn, the mower may skip the far side, so keep at least one clear route between the sections. Boundary-wire installs also have a wiring method for obstacles, covered in laying boundary wire around obstacles.
What to check after setup
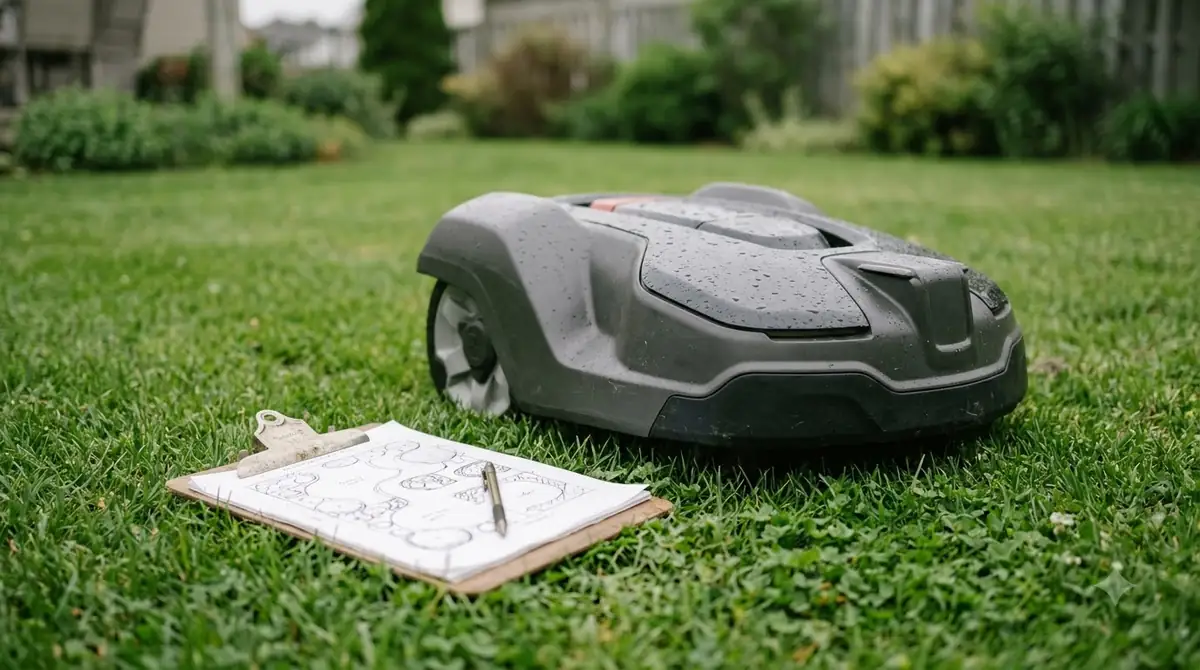
Knowing how to set up no-go zones on a robot mower does not end when you tap save. Watch the first few cycles, because the manufacturer pages do not give tuning numbers for how close the mower should come to a zone edge. Use the steps below as a simple check, and read preparing your yard for a robot mower if you have not cleared the lawn yet.
- Confirm the zone is active. Look at the map and check that the zone shows as on, since Husqvarna lets you switch zones off without deleting them.
- Watch the first pass. Note whether the mower stops before the zone or drives into it, and adjust the waypoints if needed.
- Check the dock route. Confirm the mower returns to the charging station after a cycle, because a zone on the guide wire blocks that return.
- Review after a week. Look for new bare patches or uncut edges near the zone and widen or shrink it.
Frequently asked questions
Do all robot mowers support no-go zones?
Not every model does, and the feature is not the same across brands. Husqvarna’s AIM zones apply only to boundary-wire installations and AIM-capable models, and Mammotion and other brands name the feature differently. Check your model’s manual or support page for the exact feature list before you buy.
Can I schedule a no-go zone to turn on and off?
On Husqvarna’s AIM system, zones can be activated or deactivated but not scheduled. That means you must switch them on or off by hand in the app. Check your brand’s app for a different option if you need timed zones.
Can I edit a zone after drawing it?
Yes on Husqvarna systems, so how to set up no-go zones on a robot mower includes fixing mistakes afterward. On the EPOS wire-free system, you can adjust points in edit mode by up to 5 m (16 ft 4 in) per change in each direction. The Mammotion support page does not say whether zones can be edited or deleted.
Is a no-go zone enough to keep my mower away from a pool?
No. Husqvarna advises against relying on a zone for pools and streets. It recommends fencing them with boundary wire and a barrier at least 15 cm (6 in) high instead.
Sources
- Husqvarna, Creating stay-out zones with AIM Technology (manufacturer): steps, guide wire and charging station rules, pool and street advice.
- Husqvarna, Set up and manage work areas, stay-out zones and transport paths with EPOS wire free technology (manufacturer): appDrive steps, 30 x 30 cm minimum, 6 m clearance, edit limits.
- Mammotion, How to Create No-go Zone (manufacturer): map, create and perimeter steps.
 Up next7 min readLearnHow to Set Up an RTK Robot Mower: Base Station StepsUpdated Nov 11, 2026
 9 min readLearnWorx Landroid No Wire Signal: Causes and FixesUpdated Nov 11, 2026
 8 min readLearnHusqvarna Automower No Loop Signal: Causes and FixesUpdated Nov 11, 2026
 7 min readLearnHow to Set a Robot Mower Schedule (and Why It Might Not Run)Updated Nov 11, 2026
 8 min readLearnCan a Robot Mower Handle Acorns and Pine Cones?Updated Nov 11, 2026
 9 min readLearnDo Robot Mowers Collect Data?Updated Nov 11, 2026