

Navimow X430 setup comes down to four jobs: check coverage, place and power the charging station, pair the mower in the Navimow app, and run a supervised first mow. Navimow says its X4 series is ready to go out of the box, and its Network RTK needs no local antenna where the service is available. The steps below follow that order, but match each one to the screens in your own app version, since app menus change.
The short answer
- Coverage first: use Navimow’s postcode checker to confirm Network RTK is available where you live.
- Station: choose a level spot near a power outlet and shelter it from direct sun.
- App: pair the mower through the Navimow app, then draw or map your lawn.
- First run: update firmware if prompted, then watch the first mow closely and keep the stop button in reach.
Before you start: check coverage and your lawn
Setup goes faster when you know two things before you unbox the mower. The first is whether Network RTK works at your address. Navimow’s X4 series page includes a postcode checker and says that if the service is not available, you can leave an email to be notified. The second is the size and shape of your lawn, which the app’s lawn-sizing tool helps you draw on a map. For the general order of installation steps that apply to any brand, see step-by-step robot lawn mower setup. To check the mower suits your lawn before you start, read the Navimow X430 review for its coverage and features.
Check the slope as well. The X4 series page lists a slope rating of 84% (40 degrees) for the X4, which is a useful reference for the steepest part of a yard. Measure your steepest section first so you know whether the mower will need a clear route to and from the station.
Choose and prepare the charging station spot
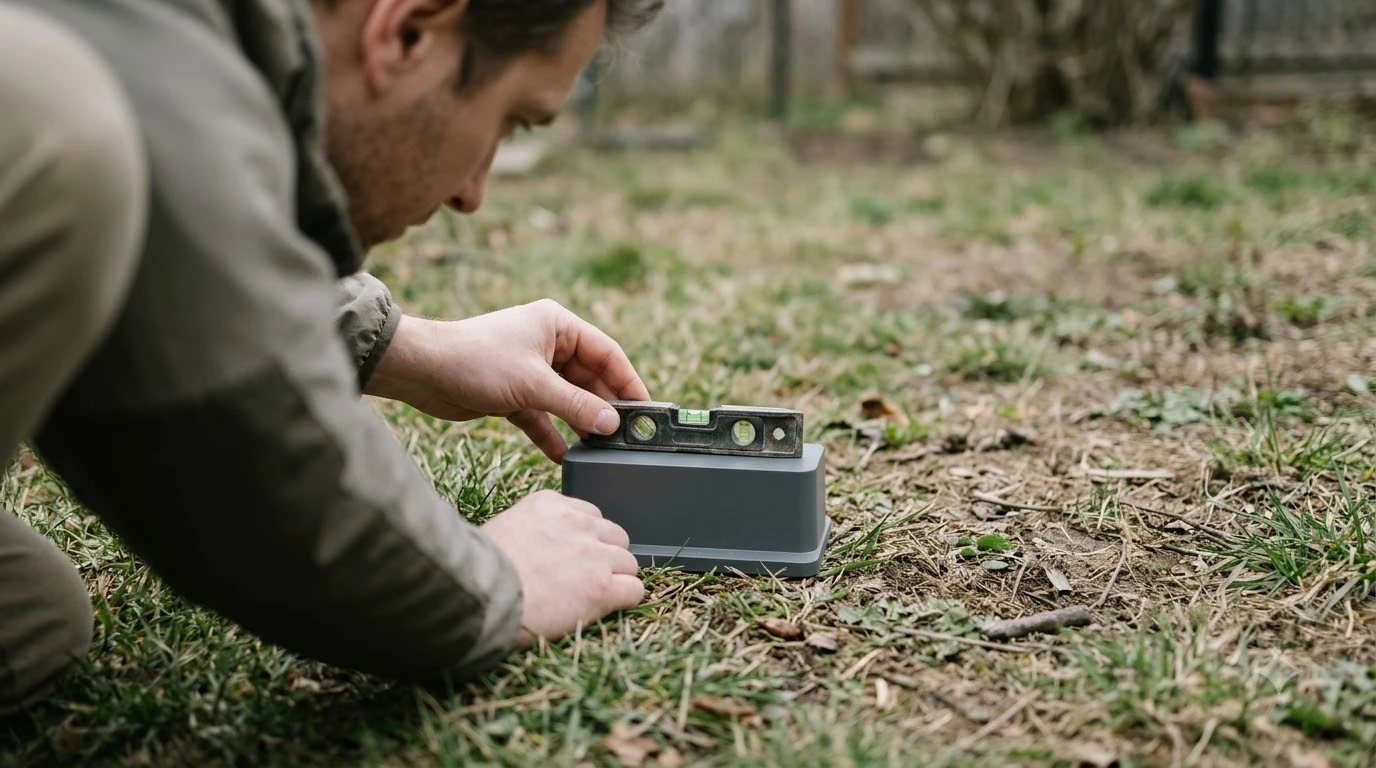
The charging station is the anchor for the whole setup, so pick its spot before anything else. Husqvarna’s charging station guide asks for a level surface, a nearby power outlet and shelter from direct sun, and it warns against fixing the station to the ground until the wires and setup are tested. Those are sound general rules for most robot mowers, but the Navimow X430 manual is the authority for Navimow’s own station.
Clear a space in front of the station so the mower can line up and dock. Keep the cable reachable without letting it stretch or sit in water, and avoid a spot where a sprinkler or downspout will soak the dock. Our reading is that a station placed on a slight slope or in deep shade causes more docking trouble than any setting you can change in the app.
Power the station and place the mower
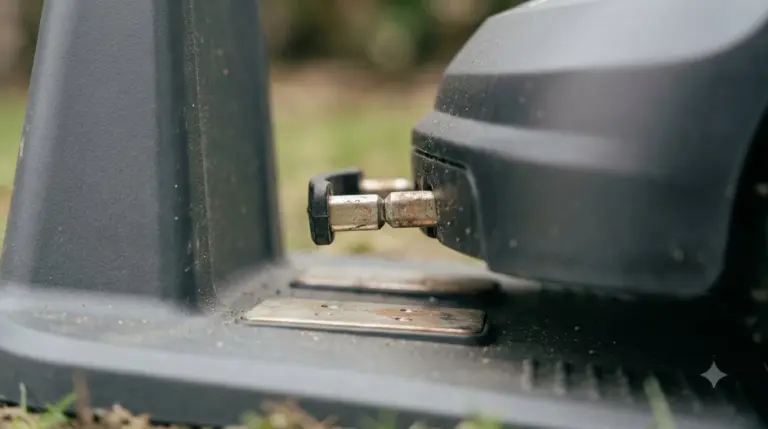
Connect the station to power, then set the mower on the station so its charging contacts meet the station’s contacts. Let the mower charge fully before the first mow, because a partial charge can cut the first session short. Check the station’s indicator light against the manual, since light patterns differ between models and revisions.
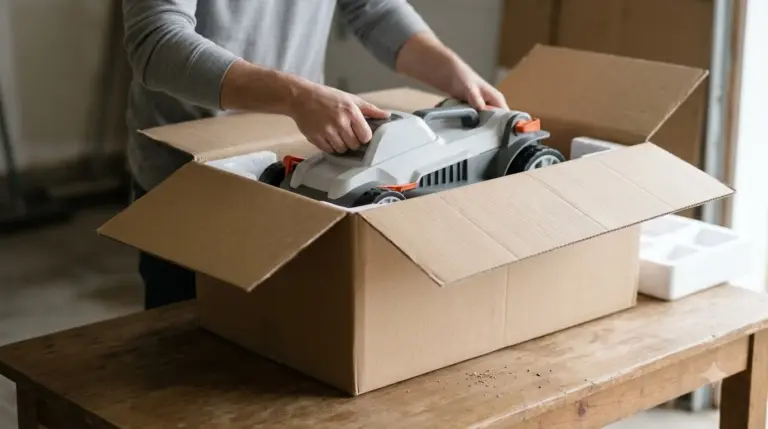
Our reading is that the mower and its charging gear are easier to handle on a clean floor or workbench than on wet grass, so do the first placement with the lawn dry.
Navimow X430 setup: pair the mower in the app
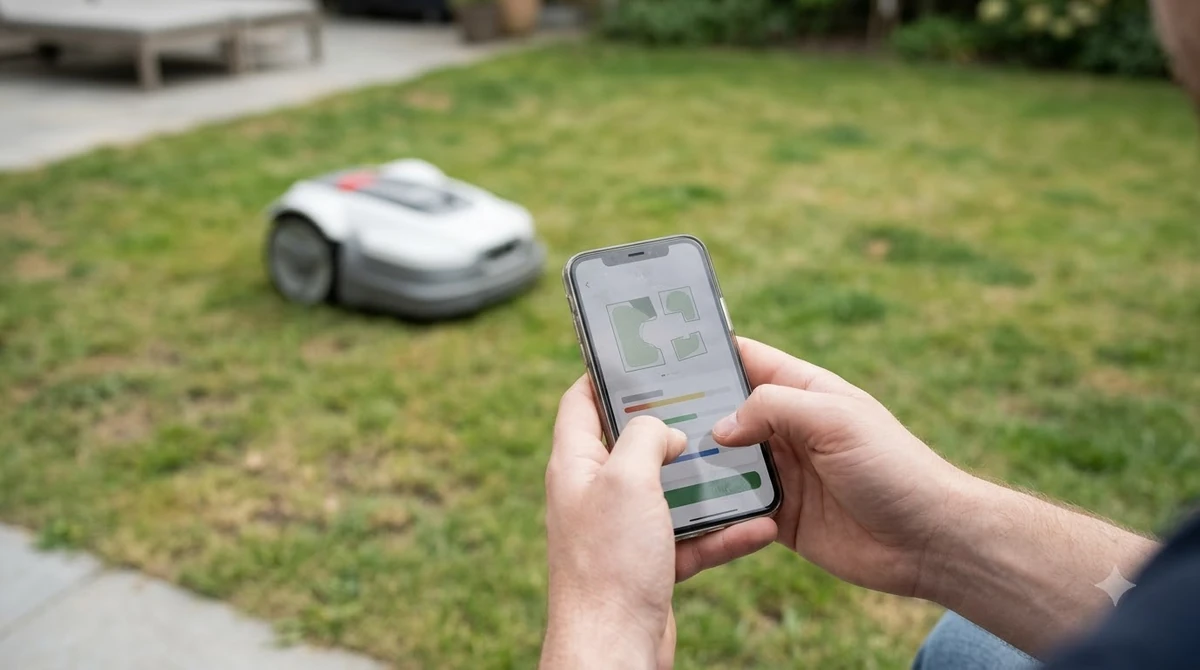
Install the Navimow app on your phone, create or sign in to an account, and follow the prompts to add the mower. Navimow’s page says the mower should be “ready to go right out of the box,” and that with Network RTK “simply connect through the Navimow app” is all that is needed. The page does not give the pairing screens, so follow the app’s own on-screen steps for your version. Keep the official documents open while pairing, starting with the Navimow X430 manual and its quick-start pages.
Keep the phone close to the mower during pairing, and keep a stable connection on the phone until the app confirms the mower is online. If pairing fails, restart the mower and the app, then try again. If it still fails, note the message on the screen before you contact support.
Map the lawn and set the boundary
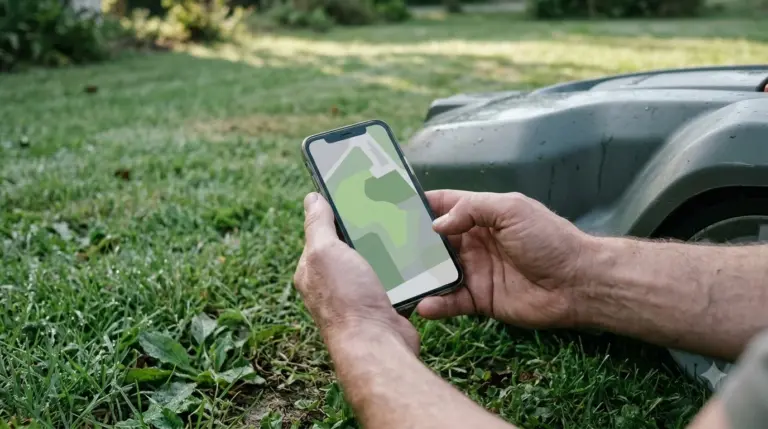
Once the mower is paired, the app asks you to define the area it will mow. Navimow’s support page describes a lawn-sizing tool where you draw the lawn on a map and see the total size. Draw the outline carefully, including the spots you want the mower to skip, such as flower beds, a pond edge or a play area.
The exact boundary and no-go-zone steps depend on the app version and on whether your setup uses wire or wire-free navigation. Follow the app’s current steps rather than an older guide, and keep the first run inside a small area you can see from the house.
Run a supervised first mow
Install any firmware update the app offers before the first mow, and let it finish while the mower is on its station. Then start a short session and watch it. Look at how it handles the edges, how it turns around the station and whether it stops cleanly when it reaches the boundary.
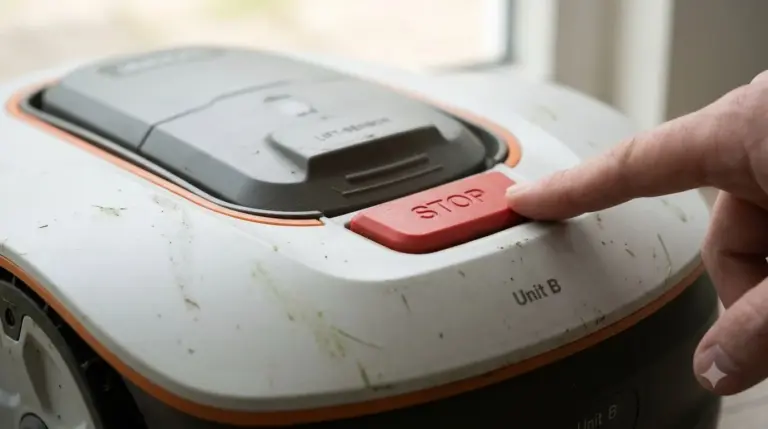
Keep the stop button in reach during the first few runs, and keep children and pets away from the mower while it runs. Navimow’s page describes obstacle avoidance that detects pets and children, but that is a feature, not a reason to leave the mower unattended during the first sessions.
If setup goes wrong
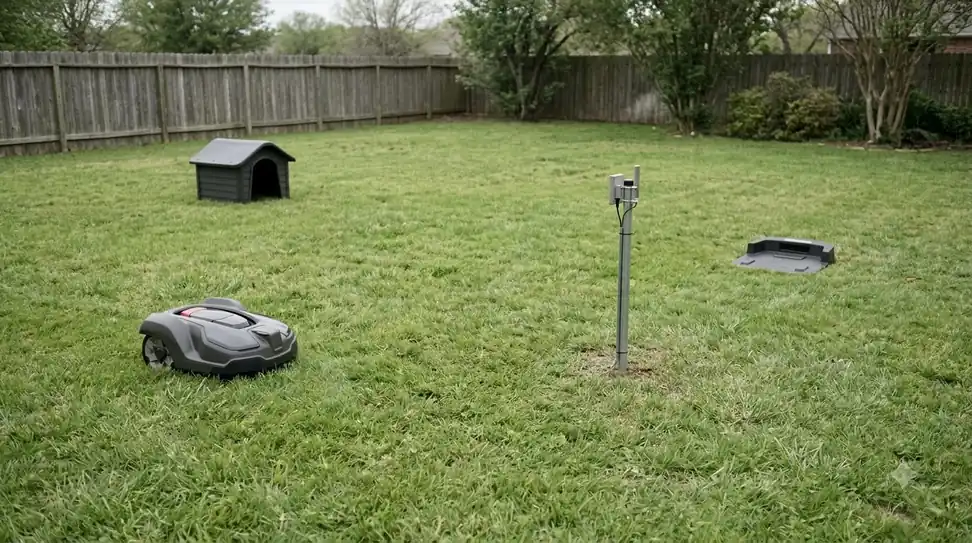
The most common setup problems are a weak or missing RTK connection, a mower that will not dock and a boundary that does not match the lawn. For RTK, check the postcode result and the view of the sky from the mower’s position. For docking, check that the station is level, the contacts are clean and the approach is clear. For the boundary, redraw the map rather than trying to fix one edge with a patch, because a clean outline is easier to trust. If the mower needs to be wiped and set up again, factory reset for a Navimow mower explains what the reset removes. For a fault that setup steps cannot solve, Navimow customer service routes lists where to get help in each region.
If a step still fails, take a screenshot of the screen, note the app version and mower model, and contact Navimow support. As of Nov 2026, the app and firmware may change between updates, so check the current version before you start.
Related reads: For buyers still choosing between models, Luba 3 AWD 3000H versus Navimow X430 sets the two side by side. Another rival worth weighing is described in Dreame A3 AWD Pro versus Navimow X430, which lists their main differences.
Frequently asked questions
Does the Navimow X430 need an antenna for setup?
Navimow says that with Network RTK there is no need to install a local antenna, where the service is available. Check the postcode checker on the official site before you buy or set up.
Can I set up the X430 without a charging station?
No. The station is where the mower charges and returns, so set it up first. Our reading is that placing it correctly is the step that prevents the most later problems.
Are the steps the same for the i110n or other i-series models?
Not necessarily. Navimow sells several i-series models with their own manuals, so follow the setup guide for your exact model rather than assuming the X430 steps apply.
How long should the first mow last?
Keep the first run short and inside a small area, then extend it once you are satisfied with the edges and docking. The right length depends on your lawn and app settings, so check the schedule in the app before you leave the mower unattended.
Sources
- Navimow X4 series support page (Segway Navimow): Network RTK with no local antenna, postcode checker, lawn-sizing tool, slope rating and the “ready out of the box” claim.
- Automower charging station and mower house guide (Husqvarna): level surface, nearby power outlet, shelter from sun and the warning not to fix the station until setup is tested. Used as a general reference, not for Navimow’s own station.
 Up next7 min readLearnNavimow X430 Manual: Where to Find the Official Copy and What to ReadUpdated Nov 13, 2026
 8 min readLearnHusqvarna Automower Not Charging: What to Check FirstUpdated Nov 13, 2026
 7 min readLearnLymow Factory Reset: Steps, Backup and What to Try FirstUpdated Nov 13, 2026
 7 min readLearnRobot Mower Not Charging? How to Fix It Step by StepUpdated Nov 11, 2026
 9 min readLearnHow to Set Up Segway Navimow i110N: Easy Step-by-Step GuideUpdated Nov 10, 2026
 8 min readLearnLymow App: Setup, Zones and Common Connection FixesUpdated Nov 13, 2026