
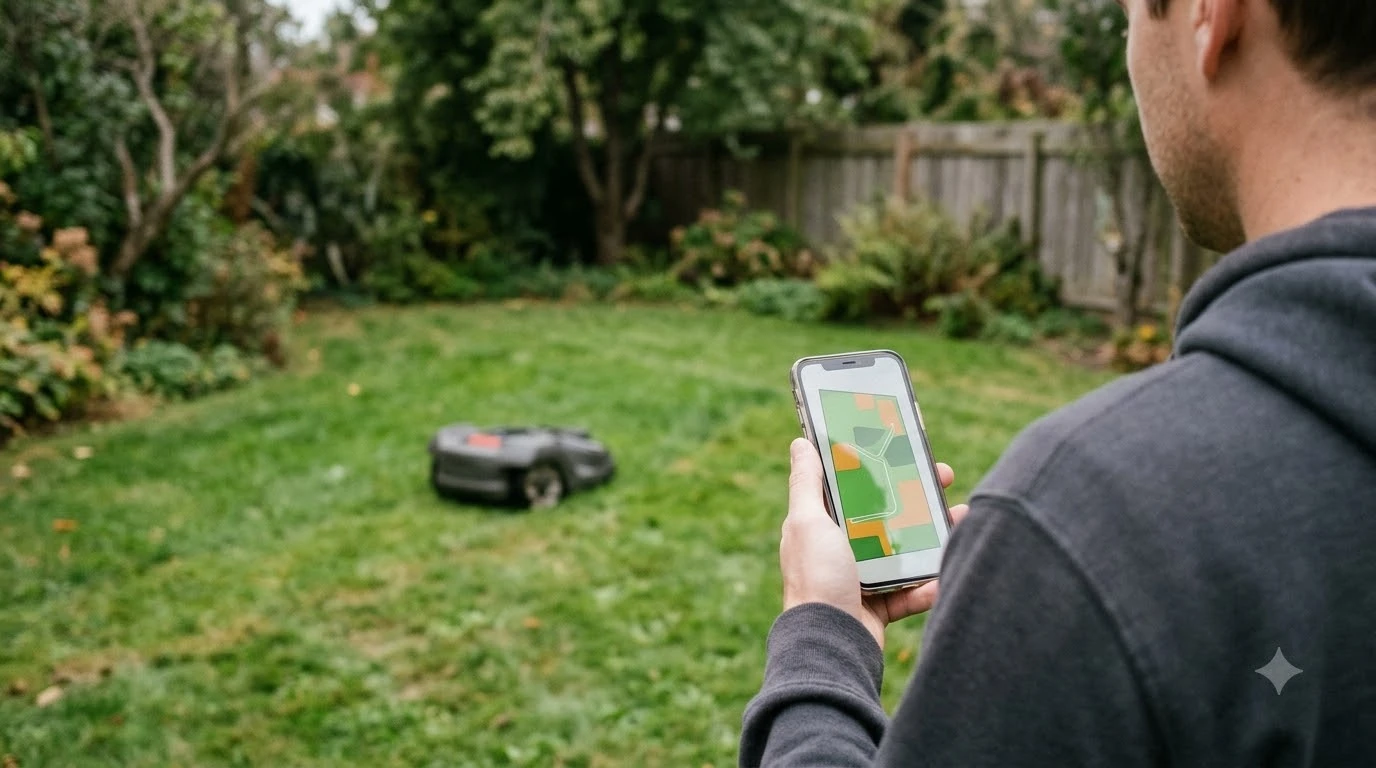

To learn how to map your lawn with a robot mower app, register the mower, then either steer it around the edge and drop points, or push it across the yard so the app records a 3D map. Manual mapping suits complex yards, while automatic mapping suits neat, level lawns where the grass is shorter than 10 cm (4 in). The steps below come from the Husqvarna, Mammotion and Toro support pages, which describe how their apps handle the boundary, stay-out zones and map edits.
The short answer
- Set up first. Register the mower and finish the charging station setup before you start mapping.
- Pick a method. Use manual mapping for complex yards and automatic mapping for neat, level lawns with grass under 10 cm.
- Trace the edge. Drive or push the mower around the boundary, keep the path about 1.5 m from the edge where the app asks for it, and close the loop.
- Add stay-out zones around trees, roots and obstacles, then check the map before you rely on it.
What the app builds: work areas and stay-out zones
A robot mower app stores two kinds of shape. A work area is the part of the lawn the mower should cut, and a stay-out zone is a place it must avoid. Both are drawn in the map section of the app, and the way they are drawn depends on the brand. On Husqvarna’s wire-free EPOS system, you choose Add, then Work area, and the app builds the shape from points you drop at corners or turns. The app connects those points with straight lines, so you control where the points go and not the exact route the mower takes between them.
Direction matters in the Husqvarna system. Work areas are traced clockwise and stay-out zones are traced anticlockwise. Once a work area exists, it cannot be split into smaller areas, so the layout needs to be planned before you create it. Understanding these two shapes is the first step in how to map your lawn with a robot mower app.
Choose manual or automatic mapping first
Choosing how to map your lawn with a robot mower app starts with the lawn shape. Manual mapping suits complex yards, and automatic mapping suits neat, level lawns with grass under 10 cm, according to Mammotion’s mapping guide. The choice matters because automatic mapping depends on clear boundaries and short grass, while manual mapping lets you guide the mower along a shape the app cannot easily detect.
| Lawn | Suggested method | Condition from the source |
|---|---|---|
| Complex shape, trees, beds, narrow edges | Manual mapping | Mammotion calls manual mapping best for complex environments |
| Neat, level lawn with clear boundaries | Automatic mapping | Grass must be shorter than 10 cm (4 in) |
| Several separate lawns | Map each one, then mark it | Mammotion’s multi-lawn flow uses a Mark step per lawn |
Our reading is that if the grass is taller than the limit, the simplest route is to cut it first and then run the automatic method, or use manual mapping. Check the manual for your model to confirm the exact limit.
How to map your lawn with a robot mower app, step by step
The app-driven method is the most common way to draw a work area. You steer the mower with the app, drop a point at each corner or turn, and close the shape. The Husqvarna steps below show the sequence for its wire-free system, which uses appDrive to control the mower from the phone.
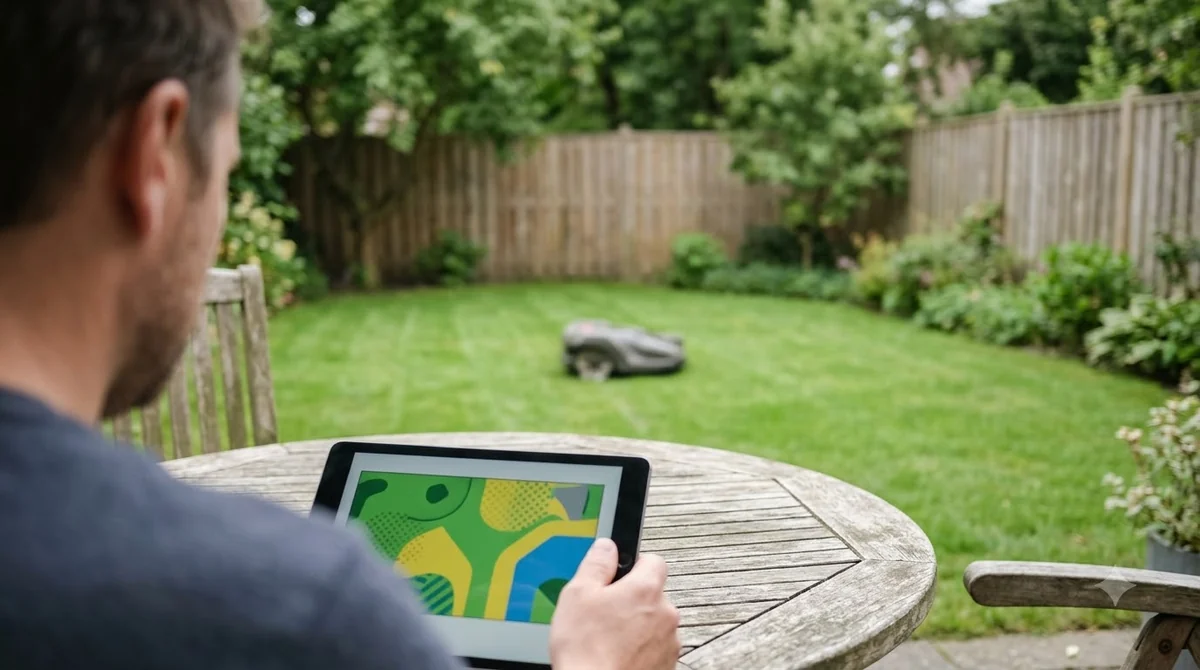
- Enable remote drive. Tap the Start icon in the app and select appDrive. On some models, press Stop, enter the PIN if asked, and press Confirm on the mower.
- Open the map. Go to the map section and tap Add, then Work area.
- Drive clockwise. Use appDrive to steer the mower clockwise around the lawn, staying near the edge you want the mower to cut.
- Drop points. Add a point at each corner or turn. Focus on where each point sits, since the app draws straight lines between them.
- Close the shape. Press Done to connect the last point back to the first.
- Edit if needed. Move or delete points in the map view until the outline matches the lawn.
Push-to-map and the 1.5 m edge rule
Not every app asks you to drive the mower with remote controls. Some systems ask you to move the mower by hand across the yard, and Mammotion’s manual method asks you to keep the path about 1.5 m from the edge so the saved boundary follows the actual lawn edge.
Toro’s Haven guide describes a push-based method. The app walks you through setup, and you push the mower across the lawn to build a 3D map without boundary wire. Toro’s setup order is to register the mower in the app, install the charging station, create the 3D map, then define the working area, mowing zone and exclusion zones. Toro’s page does not list specific requirements or cautions for the mapping step, so read the manual for your model before you push a mower across a yard. If you are comparing systems, see how robot mowers work without a wire.
In the Mammotion method, the important instruction is to finish a full loop. You guide the device until the start and end points overlap, which closes the boundary. A map that does not close is one of the most common reasons the boundary looks wrong, so check the loop before you save. Mammotion’s support article covers the loop and the 1.5 m distance.
Add stay-out zones around obstacles and transport paths
A stay-out zone must be at least 30 x 30 cm (1 x 1 ft) in Husqvarna’s system, and the support article recommends placing one around trees, roots and stones, and over slopes that are too steep for the model. Stay-out zones are the simplest way to keep the mower away from a flower bed or a pond without changing the outer boundary. Our explainer on no-go zones on a robot mower covers the same idea under a different name.
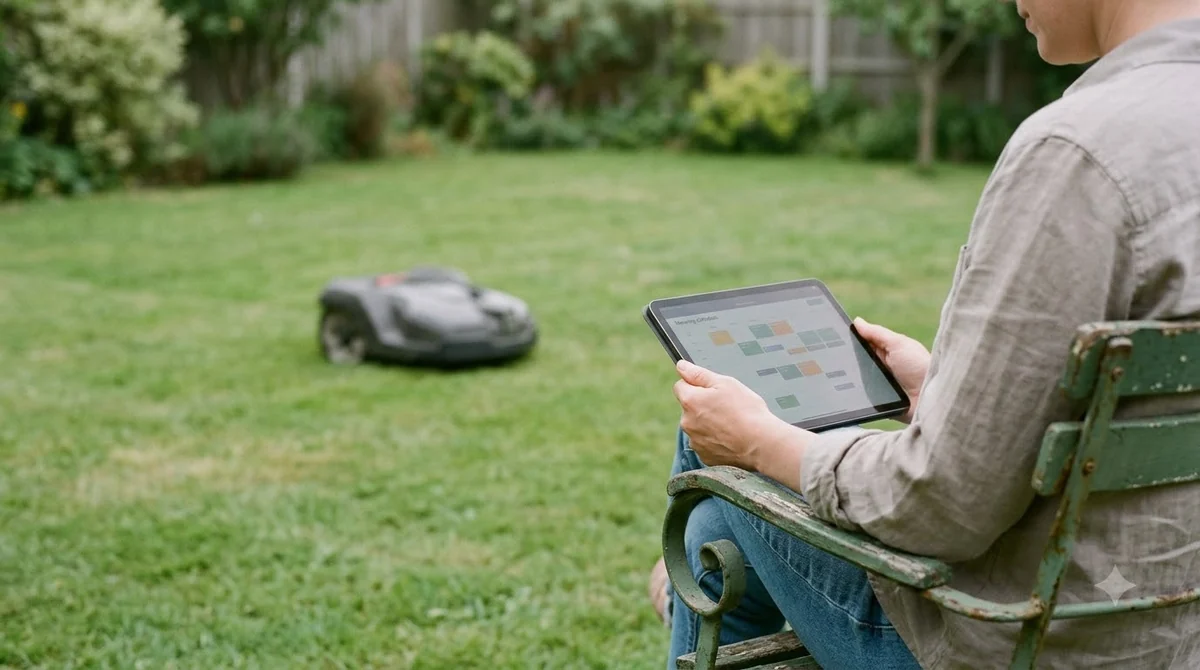
To add one in the Husqvarna app, go to the map section, select Add, then Stay-out zone. Use appDrive to steer the mower anticlockwise around the area, then press Done to close the shape. The support page also lists two cautions. Avoid stay-out zones that leave a narrow passage or an unreachable section of the work area. Do not place a stay-out zone across a transport path, because the mower cannot reach its destination.
Our reading is that drawing stay-out zones after the outer work area makes them easier to place, which is part of how to map your lawn with a robot mower app cleanly.
Map separate lawns and plan splits in advance
Separate lawns need a different plan from one continuous yard. In Mammotion’s flow, you map the first lawn, then drive the mower to the next one, turn it to face the direction you want it to mow, and tap Mark. When every lawn is marked, you tap Start Mapping. The app shows a success message when the map is complete, and you then tap Finish.
In the Husqvarna system, a work area cannot be split into smaller areas after it is created. That means a gate, a path or a fence line should be decided before you start. Our reading is that sketching each separate section on paper first is simpler than rebuilding the work area later. For the yard-level view, see mowing multiple separate lawns and mapping a complex yard.
Edit points and fix a wrong map
Points can be added, deleted or moved in the map view, and each point can be moved up to 5 m (16 ft 4 in) in any direction at a time. Husqvarna notes that editing requires a Bluetooth connection, and the Edit button stays grey when the phone is not connected. Make sure the phone is connected before you open the edit controls.
A wrong map usually shows up as an edge that cuts into a flower bed, a passage that is too narrow to reach, or a stay-out zone that blocks a path. Our reading is that you should fix one point at a time, then check the outline on the map. If the outline is still wrong after several edits, remap that section from the start. Fixing a wrong map is part of learning how to map your lawn with a robot mower app well.
What to check before you map your lawn with a robot mower app
A few checks before you begin will save time later. Confirm that the grass is short enough for automatic mapping, and that the charging station is in a place the mower can reach from the lawn. Decide where stay-out zones go and how each separate section will be marked. Keep the phone within Bluetooth range if you plan to edit points. If you have not yet installed the mower, start with the step-by-step robot mower setup.
- Grass under 10 cm (4 in) for automatic mapping, per Mammotion’s guide.
- A clear, unobstructed path from the lawn to the charging station.
- A plan for each separate section, since a Husqvarna work area cannot be split later.
- Stay-out zones at least 30 x 30 cm, placed away from narrow passages and transport paths.
- A Bluetooth connection on hand for edits, and a check of the full map before the first mow.
Frequently asked questions
Do I have to walk the whole lawn edge to learn how to map your lawn with a robot mower app?
Not with every app. Husqvarna’s method steers the mower with appDrive and drops points at corners, Toro’s method asks you to push the mower across the lawn, and Mammotion’s manual method guides the device through a full loop. Check the manual for your model before you start.
Can I map a lawn without boundary wire?
Yes, for some systems. Toro’s Haven guide states that no boundary wires are needed because the mower builds a 3D map while you push it through the yard. Other systems rely on wire, so confirm the requirement in the manual before you buy or install.
How tall can the grass be for automatic mapping?
Mammotion says grass must be shorter than 10 cm (4 in) for automatic mapping. For taller grass, use the manual method or cut the lawn first and then map it.
Can I change the map after it is saved?
Points can be moved, added or deleted, but Husqvarna requires a Bluetooth connection for edits. A work area cannot be split into smaller areas after creation, so plan the layout before you start.
Sources
- Set up and manage work areas, stay-out zones and transport paths with EPOS wire free technology (Husqvarna): steps for work areas, stay-out zones, minimum size, editing and transport path cautions.
- How to draw a new map the first time (Mammotion): manual vs automatic mapping, 1.5 m edge distance, full loop, 10 cm grass limit, multi-lawn Mark step.
- How do I set up my Haven Robotic Mower? (Toro): push-to-map 3D method, no boundary wire, setup order.
 Up next7 min readLearnHow to Clear a Robot Mower Map and Start OverUpdated Nov 14, 2026
 6 min readLearnHow Long Does It Take a Robot Mower to Map a Yard?Updated Nov 14, 2026
 6 min readLearnWhat Is a Passage on a Robot Mower Map?Updated Nov 13, 2026
 7 min readLearnAnthbot Mapping: How to Map Your Lawn Step by StepUpdated Nov 13, 2026
 7 min readLearnRobot Mower App Not Connecting? Check These Causes FirstUpdated Nov 12, 2026
 8 min readLearnWhy Does My Robot Mower App Say Offline?Updated Nov 13, 2026