
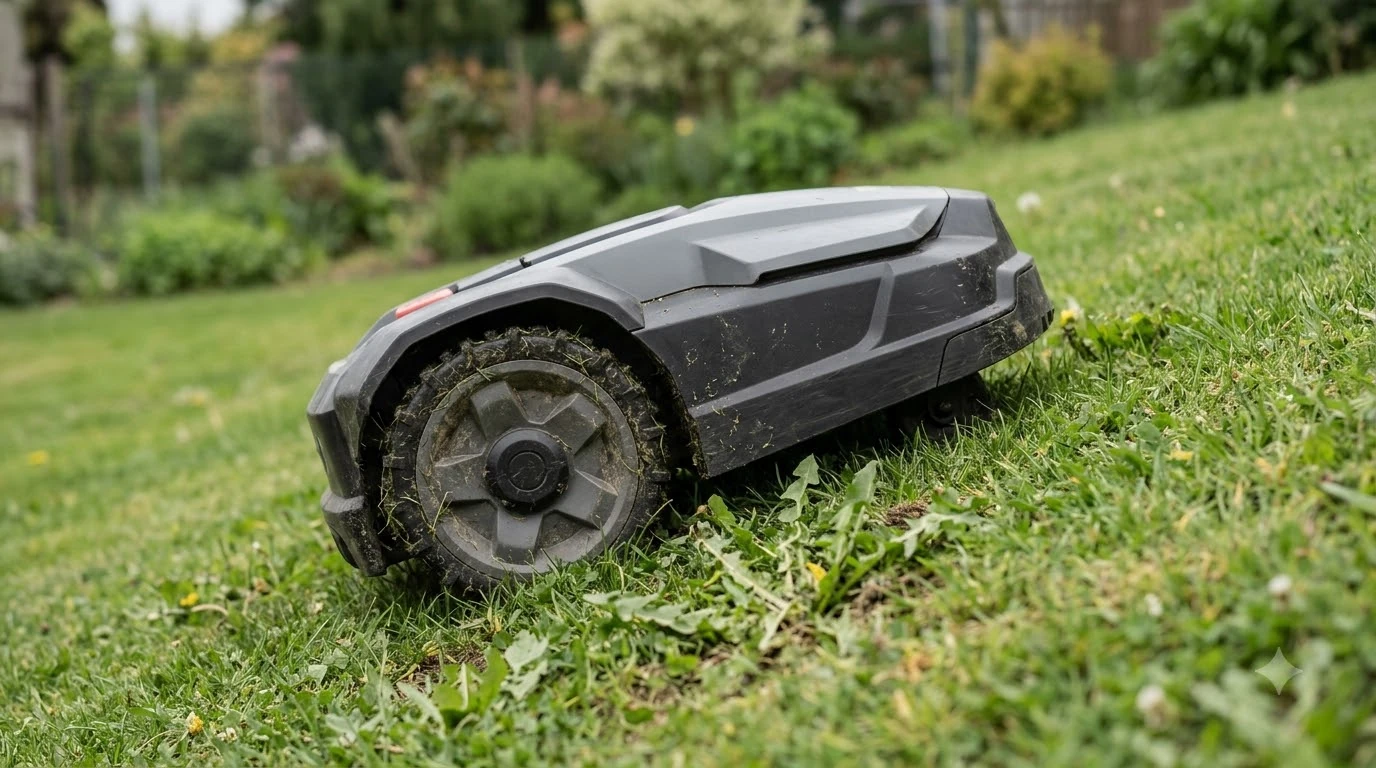

How to set up a robot mower on a slope comes down to three checks: the model’s slope rating, a low charging station on level ground, and a boundary wire laid across the incline. Those three choices decide whether the mower can climb, return to its dock, and stay inside the wire. As of November 2026, slope ratings are published in percent or degrees, and the rating depends on where it is measured.
The short answer
- Rating first. Compare the steepest part of the lawn with the model’s stated maximum slope.
- Station low. Husqvarna says the charging station must sit on a level surface, in the lower section when a steep slope splits the yard.
- Wire diagonal. Robomow advises laying the cable diagonally on inclines and curving the corners.
- Test slowly. Run supervised trips up and down the slope before you leave the mower on its own.
How to set up a robot mower on a slope: check the rating first
Before you plan how to set up a robot mower on a slope, start with the number on the spec sheet, because robot mower slope ratings are not all written the same way. Husqvarna’s 115H product page lists a 15 percent slope at the boundary and 30 percent inside the installation area, so the same mower can have two different limits on one lawn. The larger Husqvarna 435 iQ AWD is listed as navigating slopes up to 70 percent on the US lineup page.
Other brands use other units. The eufy AU guide groups its models into tiers: basic models at 10 to 25 percent, mid-range models at 35 percent, advanced residential models at 40 percent (18 degrees) and all-wheel-drive models at 70 percent (35 degrees). Its E-series product page lists a maximum slope of 18 degrees with no percent figure. Our reading is that you should convert every rating to the same unit before comparing two models.
| Model or tier | Slope figure as published | Where it applies |
|---|---|---|
| Husqvarna 115H | 15% and 30% | At the boundary and inside the installation area |
| Husqvarna 435 iQ AWD | Up to 70% | Listed on the US lineup page |
| eufy basic tier | 10% to 25% | Tier range from the eufy AU guide |
| eufy E-series | 18 degrees | Maximum slope, no percent listed on the product page |
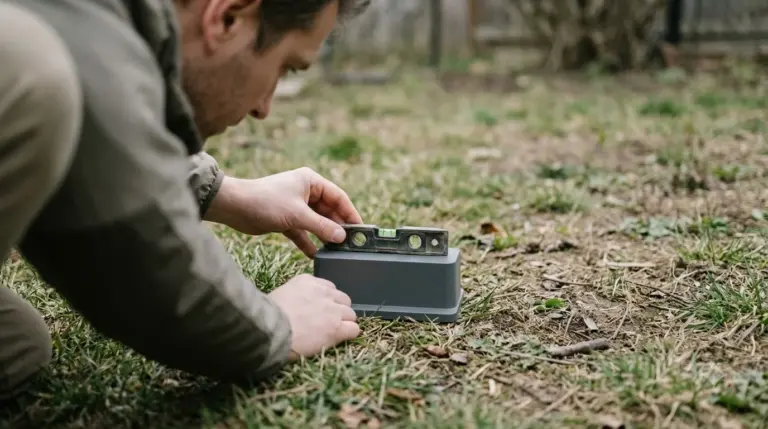
The eufy guide says to measure the steepest part of the yard instead of judging by eye, because sloping lawns often look flatter than they are. It suggests a smartphone incline app, or a spirit level with a tape measure. Our guides on how to measure yard slope and robot mower slope ratings in percent and degrees cover the conversion.
Soil matters as well. The eufy guide says dips deeper than 3 cm, or exposed tree roots, need filling in or marking out with virtual boundaries. A rating does not fix a dip. It only describes what the mower can climb when the ground is in good shape.
Place the charging station low, on level ground
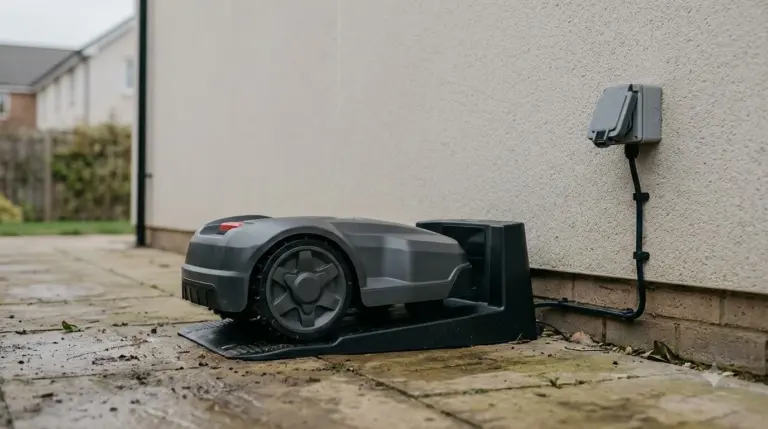
For a sloped lawn, the charging station goes on level ground in the lower part of the lawn. Husqvarna’s placement guide says to ensure that the charging station is on a level surface, and it says that if the work area has two parts separated by a steep slope, the station belongs in the lower section. The guide does not give a numeric slope limit for the station itself.
Keep the clearances in mind when you choose the spot. For a physical boundary wire installation, Husqvarna asks for at least 3 m (10 ft) of free space in front of the station, 150 cm (60 in) to each side of its center, and 60 cm (2 ft) behind it. For EPOS wire-free installations, the front clearance rises to 6 m (20 ft).
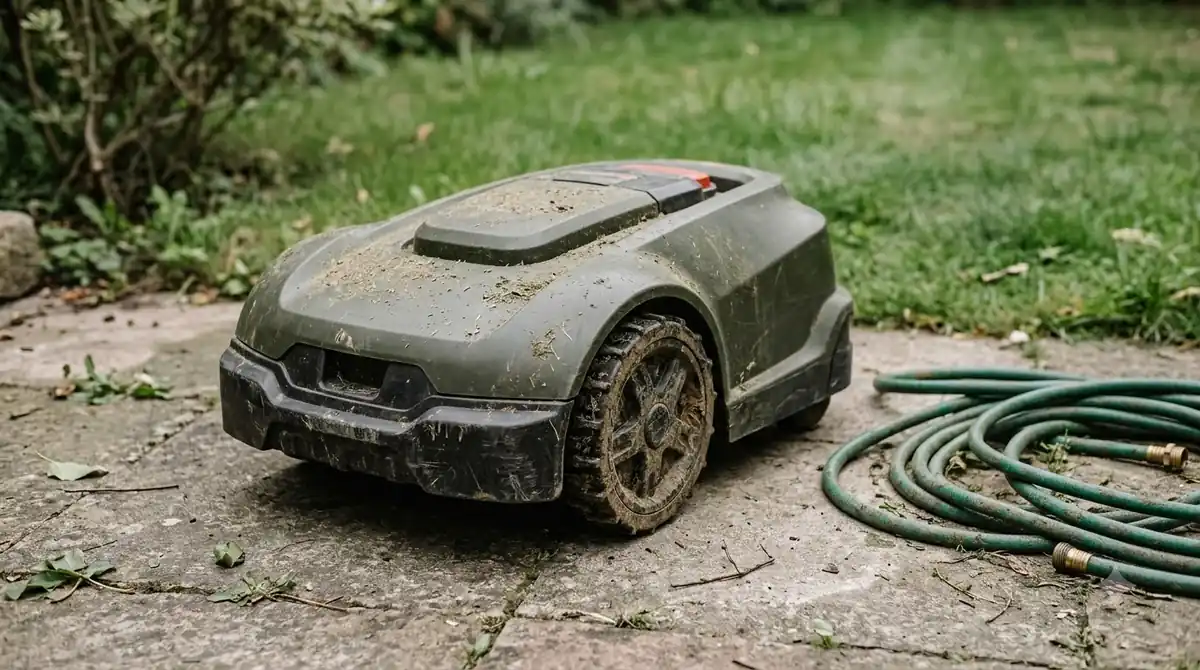
Heads up
Husqvarna’s guide is written for its own stations. If your model is from another brand, use that brand’s manual for the station clearances, because the figures above do not transfer automatically.
Lay the boundary wire across the slope
On a slope, the wire layout matters more than the wire length. Robomow advises laying the cable diagonally on inclines, and curving it at corners so the mower does not need complicated maneuvers. Our reading is that a diagonal run gives the mower a gentler approach to the slope, but the page does not say how much the angle should change the path, so treat it as a starting point and adjust after testing.
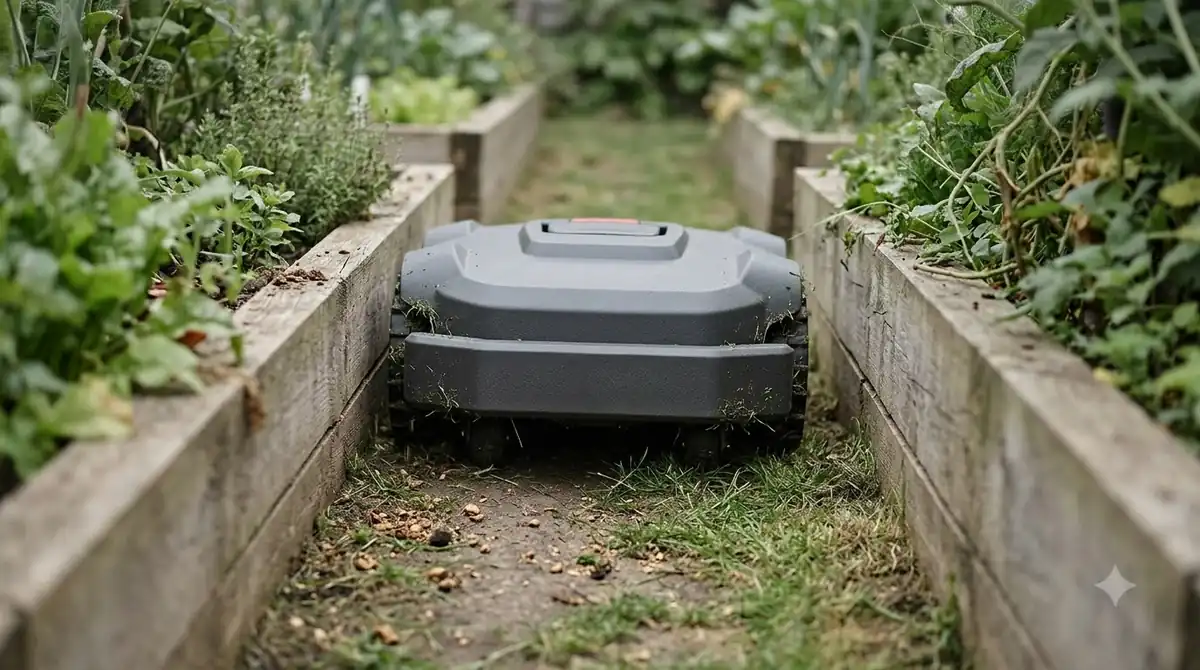
- Mark the path first. lawnmowers.com suggests marking the wire path with landscape paint before you aerate or dethatch the lawn.
- Pin the wire. Use stakes every 50 to 80 cm, with extra stakes on curves, as the same guide describes.
- Keep the distance from edges. Put hard edges about 10 cm inside the border, and soft edges such as beds, gravel or mulch 25 to 30 cm from the obstacle. Keep walls, fences and tree trunks at least 30 cm away.
- Test before you bury. Robomow recommends leaving the cable above ground for 2 to 3 weeks in test mode. Bury it at 4 to 5 cm, which is the optimal depth it gives, and no deeper than the signal range it lists, 7 cm.
- Run a loop test. Once the wire is laid and connected, run the loop test the manual describes before you trust the layout.
For the general wire steps, see how to install a robot mower boundary wire. Slopes only change the layout and the order of the checks.
Use virtual boundaries where the slope is too steep
Deciding where the mower should not go is part of any slope setup. A virtual boundary or stay-out zone can keep the mower away from a steep or soft patch, but only on models that support it. Husqvarna’s AIM stay-out zones work only with a physical boundary wire and AIM-capable models, and the zones cannot cover the charging station or the guide wire.
Do not treat a stay-out zone as a safety barrier. Husqvarna says it should never be used to stop the mower from running into a swimming pool or the street, and that such areas should be fenced with boundary wire plus a barrier at least 15 cm (6 in) high. Its object avoidance page also says the feature is not a safety feature, and that objects lying flat or very close to the ground may not be detected at all.
Test the mower on the slope before you rely on it
Testing is the last step in how to set up a robot mower on a slope. Run supervised trips before you leave the mower to work alone. Watch for slipping, stalling at the top of a rise, and any wheel spin on the way down. eufy says that running a mower at its top incline limit continuously strains the motor, drains battery reserves quickly, and increases tire slip, and that a maximum rating is a limit rather than a target for daily mowing.
- Run the mower up and down the slope in both directions.
- Check the trip on dry grass first, then on damp grass, because wet grass changes traction.
- Stop the test if the mower scrapes, slips or pauses to recalculate on the same spot.
- Check that it returns to the charging station from the lower section of the lawn.
If the wheels keep slipping on a steep section, our note on traction spikes for slopes looks at what helps grip.
What to check before you buy a model for a slope
If you are still choosing a model, confirm three things before you buy: the units of the rating, where the rating is measured, and whether the boundary method suits your yard. A model with a high rating may still need a physical wire to follow a steep path, and a wire-free model usually needs a clear view of the sky for satellite positioning. Our guide on how to choose a robot mower for slopes goes deeper on that choice.
- Convert percent and degrees to one unit before comparing models.
- Find out whether the rating applies to the boundary or to the whole installation area.
- Check whether the model supports stay-out zones if you need to avoid a soft patch.
- Read the model’s manual for its charging station clearances.
The safest order for how to set up a robot mower on a slope is the rating, then the station, then the wire. Each step depends on the one before it, so do not bury the wire until the mower has passed its test on the slope. For an overview of limits, see how steep a hill a robot mower can handle.
Frequently asked questions
Can a robot mower handle a 30 percent slope?
It depends on the model. Husqvarna’s 115H page lists 15 percent at the boundary and 30 percent inside the installation area. Check the rating for your exact model and find out where it applies before you buy.
Where should the charging station go on a hill?
Husqvarna says the charging station must sit on a level surface. When a steep slope separates two parts of the yard, place the station in the lower section, and keep the clearances the manual lists in front, on each side and behind.
Should the boundary wire run straight up a slope?
No. For how to set up a robot mower on a slope, Robomow advises laying the cable diagonally on inclines and curving it at corners. Keep the stakes closer together on curves, and test the layout above ground for 2 to 3 weeks before you bury it.
Does mowing up a steep slope wear the battery faster?
It can. eufy says running at a mower’s top incline limit continuously strains the motor, drains battery reserves quickly and increases tire slip. Our reading is that choosing a model rated above your steepest section keeps it away from that limit.
Sources
- Husqvarna charging station placement guide (Husqvarna): level surface, lower section on a steep split, and clearances.
- Husqvarna Automower 115H product page (Husqvarna): 15 and 30 percent slope figures.
- Husqvarna US robotic lawn mower lineup (Husqvarna): 70 percent listing for the 435 iQ AWD.
- eufy robot lawn mower slope limits guide (eufy): slope tiers, soil dips and top-of-slope strain.
- eufy E-series product page (eufy): 18 degree maximum slope with no percent figure.
- Robomow boundary wire guide (Robomow): diagonal layout on inclines, burial depth and test period.
- lawnmowers.com boundary wire setup guide (lawnmowers.com): stake spacing, edge distances and loop test.
- Husqvarna stay-out zones with AIM Technology (Husqvarna): wire and model requirements for stay-out zones.
- Husqvarna object avoidance guide (Husqvarna): object avoidance is not a safety feature.
 Up next9 min readLearnHow to Set Up Channels Between Lawn Zones on a Robot MowerUpdated Nov 11, 2026
 9 min readLearnHow Long Does It Take to Set Up a Robot Mower?Updated Nov 11, 2026
 8 min readLearnHow to Set Up a Robot Mower in a New HouseUpdated Nov 14, 2026
 7 min readLearnHow to Set Up a Robot Lawn Mower: Step-by-Step GuideUpdated Nov 13, 2026
 9 min readLearnHow to Set Up Ecovacs GOAT O1000: Step-by-Step GuideUpdated Nov 10, 2026
 9 min readLearnHow to Set Up the Dreame A1 Pro Robot Mower Step by StepUpdated Nov 10, 2026