
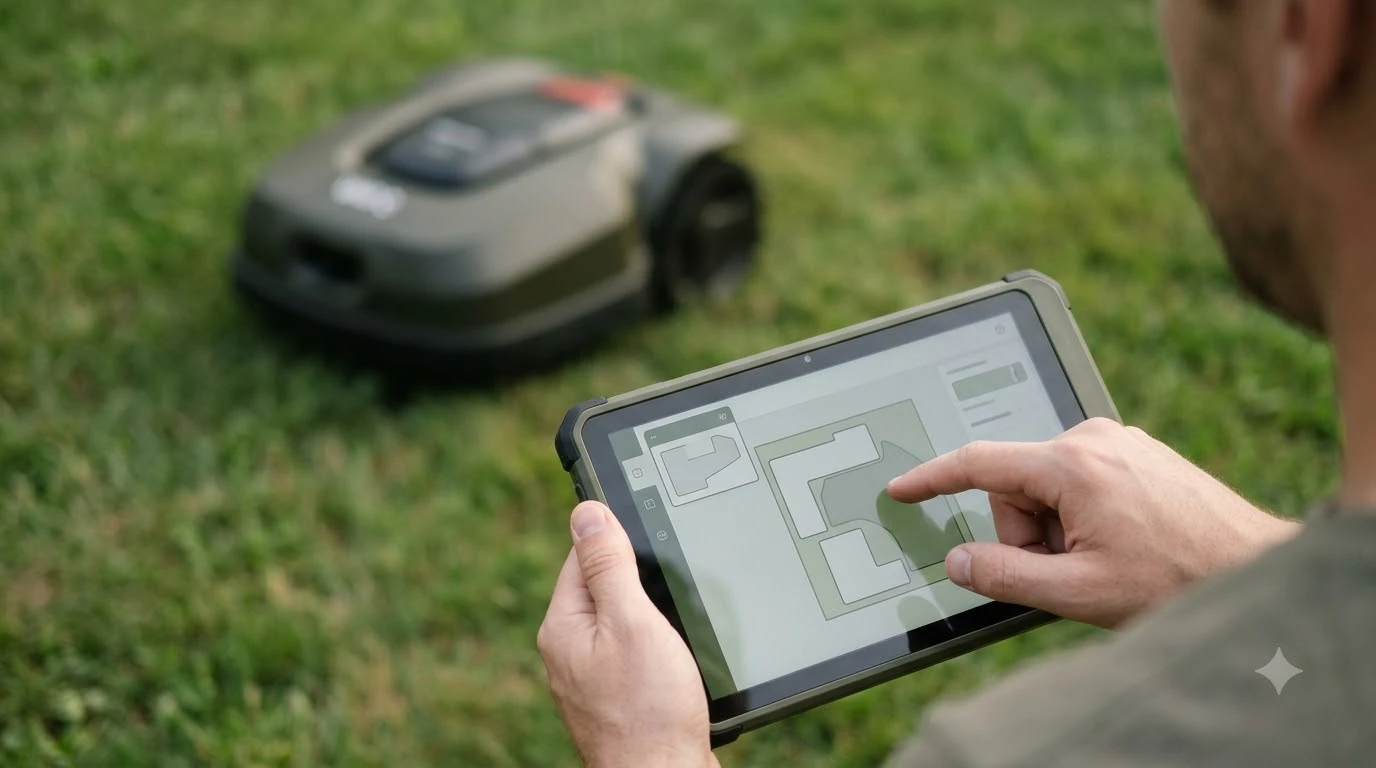

Mammotion mapping means teaching the Luba mower its lawn boundary in the app, either by driving it around the edge (manual mapping) or by letting its vision camera trace the edge (auto mapping). Once the task area is saved, you can add no-go zones for flower beds, trees, and ponds. The steps are simple, but the mower has to start in the right place, and a lawn that is too large will fail to map.
The short answer
- Clear the lawn first: remove leaves, toys, stones, and wires before you start mapping.
- Manual mapping: drive the mower to a starting point on the perimeter, then trace the edge and return to the start.
- Auto mapping: the vision camera follows the lawn edge, but avoid steps, cliffs, and ponds.
- No-go zones: tap Create, then No-go zone, and trace the obstacle the same way.
- If mapping fails: the lawn may be bigger than the model’s limit, so split it into smaller areas.
How Mammotion mapping works in the app
Mammotion mapping builds a digital copy of your yard. The mower then knows where to cut, where to stop, and where it must not go. The app estimates the size of the area as you map, and it saves the result as a task area. Everything else you add later, such as no-go zones, is drawn on top of that base map. The same workflow applies across brands, and mapping a lawn from the mower app gives a general walkthrough. App glitches can interrupt mapping, so Mammotion app troubleshooting steps is worth bookmarking.
Mapping depends on Bluetooth more than most people expect. Keep the phone close, leave Bluetooth switched on, and do not let the screen lock during the process. A broken connection in the middle of a loop is the most common reason a map ends up messy.
Manual mapping step by step
Manual mapping is the more controlled option, and it is the one to choose if your lawn has tricky edges. You steer the mower yourself with the virtual joystick, so you decide exactly where the boundary runs. Mapping is one stage of the install, which Luba 3 initial setup walkthrough covers from start to finish. To plan your afternoon, how long a mapping session takes gives typical time ranges.
- Prepare the lawn. Clear debris, leaf piles, toys, wires, and stones. Make sure no children or animals are on the grass.
- Power on the mower and Bluetooth. The phone should connect to the robot automatically.
- Tap “Create a Map,” then “Manual Mapping.”
- Drive to a starting point on the perimeter. Use the joystick to move forward, backward, and turn.
- Trace the edge and return to the start. Keep the controller within about 1.5 m (4.9 ft) of the mower for a stable link.
- Tap “Save.” Save only after the mower is back at the starting point.
Mammotion advises staying at least 15 cm (6 in) from walls, fences, ditches, or uneven ground. On a level path, driving along the path itself gives a cleaner cut line, and it makes the map easier to follow later.
Auto mapping and when to avoid it
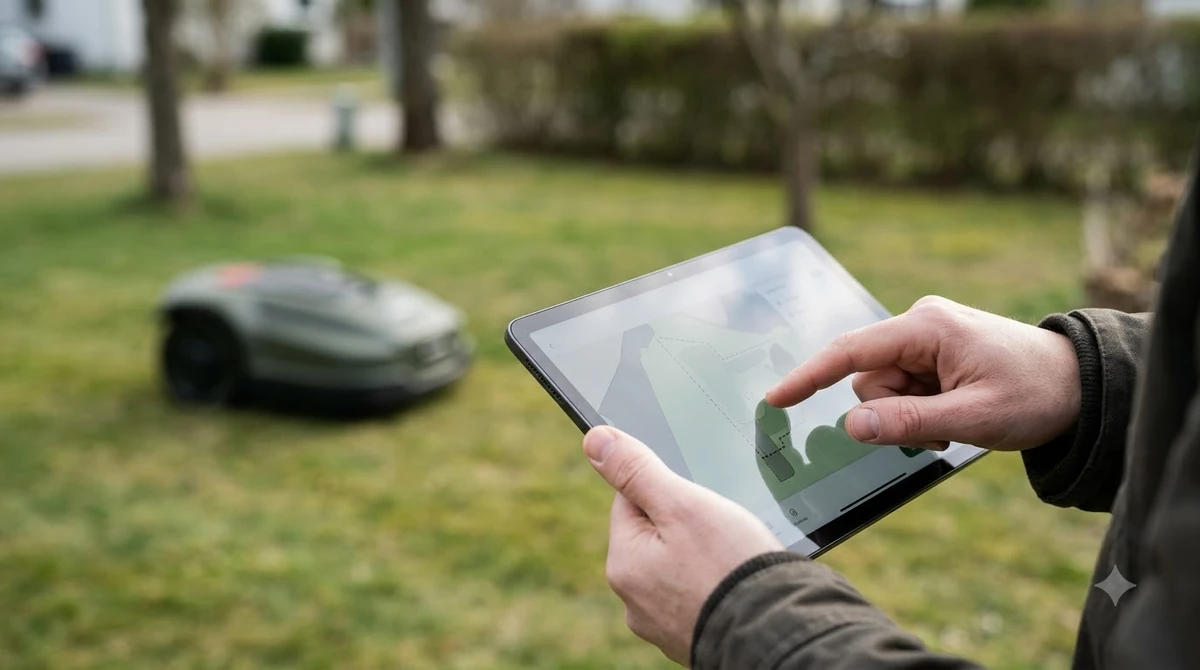
Auto mapping uses the mower’s vision camera to find the physical edge of the lawn. You start it from the same menu, tap “Auto Mapping,” and then follow the robot while it works. It saves time on simple rectangular yards, but the camera can only read what it sees, so it is not the right choice for every lawn.
Heads up
Mammotion says not to use auto mapping near steps, cliffs, ponds, or similar hazards. On a lawn like that, switch to manual mapping and keep the mower well clear of the drop.
If the mower behaves oddly during either mode, tap “Stop” in the app. You can then drive it manually to finish the loop.
Mammotion no-go zones: how to add an obstacle
A mammotion no-go zone is a shape you draw so the mower stays out of an area. It is the right tool for flower beds, a vegetable patch, a pond, or a tree with low roots. The process is the same as manual mapping, with one extra step at the start. Separate lawn areas need a connection, which linking zones with channels explains.
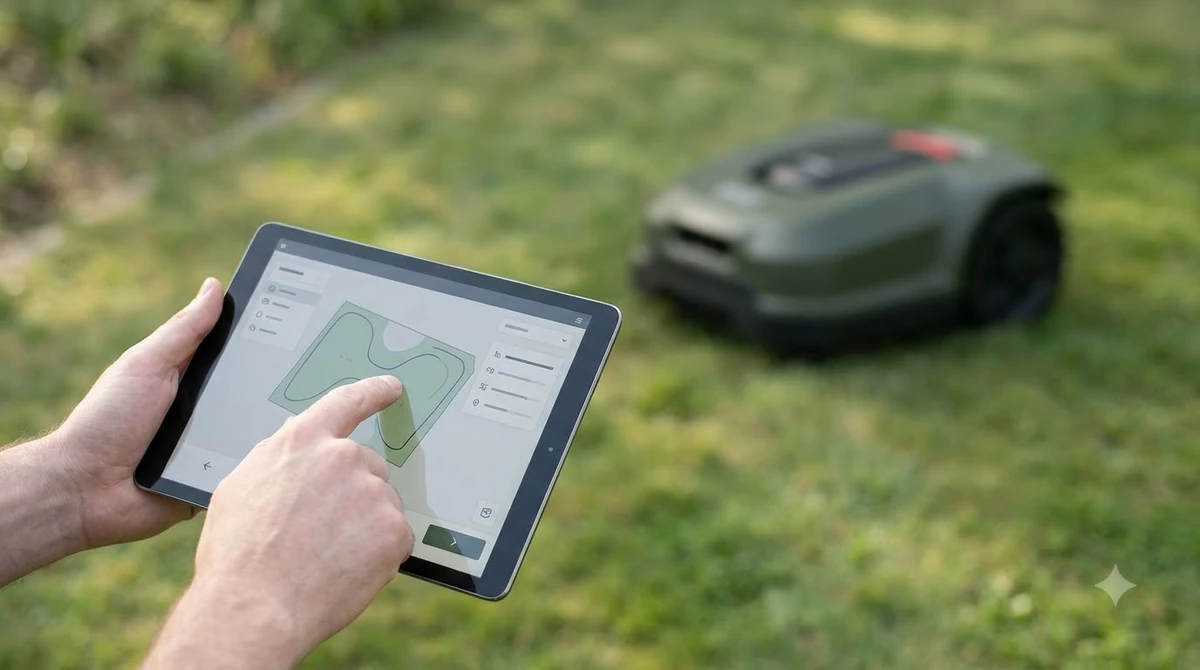
- Open the Map page and tap Create. Choose “No-go zone.”
- Place the mower at the edge of the obstacle. The mower must be in the right spot before you start, or the shape will not match the real obstacle.
- Tap start and drive the mower around the obstacle. Return to the starting point to close the shape.
- Tap “Save.”
Mammotion’s manuals describe no-go zones in more than one way depending on the model. Some list a virtual fence, a no-go zone, and a no-stop zone under the same Create menu, so check which options your model offers. If you need to change a zone, check your model’s manual, because some versions say to delete the old zone and draw a new one. Our reading is that a low flower bed is a good candidate for a no-go zone, since the mower can run over it without any warning.
Why mammotion mapping fails
The most common reason for a failed map is size. The app estimates the mapped area while you work, and if the total goes over the mower’s upper limit, the task area mapping fails. That limit is listed under Technical Specifications in the user manual, and Mammotion’s support article does not give the number, so look it up for your exact model. If a run is rejected or incomplete, fixing mapping failures lists general causes beyond this brand. When a corrupted map cannot be fixed, Mammotion factory reset steps describe the last resort. A clean restart is sometimes quicker than patching, as clearing the map and starting over explains.
If the lawn is simply too large, split it into two or more task areas. When you start a new area, drive the mower out of the existing task area first, so the app does not confuse the two.
- Area too large: check the model limit and map in smaller sections.
- Obstacles left on the lawn: clear them and start again.
- Connection drop: keep the phone active and Bluetooth on, then restart the mapping session.
- Unsaved mess: tap “Discard and Exit” to clear unsaved data and remap from the beginning.
A map that is slightly rough is usually fine. Small wobbles along a fence line do not affect cutting much. A big gap or a loop that crosses itself is worth fixing before you schedule the mower.
Frequently asked questions
What is the difference between manual and auto mapping on a Mammotion mower?
In manual mapping you drive the mower around the perimeter yourself with the virtual joystick. In auto mapping the mower’s vision camera detects the lawn edge and maps it, while you follow it. Manual mapping gives more control, and auto mapping is faster on simple yards.
Why does Mammotion mapping fail?
The most common cause is an area larger than the model’s upper limit, which is given in the technical specifications of the user manual. Obstacles left on the lawn, a broken Bluetooth link, and a bad starting position can also stop a map from finishing.
Can I edit a no-go zone after I save it?
It depends on the model and the manual version. Some manuals say a no-go zone cannot be changed once set, while others say to delete it and draw a new one. Check the manual for your exact model before you try to edit.
Should I use auto mapping near a pond or steps?
No. Mammotion advises against auto mapping near steps, cliffs, ponds, or similar hazards. Use manual mapping there and keep the mower well clear of the drop.
Sources
- Map your Lawn and Create Task Area (Mammotion Tech support): prep steps, manual and auto mapping, Stop, Discard and Exit, and the area limit rule.
- How to Create No-go Zone (Mammotion Tech support): the Create, No-go zone path and the trace-and-save steps.
 Up next7 min readLearnLymow Mapping: Zones, No-Go Areas and ChannelsUpdated Nov 13, 2026
 8 min readLearnWhat Is a No-Go Zone on a Robot Mower?Updated Nov 11, 2026
 8 min readLearnHow to Set Up No-Go Zones on a Robot MowerUpdated Nov 11, 2026
 8 min readLearnLymow App: Setup, Zones and Common Connection FixesUpdated Nov 13, 2026
 8 min readLearnMammotion LUBA RTK No Fix? Check These Four Things FirstUpdated Nov 10, 2026
 7 min readLearnNavimow X430 Setup: Step by Step From Charging Dock to First MowUpdated Nov 13, 2026