
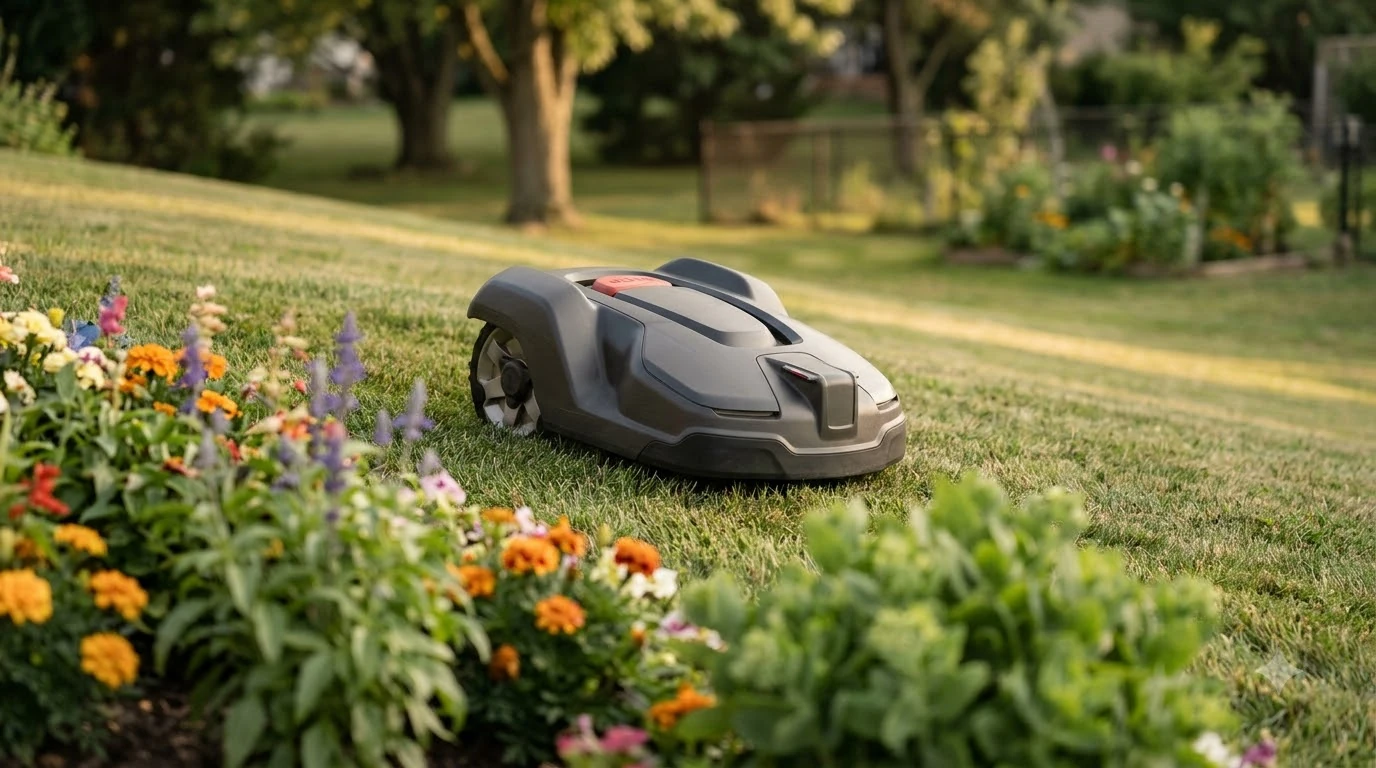

A robot mower drifting outside boundary usually points to a setup problem, and three checks are worth running first: boundary wire placement near slopes, the charging station connection, and the lawn coverage settings, all drawn from manufacturer support pages.
Work through these in order. The settings and connection checks cost nothing, so start there before you move any wire.
The short answer
- Read the error first: a mower that leaves its wire area should show a boundary message, and Worx lists one for this exact case.
- Slopes: Husqvarna’s AWD guide keeps the boundary wire 1.5 m (5 ft) from the bottom of slopes between 50% and 70%.
- Charging station: the guide wire belongs on the G1, G2 or G3 pin, not on AR or AL.
- Settings: check the lawn coverage setting and stay-out zones before you change any wire.
- Test before re-laying: a 10 ft test loop shows whether the error persists on a simple loop of wire.
Why a robot mower keeps drifting outside boundary
Worx lists a specific error for a mower that runs outside its boundary wire, so the message in the app or on the display is the first clue to read. The boundary wire defines the cutting area, so anything that makes the mower misjudge that area can let it leave.
Error names differ by brand and model. When you see a robot mower drifting outside boundary, use the message your own mower shows, and check its manual for what it means, rather than a code from another brand.
Wire placement on slopes
On steep ground, Husqvarna’s AWD guide keeps the boundary wire 1.5 m (5 ft) from the bottom of the slope when the slope sits between 50% and 70%. Our reading is that wire placed too close to the edge of a slope is one thing to rule out when a mower leaves the wire area on a hill.
Husqvarna’s all-wheel-drive models use two separate limits, and both matter on a hill. The Husqvarna steep-slope installation guide sets them out as follows.
| Setting for AWD models | Value | What it applies to |
|---|---|---|
| Boundary limit | 50% | Slope at the outer edge of the boundary wire |
| Work-area limit | 70% | Steepest ground the mower works on inside the wire |
| Level ground before a steep slope | At least 50 cm (1.6 ft) | Gap between flat ground and the start of the slope |
If the outer edge of your lawn is too steep for the boundary limit, the guide advises positioning the boundary further in on flat ground before the slope begins. Model limits differ, so the table in your own manual decides which numbers apply. For the wider picture on steep ground, see what to check for a robot lawn mower on a 20 percent slope.
The same guide asks for 1.5 m (5 ft) between the boundary wire and obstacles on AWD models working on slopes up to 50%. It also warns that obstacles forcing the mower to turn on a slope increase slipping risk, especially in wet conditions. Husqvarna suggests keeping the wheels clean for traction, and offers boundary islands or stay-out zones to exclude a difficult area.
Charging station connections
Husqvarna’s support article on a mower that cuts only part of the lawn lists the charging station connection among the first things to check. The guide wire must connect to the G1, G2 or G3 pin, not to the AR or AL pin, and Husqvarna says an incorrect connection can make the mower work only certain parts of the lawn. That page describes partial mowing rather than a mower leaving its area. Our reading is that it is still the cheapest connection to confirm when you troubleshoot a robot mower drifting outside boundary.
- Read the pin labels. Find where the guide wire is attached on the charging station.
- Compare with G1, G2 and G3. The guide wire belongs on one of these pins, not on AR or AL.
- Watch the next run. If the error returns after a change, move on to the coverage settings and the test loop below.
Lawn coverage settings and stay-out zones
Settings matter as much as wire. On Husqvarna AIM models, when the My Lawn schedule is deactivated, the mower cuts only the parts of the lawn covered by a scheduled work area. Check this in the app before you move any wire, because a mower can skip parts of a lawn that the settings leave out. If you are new to stay-out zones, this explains what a no-go zone does on a robot mower.

- Open the coverage setting: in the app, go to More, then Settings, then Installation, then Lawn Coverage.
- Confirm the lawn is covered: make sure My Lawn is active, or that your work areas cover the whole yard.
- Review stay-out zones: the mower cannot enter any area you have marked as a stay-out zone, so remove zones you no longer need.
Fixing a robot mower drifting outside boundary with a test loop
To narrow down the cause, Worx describes a 10 ft test loop: connect electric wire to the charging station clamps, place the mower on the base inside the loop, and see whether the error persists. Our reading is that the test isolates the wire as a variable, but the Worx page does not say what each result means. If the same error appears on a simple loop, that suggests the cause is not your yard layout.
- Make a 10 ft loop. Use electric wire, and strip both ends.
- Connect the loop. Attach both ends to the charging station clamps.
- Lay the loop and place the mower. Lay the wire in a circle and place the mower on the base inside it.
- Check the error. If it persists, the Worx page offers no further steps and points to its help center.
Robomow’s boundary guide advises running the wire in a test mode above ground for two to three weeks before burying it. That gives you time to confirm the mower behaves before the wire becomes permanent, which saves a lot of digging if you later have a robot mower drifting outside boundary at one corner.
Obstacle and wire distances to check
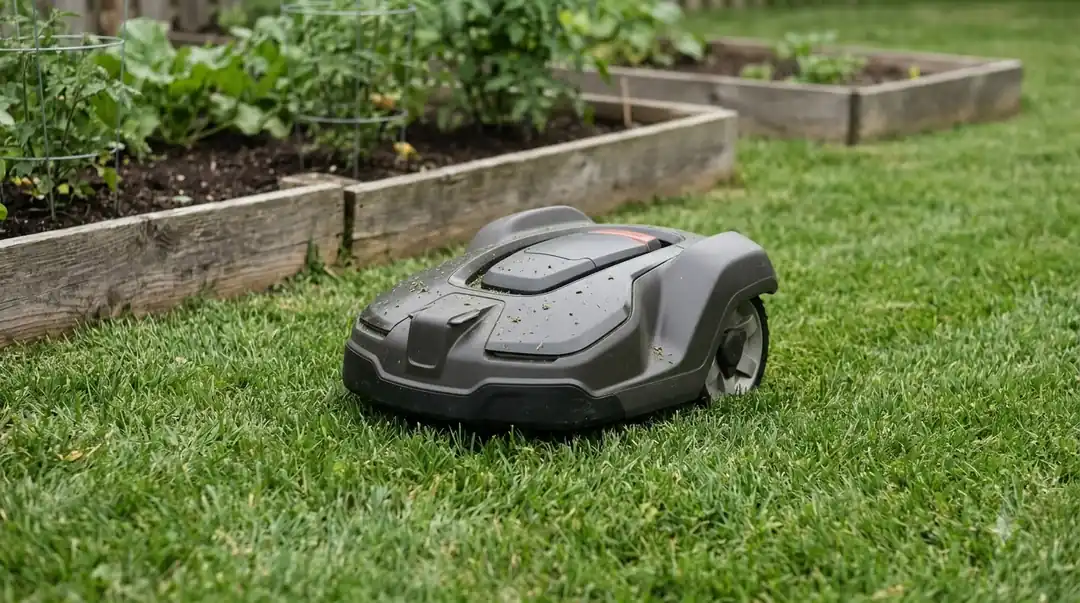
For a robot mower drifting outside boundary near walls, Robomow’s boundary guide puts the wire about 35 cm (14 in) from walls and tall stones and about 10 cm from beds or hedges. Anker’s UK guide gives 30 to 35 cm from solid obstacles such as walls, fences and raised beds.
| Obstacle | Robomow guide | Anker UK guide |
|---|---|---|
| Walls and tall stones | About 35 cm | 30 to 35 cm (walls, fences) |
| Beds or hedges | About 10 cm | 30 to 35 cm (raised beds) |
Wire distance from obstacles is a standard setup check. The figures do not agree for beds and hedges, and Husqvarna’s AWD guide uses 1.5 m between wire and obstacles on slopes up to 50%. Treat these numbers as starting points and follow the figure in your own manual. Edge trimming is a related setting, explained in cut-to-edge distance on a robot mower. Robomow also says the wire must never cross itself, because crossing causes signal interference, and it recommends laying cable diagonally on slopes.
What to check before you buy
If your yard has hills, check the slope limit in each model’s spec sheet first. The boundary limit and the work-area limit can differ by model. Husqvarna shows the two limits separately for its AWD models, so compare like with like.
- Slope figures: look for both the boundary limit and the work-area limit, not just a single maximum.
- Obstacle count: count beds, hedges and walls in your yard, since each one needs its own wire distance.
- Wire-free systems: a model without a boundary wire depends on its own positioning, so read how robot mowers know where to go instead of this guide.
Frequently asked questions
Why does my robot mower keep going outside the boundary wire?
The support pages we read point to wire placement on slopes, the charging station connection and the coverage settings in the app as the first things to check. Start with the error message, then check each of these in turn before you move any wire.
How far should the boundary wire be from a slope?
On Husqvarna AWD models working on slopes between 50% and 70%, the guide keeps the wire 1.5 m (5 ft) from the bottom of the slope. Other models have different limits, so check the slope table in your manual before you install or move the wire.
Can a wrong connection at the charging station cause drifting?
It might. Husqvarna’s support article lists the charging station pin check as a first step when a mower does not cover the lawn properly, though it does not describe drifting outside the wire. The guide wire belongs on G1, G2 or G3, not AR or AL. Check that connection before you change any wire, since it is the quickest one to confirm.
Should I re-lay the whole boundary wire first?
Our reading is no, not for a robot mower drifting outside boundary. Check the error message, the coverage settings and the charging station connection first, then run the 10 ft test loop. Re-laying the wire is the last step because it takes the longest.
Sources
- How to optimise an Automower installation for steep slopes (Husqvarna support): AWD slope limits, 1.5 m slope and obstacle distances, slipping risk, wheel care.
- Why is Automower only mowing portions of the lawn (Husqvarna support, KA-70072): G1, G2 and G3 pin check, lawn coverage path, stay-out zones.
- Landroid runs outside the boundary wire (Worx support): the 10 ft test loop steps.
- Laying the lawn boundary wire (Robomow): obstacle distances, test mode, no crossing wire, diagonal cable on slopes.
- Robot lawn mower boundary wire installation (Anker UK): 30 to 35 cm from solid obstacles.
 Up next8 min readLearneufy E15 Mapping Problem: Causes and FixesUpdated Nov 11, 2026
 9 min readLearnRobot Mower Mapping Failed: Causes and Fixes That WorkUpdated Nov 11, 2026
 8 min readLearnRobot Mower Keeps Getting Stuck on Edges? Causes and FixesUpdated Nov 11, 2026
 7 min readLearnRobot Mower Wheels Slipping on Grass: Causes and FixesUpdated Nov 11, 2026
 9 min readLearnRobot Mower Lifted Error Keeps Appearing: Causes and FixesUpdated Nov 11, 2026
 8 min readLearnRobot Mower Not Returning to Base: 3 Causes and FixesUpdated Nov 11, 2026